 Save to Pinterest
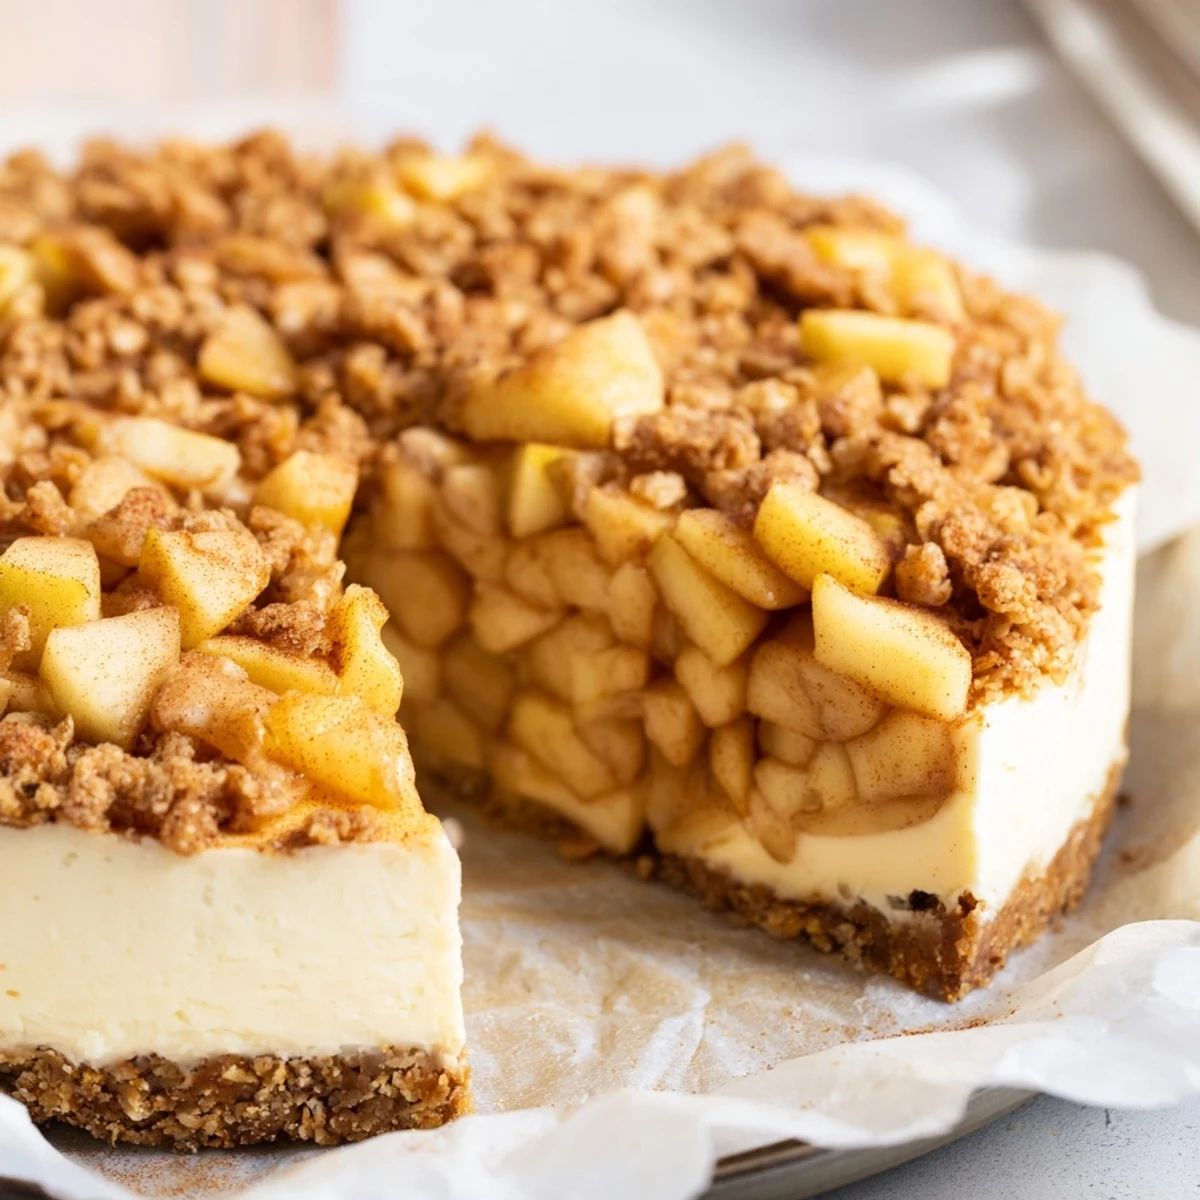
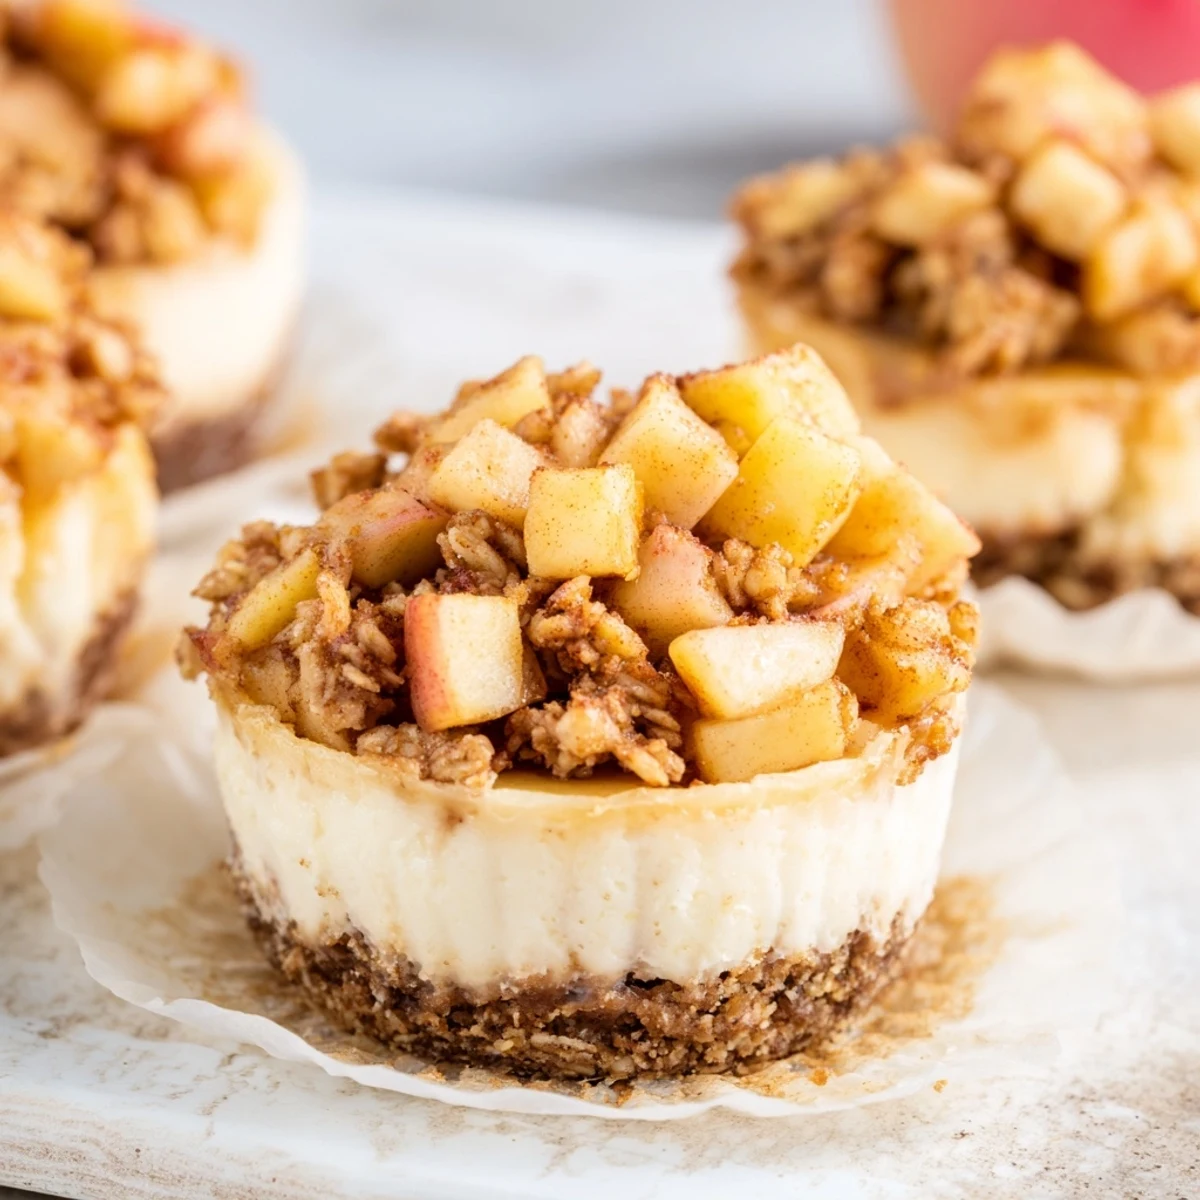
 These delightful mini treats combine the velvety richness of classic cheesecake with the nostalgic warmth of apple crisp. Each portion features a buttery graham cracker crust, a smooth cream cheese filling, and a generous topping of tender, cinnamon-spiced apples with a crumbly oat crisp. Perfect for gatherings or as an elegant personal dessert.
My apartment smelled like autumn the first Sunday I attempted these little cheesecakes. I had planned to bring a regular apple pie to a friend's potluck, but something about individual portions felt more special. Those tiny cheesecakes disappeared faster than anything else on the dessert table.
I made these again last fall during a rainy weekend when the house felt too quiet. The buttery graham crust pressed into muffin tins reminded me of baking with my grandmother, though she never combined her two favorite desserts quite like this. My roommate wandered into the kitchen three times just to check on them.
Ingredients
- Graham cracker crumbs: These create the essential buttery foundation, and pulsing whole crackers in a food processor gives you the most consistent texture
- Cream cheese: Absolutely must be softened to room temperature or you will end up with stubborn lumps in your filling
- Eggs: Adding them one at a time prevents overworking the batter, which can lead to cracks or a dense texture
- Apples: Granny Smith or Honeycrisp hold their shape beautifully when cooked down into that spiced topping
- Rolled oats: These give the crisp its signature crunch and texture that contrasts perfectly with the creamy cheesecake below
Instructions
- Prep your muffin tin:
- Line each cup with a paper liner while your oven warms to 325°F, and press the graham cracker mixture firmly into the bottom using the back of a spoon or a small measuring cup that fits perfectly inside the liners
- Par-bake the crusts:
- Give those buttery crumbs a quick 5-minute head start in the oven so they set up before the creamy filling goes on top
- Whip up the cheesecake batter:
- Beat that softened cream cheese until it is completely smooth before adding any sugar, then gently incorporate each egg and finish with vanilla and sour cream
- Fill and bake:
- Spoon the filling about three-quarters full into each cooled crust and bake until the centers are just barely set, remembering they will continue cooking slightly as they cool
- Chill thoroughly:
- Let them cool completely in the pan before refrigerating for at least two hours, or the texture will never quite set properly
- Make the apple crisp topping:
- Melt butter in a skillet and cook those spiced diced apples until tender, then stir in the oats and flour until everything turns golden and crumbly
- Assemble and serve:
- Pile a generous spoonful of the cooled apple mixture onto each chilled cheesecake right before serving
 Save to Pinterest
 These became my go-to dinner party dessert after that first successful batch. There is something intimate about handing someone their own tiny cheesecake, spoon and all, watching them break through that crisp topping into the creamy center.
Making Ahead
The cheesecake bases keep beautifully in the refrigerator for up to three days. I always make the apple crisp topping the day I plan to serve them because those oats soften over time and lose their signature crunch.
Getting That Perfect Crust
Pressing the graham cracker mixture into the muffin liners takes a bit of patience. I use the flat bottom of a shot glass to compact the crumbs evenly, which prevents soggy bottoms and ensures each cheesecake has a solid foundation.
Serving Ideas
A drizzle of warm caramel sauce over the top takes these from delicious to absolutely irresistible. They are also lovely with a small scoop of vanilla ice cream on the side if you are serving them on plates rather than in the muffin liners.
- Try swapping pears for apples in the fall when they are at their peak sweetness
- A pinch of cardamom in the apple mixture adds an unexpected warmth that people cannot quite place
- Individual portions mean everyone gets their fair share without arguments about who got the bigger slice
 Save to Pinterest
 These mini cheesecakes have become my signature autumn dessert, requested at every gathering once the weather turns crisp.
Recipe Help & Support
- → How long should I chill the mini cheesecakes before serving?
-
Refrigerate the cheesecakes for at least 2 hours after baking to allow them to set completely. This ensures the filling is firm enough to support the apple crisp topping.
- → Can I make these ahead of time?
-
Yes! Prepare the cheesecakes and store them in the refrigerator for up to 3 days. Add the apple crisp topping just before serving for the best texture and flavor.
- → What apple varieties work best for the topping?
-
Firm apples like Granny Smith, Honeycrisp, or Braeburn hold their shape well during cooking. They provide a nice balance of sweetness and tartness that complements the creamy filling.
- → How do I know when the cheesecakes are done baking?
-
The centers should be just set with a slight wobble, similar to Jell-O. They will continue to firm as they cool. Overbaking may cause cracks.
- → Can I freeze these mini cheesecakes?
-
Freeze the undecorated cheesecakes (without apple topping) for up to 1 month. Thaw overnight in the refrigerator and top with freshly prepared apple crisp before serving.
