 Save to Pinterest
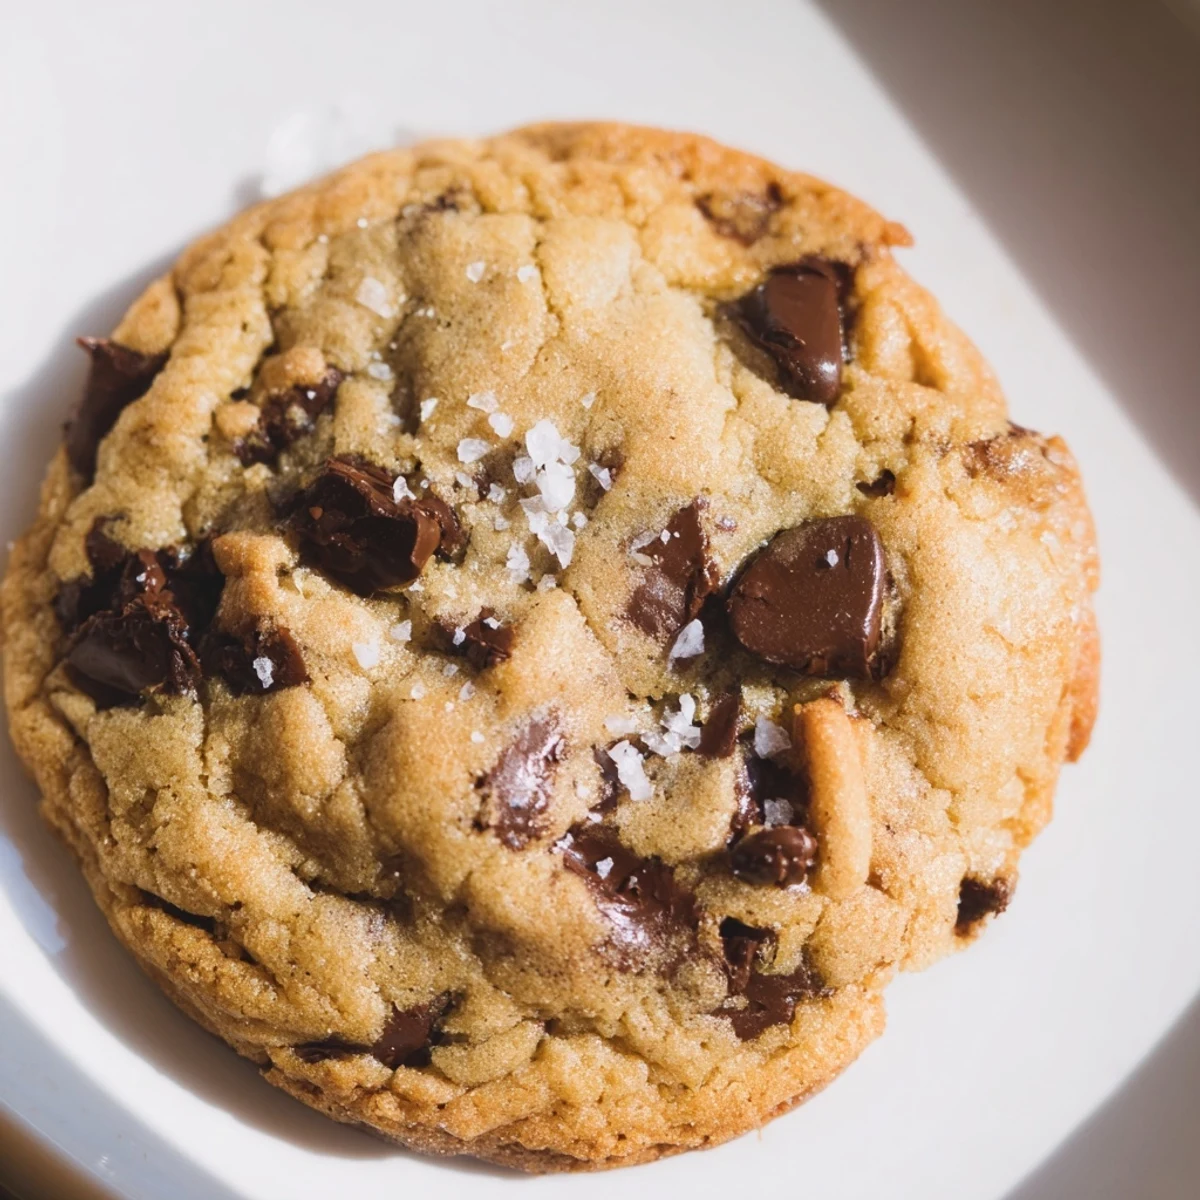
 These classic chocolate chip cookies feature crisp edges and chewy centers, elevated with a sprinkle of flaky sea salt that enhances the chocolate flavor. Made with soft butter, brown sugar, and semi-sweet chocolate chips, they're ready in just 27 minutes. Perfect for serving warm with cold milk.
The kitchen windows steamed up as I pulled my first batch of these sea salt-topped chocolate chip cookies from the oven on a frigid winter afternoon. My daughter pressed her nose against the glass of the oven door, impatiently counting down the seconds until we could taste them. That gentle sprinkle of flaky sea salt transformed an ordinary chocolate chip cookie into something magical - the perfect balance of sweet and savory that made everyone pause after the first bite.
Last Christmas, I baked six dozen of these cookies for our neighborhood cookie exchange. The house filled with the scent of butter and caramelizing sugar, drawing my usually teenage-aloof son into the kitchen to volunteer as official taste tester. When Mrs. Wilson from across the street called the next day asking for the recipe, I knew these cookies had officially become my signature dessert.
Ingredients
- Unsalted Butter: Make sure its truly softened but not melted - I learned after one disastrous batch that room temperature butter creates those perfect ridges on top.
- Light Brown Sugar: This is your secret weapon for chewiness, and I now keep a clay bear in my pantry to prevent it from hardening after one frustrating midnight baking session.
- Flaky Sea Salt: Please splurge on the good stuff here, those delicate pyramids of Maldon salt create little bursts of flavor that make people close their eyes when they taste them.
- Semi-Sweet Chocolate Chips: I sometimes chop half of them roughly for chocolate distribution that feels more homemade and rustic.
Instructions
- Prep your workspace:
- Preheat your oven to 350°F and line those baking sheets while the butter finishes softening. The parchment paper is non-negotiable if you want clean release.
- Mix your foundation:
- Whisk together flour, baking soda, and fine sea salt in a bowl until no lumps remain. This simple step ensures the leavening distributes evenly.
- Create the magic base:
- Beat that butter with both sugars until it lightens in color and looks fluffy. Youll know its ready when it sticks to the sides of the bowl in that irresistible way.
- Add the binding agents:
- Mix in those eggs one at a time, giving each a chance to fully incorporate. The vanilla goes in next, filling your kitchen with that familiar comfort scent.
- Combine with care:
- Add the dry ingredients to the wet mixture gradually, mixing just until no flour streaks remain. Overmixing here is the enemy of tender cookies.
- Fold in the stars:
- Gently incorporate those chocolate chips with a spatula, ensuring theyre evenly distributed throughout. This is when my kids usually appear, hoping to sneak some dough.
- Scoop with purpose:
- Use a cookie scoop for uniform cookies that bake evenly. Leave plenty of room between each dough ball for proper spreading.
- Add the finishing touch:
- Sprinkle each cookie with a pinch of that precious flaky sea salt. Watch how it catches the light before heading into the oven.
- Bake with patience:
- Let them bake until the edges turn golden but the centers still look slightly underdone. Theyll continue cooking on the hot baking sheet after removal.
- Master the cooling:
- Allow them to set up on the warm baking sheet for exactly 5 minutes before transferring to a cooling rack. This timing makes all the difference in texture.
 Save to Pinterest
 The first time I brought these cookies to my daughters soccer game, I watched as parents who normally exchanged nothing more than polite nods suddenly gathered around the container, sharing stories of their own baking triumphs and disasters. One dad confessed hed never baked anything from scratch before, but these cookies made him want to try. By the end of the game, Id promised to email the recipe to half the team parents.
The Chocolate Question
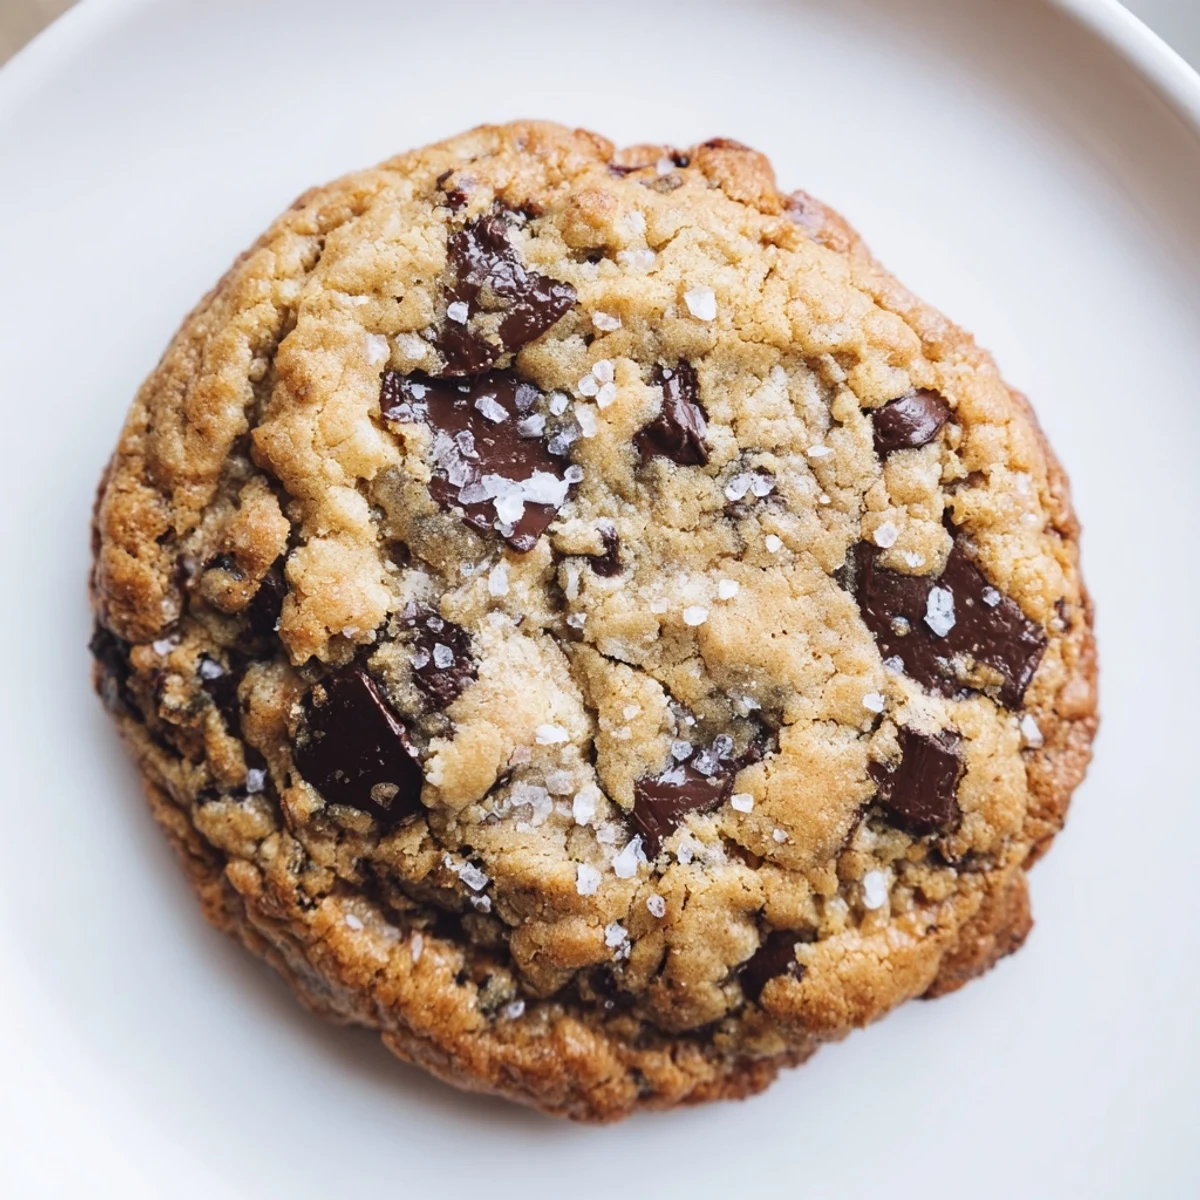
After years of experimentation, Ive found that using two different types of chocolate elevates these cookies from good to unforgettable. A combination of semi-sweet chips for reliability and hand-chopped bittersweet chocolate bars for those enviable melty pockets creates texture variation that keeps people reaching for just one more. My husband calls this my chocolate stratification technique and rolls his eyes every time I explain it to guests.
The Perfect Cookie Timing
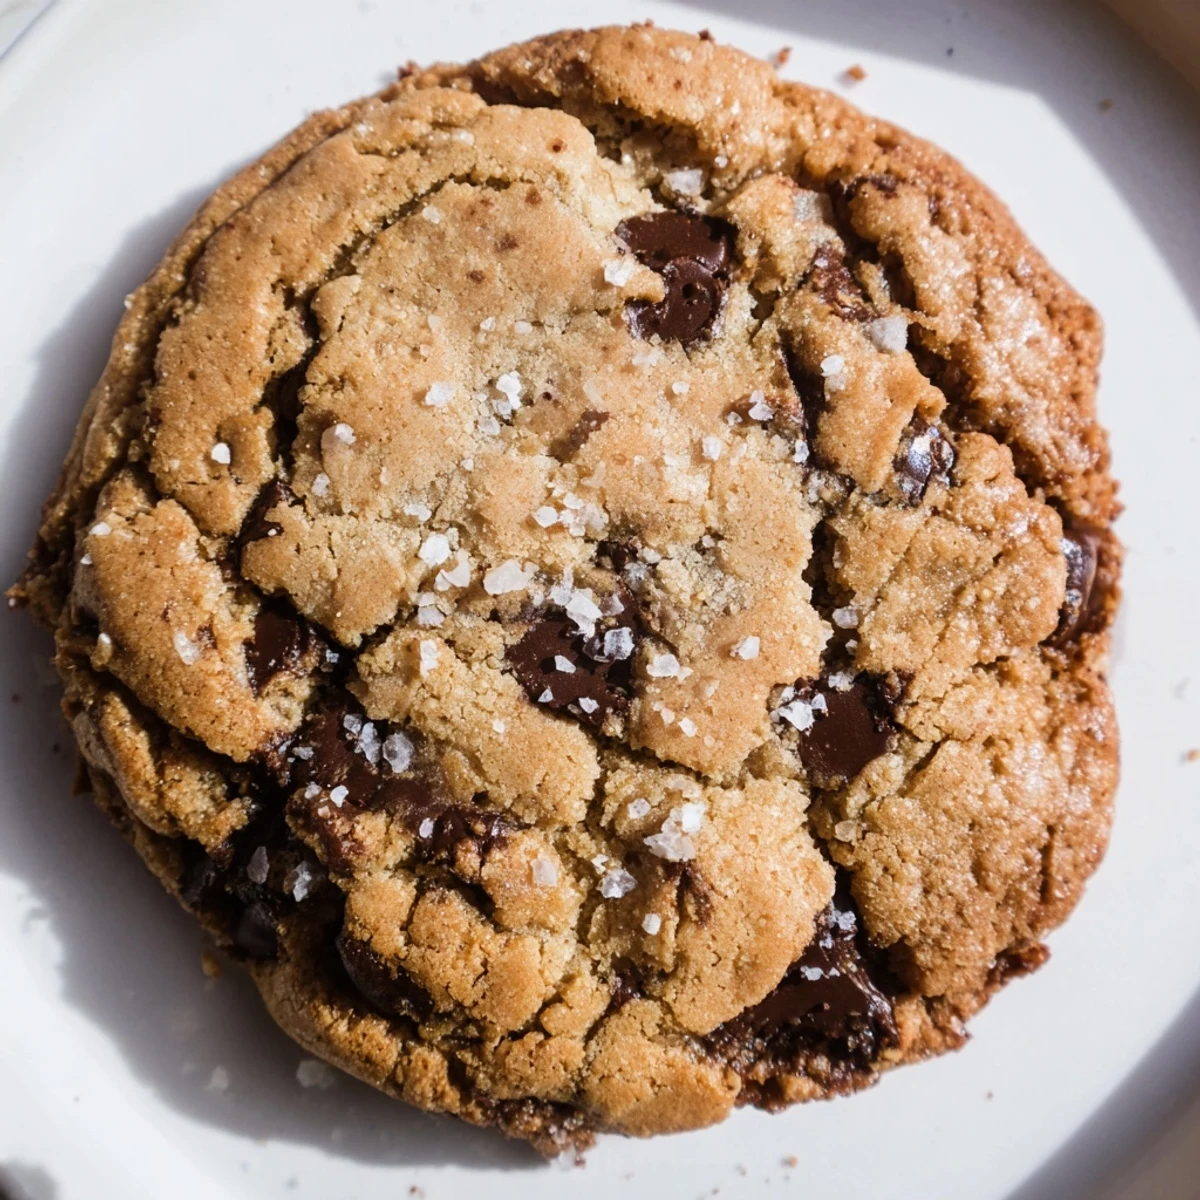
The line between underbaked and perfect is thinner than youd think with these cookies. Pull them from the oven when they look almost done but still slightly puffy in the center. Ive learned through dozens of batches that the residual heat from the baking sheet completes the cooking process, giving you that coveted crisp edge and chewy center. My kitchen timer is permanently set to 11 minutes as my perfect sweet spot.
Storing Your Cookie Treasures
These cookies maintain their texture remarkably well in an airtight container with a slice of bread tucked inside to regulate moisture - a trick my grandmother taught me that genuinely works. The salt will slowly dissolve into the cookies over time, creating a more integrated sweet-salty flavor by day two that some of my friends actually prefer to fresh-baked.
- For longer storage, freeze balls of dough with the salt already sprinkled on top and bake directly from frozen, adding just 2 minutes to the baking time.
- If gifting these cookies, layer them between parchment paper to prevent sticking and preserve those beautiful salt crystals on top.
- Remember that these cookies are at their absolute peak within the first 48 hours, though theyll rarely last that long in most households.
 Save to Pinterest
 Theres something about a homemade cookie that speaks a universal language of care and comfort. Every time someone bites into one of these salt-topped treats and gives that little mmm of appreciation, I feel like Ive passed along a small moment of joy.
Recipe Help & Support
- → Why do you add sea salt to chocolate chip cookies?
-
Flaky sea salt enhances the sweetness of the chocolate and adds depth to the overall flavor profile. It creates a delicious sweet-salty contrast that makes each bite more interesting and memorable.
- → How can I get crispy edges and chewy centers?
-
Bake for 11-13 minutes until the edges are golden but the centers appear slightly underdone. The cookies will continue to cook on the baking sheet after removal from the oven. Chilling the dough for 24 hours also helps achieve this texture.
- → Can I use different types of chocolate?
-
Absolutely. You can swap semi-sweet chips for dark chocolate, milk chocolate, or use a combination of both. Chocolate chunks also work wonderfully and create larger pockets of melted chocolate.
- → How should I store these cookies?
-
Store cooled cookies in an airtight container at room temperature for up to 5 days. For longer storage, freeze them in a freezer-safe container for up to 3 months. Reheat briefly in the oven to restore freshness.
- → What's the benefit of chilling the dough?
-
Chilling the dough for 24 hours allows the flavors to develop and intensify while preventing excessive spreading during baking. This results in thicker cookies with better texture and more pronounced vanilla and chocolate notes.
- → Are these cookies vegetarian-friendly?
-
Yes, these cookies are vegetarian as they contain no meat products. However, they do contain eggs and dairy, so they're not suitable for vegan diets unless substitutions are made.
