 Save to Pinterest
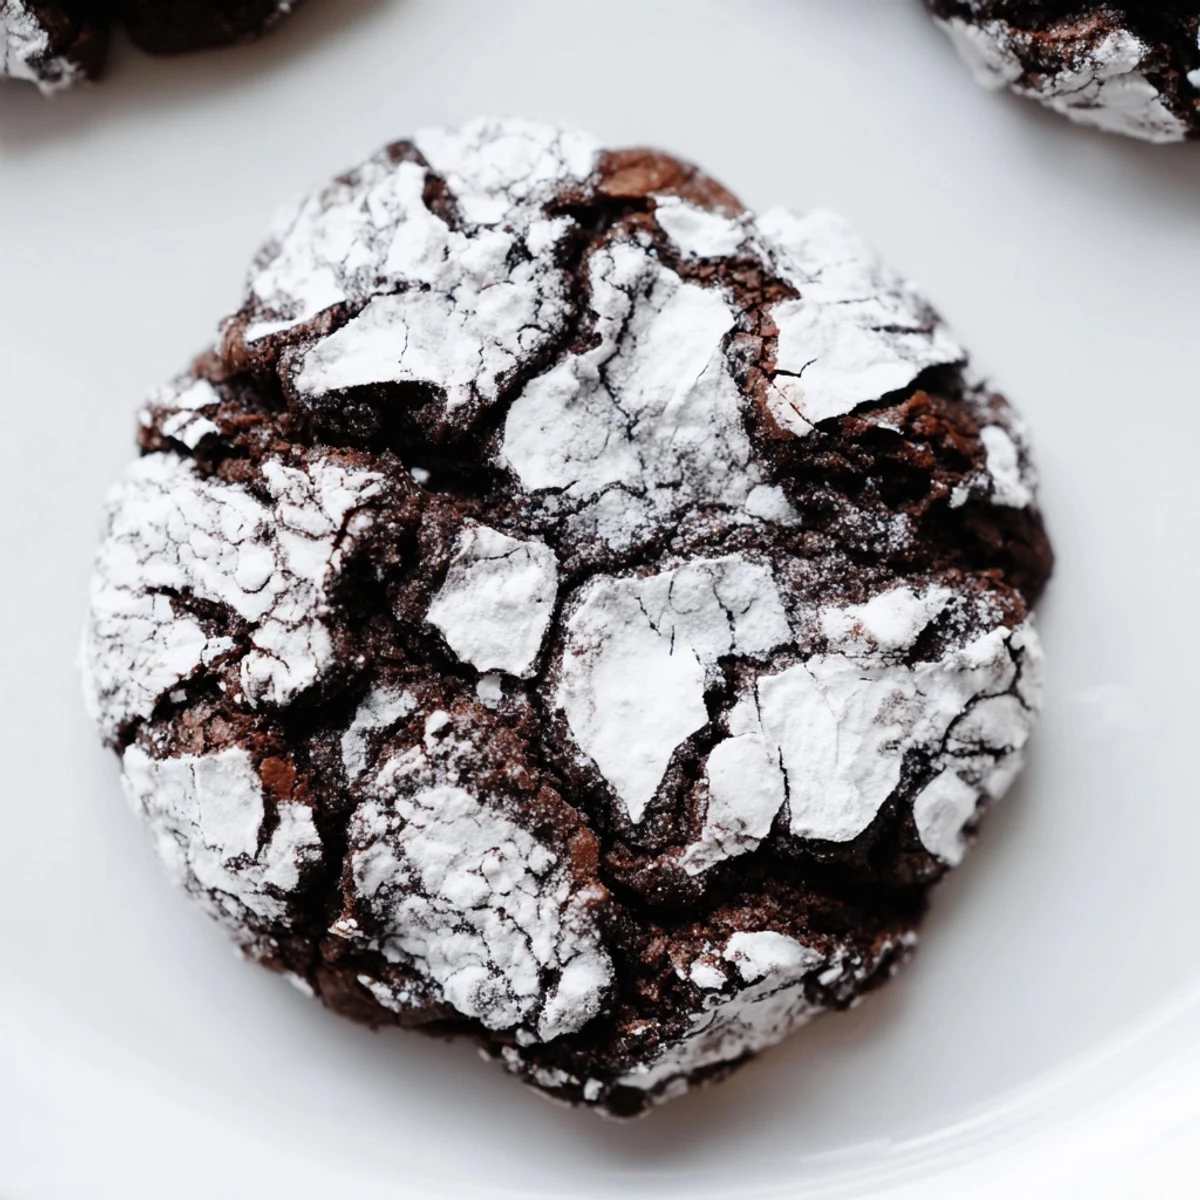
 These chocolate crinkle treats feature a fudgy center wrapped in a delicate crackled powdered sugar shell. Combining cocoa, vanilla, and a tender crumb, they chill to develop a firm dough that's easy to shape. Baking produces a soft, chewy bite perfect for any chocolate enthusiast. Ideal for quick preparation and enjoyable any time.
There's something magical about that moment when a chocolate cookie fresh from the oven cracks open to reveal its fudgy center, and the powdered sugar coating shatters between your teeth like edible snow. I discovered these cookies during a late-night baking session when I was trying to use up cocoa powder and ended up with something far better than expected. The contrast between the soft, chewy inside and that sweet, sugary shell became instantly addictive. Now they're the first thing I make when someone needs comfort food.
I made these for my neighbor one winter morning when she was stressed about a work presentation, and she came back three hours later asking if I could make them again because she'd already eaten half the batch in her car. That's when I knew these weren't just good cookies—they were the kind that make people feel cared for.
Ingredients
- All-purpose flour (1 cup): The foundation that gives structure without making these dense or cakey, which is the whole point of a crinkle cookie.
- Unsweetened cocoa powder (1/2 cup): Use quality cocoa powder here because this is where your chocolate flavor lives—cheap cocoa tastes like it, and good cocoa shines.
- Baking powder (1 teaspoon): Just enough lift to create that tender, almost undercooked texture in the center.
- Salt (1/4 teaspoon): Sounds minimal but it deepens the chocolate and keeps these from tasting one-note.
- Granulated sugar (1 cup): The sweetness backbone, and mixing it with oil instead of butter creates that signature chewy texture.
- Vegetable oil (1/4 cup): This is the secret to chewiness—oil keeps cookies softer longer than butter alone would.
- Eggs (2 large): They bind everything and add richness without heaviness when added one at a time.
- Pure vanilla extract (1 teaspoon): Enhances the chocolate instead of competing with it, so don't skip or substitute here.
- Powdered sugar (1/2 cup for coating): This creates the beautiful crackle and provides sweetness contrast to the dark chocolate dough.
Instructions
- Whisk the dry ingredients together:
- Combine flour, cocoa powder, baking powder, and salt in a medium bowl, making sure there are no cocoa lumps hiding in the mixture. This step prevents streaks of unmixed cocoa in your final cookies.
- Beat sugar and oil until combined:
- Work them together in a large bowl—this mixture should look somewhat emulsified and slightly lighter in color. This is what gives you that chewy texture that makes people come back for seconds.
- Add eggs one at a time:
- Beat after each addition so they incorporate fully, which creates structure and richness. Rushing this step means uneven texture, so take the thirty extra seconds.
- Mix in vanilla extract:
- Just a quick stir to combine, and you'll notice the mixture starts smelling incredible.
- Combine wet and dry ingredients:
- Add the dry mixture gradually to the wet mixture, stirring until you have a thick, glossy dough with no streaks of flour visible. Don't overmix or these will come out cakey instead of chewy.
- Chill the dough:
- Cover and refrigerate for at least 2 hours until the dough is firm enough to handle without spreading everywhere. Overnight chilling is even better because it develops flavor.
- Preheat and prepare:
- Get your oven to 350°F and line two baking sheets with parchment paper so nothing sticks.
- Shape the dough:
- Scoop tablespoon-sized portions and roll them into smooth balls between your palms—they should feel firm but not hard. Rough texture now means cracks that aren't the pretty kind later.
- Coat generously in powdered sugar:
- Roll each ball until it's completely covered with a thick layer of powdered sugar, and don't be shy here because that's what creates the signature crackle. If the dough is cracking too much, pop it back in the fridge for ten minutes.
- Space them properly:
- Leave 2 inches between cookies on the baking sheets because they do spread slightly, and crowded cookies won't bake evenly.
- Bake until just set:
- Bake for 11-13 minutes, watching for the moment when the tops look cracked and set but the centers still jiggle slightly when you gently shake the pan. This is the difference between fudgy and dry, so don't overbake.
- Cool properly:
- Let them rest on the hot baking sheet for 5 minutes so they set slightly, then transfer to a wire rack for complete cooling. This prevents them from cracking apart when you move them.
 Save to Pinterest
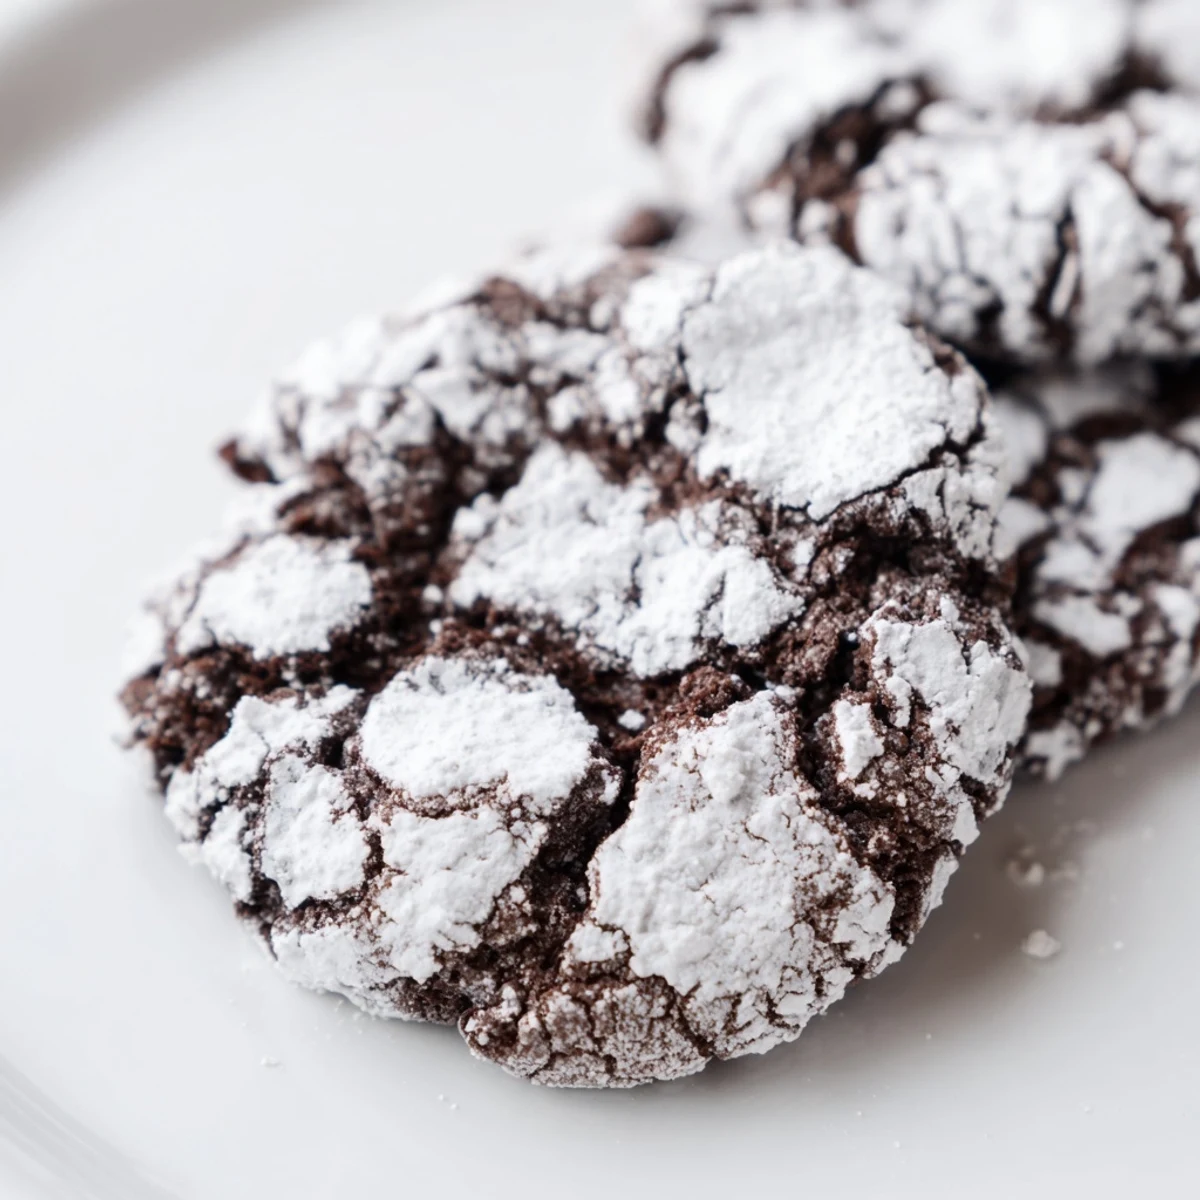
 These cookies taught me something about the value of simplicity in baking—no complicated techniques, no special equipment, just straightforward steps that respect what chocolate actually wants to be. They became the thing I made when words weren't enough, and somehow a warm cookie has never failed to help.
The Science of the Crinkle
The magic happens because the powdered sugar creates a barrier that stays relatively cool on the outside while the chocolate dough spreads and cracks beneath it, creating those signature fissures that look professional and taste incredible. The oil in the dough stays softer than butter would, which means the cookie continues to set even as it cools, deepening those cracks. Understanding this means you stop worrying about whether you're doing it right and start enjoying the process.
Making Them Your Own
These cookies are deliberately simple so you can experiment without losing what makes them special in the first place. A half-teaspoon of espresso powder in the dry ingredients amplifies the chocolate without making them taste like coffee, and it's a change I made after wanting something slightly more sophisticated for evening entertaining. You could also fold in chocolate chips for richness, or swap half the cocoa powder for finely ground dark chocolate if you're feeling ambitious.
Storage and Keeping
These cookies stay soft for days in an airtight container because the oil keeps them from drying out the way butter cookies do, which is genuinely one of the practical reasons to make them beyond just how good they taste. I've kept them for up to five days and they've never lasted that long because someone always sneaks one during coffee, and honestly that's the best compliment a cookie can get.
- Store them in an airtight container at room temperature away from direct light.
- They freeze beautifully for up to a month if you want to bake fresh cookies on short notice.
- If they ever do dry out slightly, pop them in the microwave for ten seconds to revive the chewiness.
 Save to Pinterest
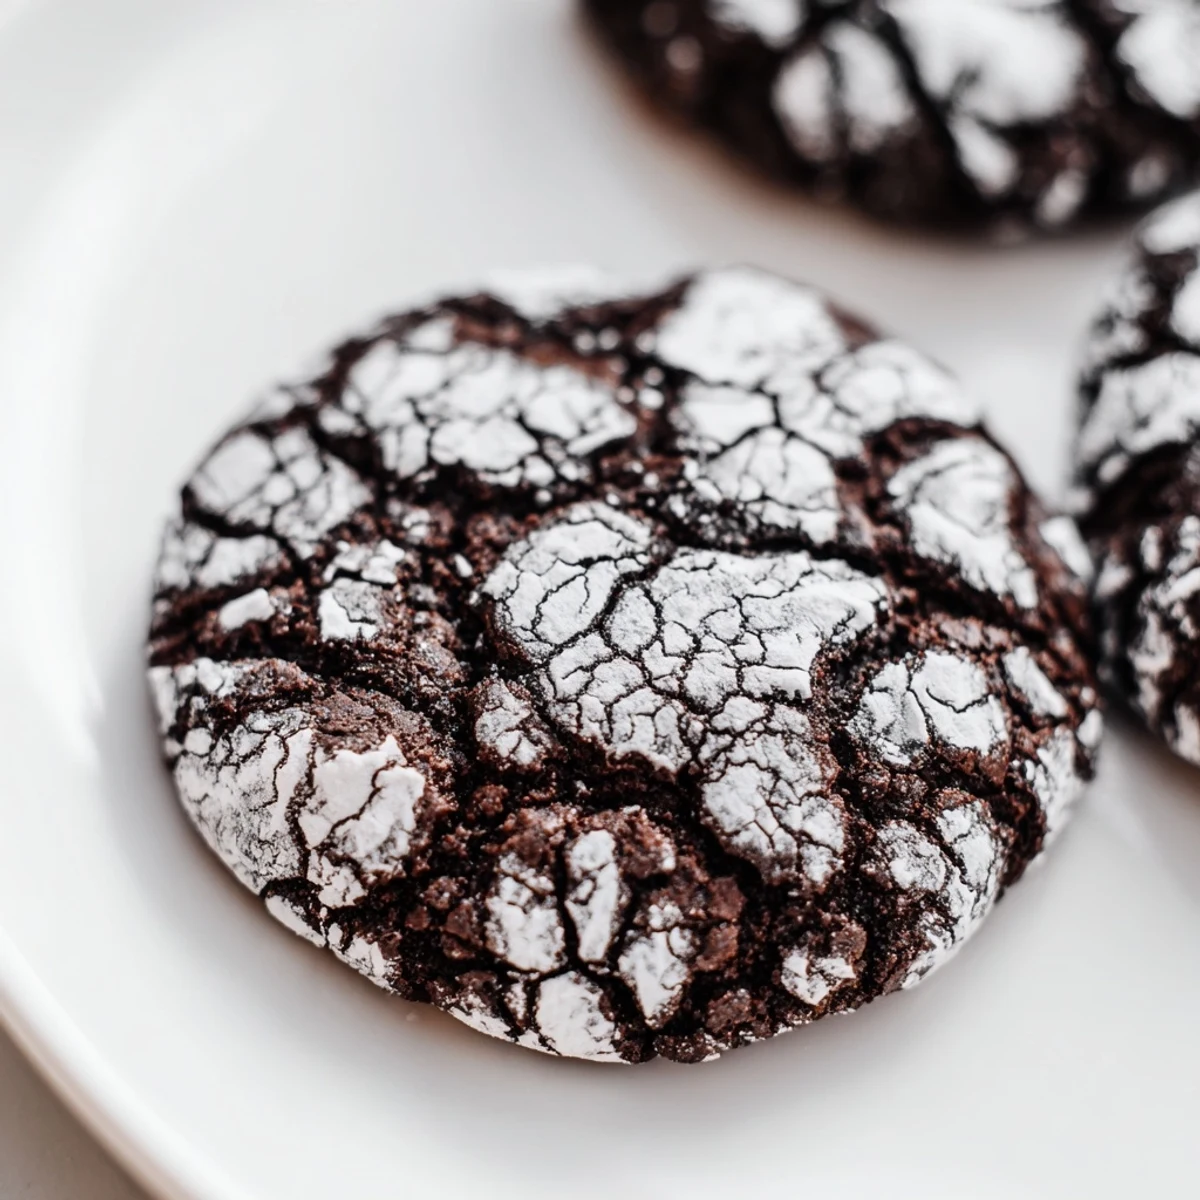
 These cookies remind me why I bake at all—they're not about impressing anyone, just about creating something warm and honest that people actually want to eat. They work for weeknight dinners, weekend entertaining, or the moment you need to turn a regular Tuesday into something a little sweeter.
Recipe Help & Support
- → What makes the cookies crackle?
-
Rolling the dough balls in powdered sugar before baking creates the classic crackled appearance as the dough expands.
- → Can I add extra chocolate chips?
-
Yes, mixing in chocolate chips enhances richness and adds texture without changing the baking process.
- → Why is chilling the dough important?
-
Chilling firms the dough, making it easier to handle and preventing spreading during baking for optimal shape.
- → What is the best way to store these cookies?
-
Keep them in an airtight container at room temperature for up to 5 days to retain freshness and softness.
- → Can these be made dairy-free?
-
Since this version uses vegetable oil and no butter, it is already dairy-free and suitable for those avoiding dairy.
