 Save to Pinterest
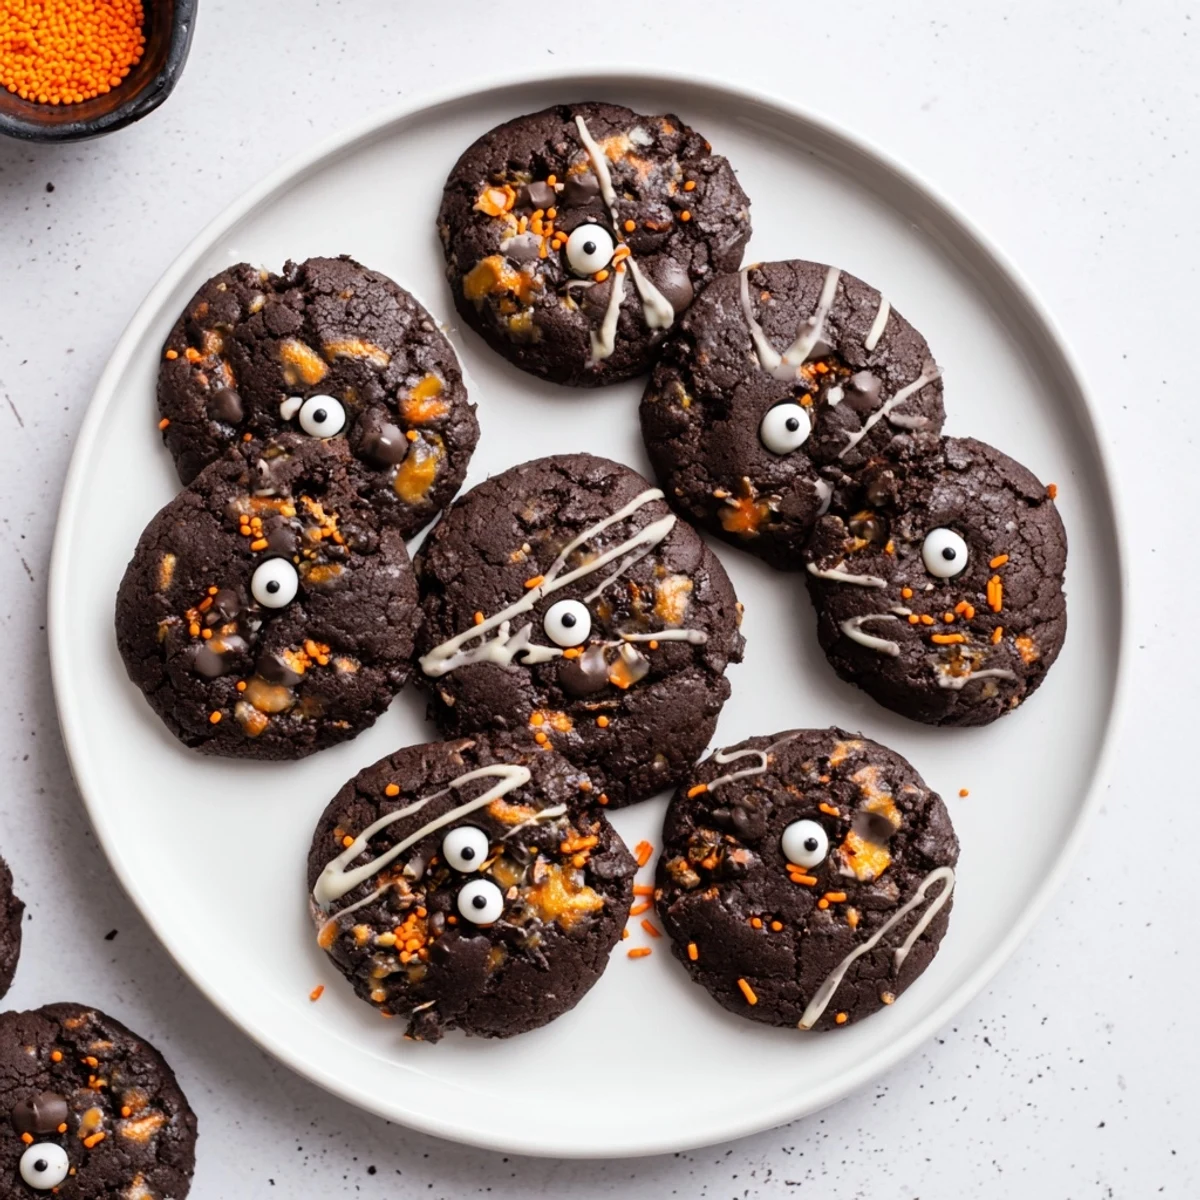
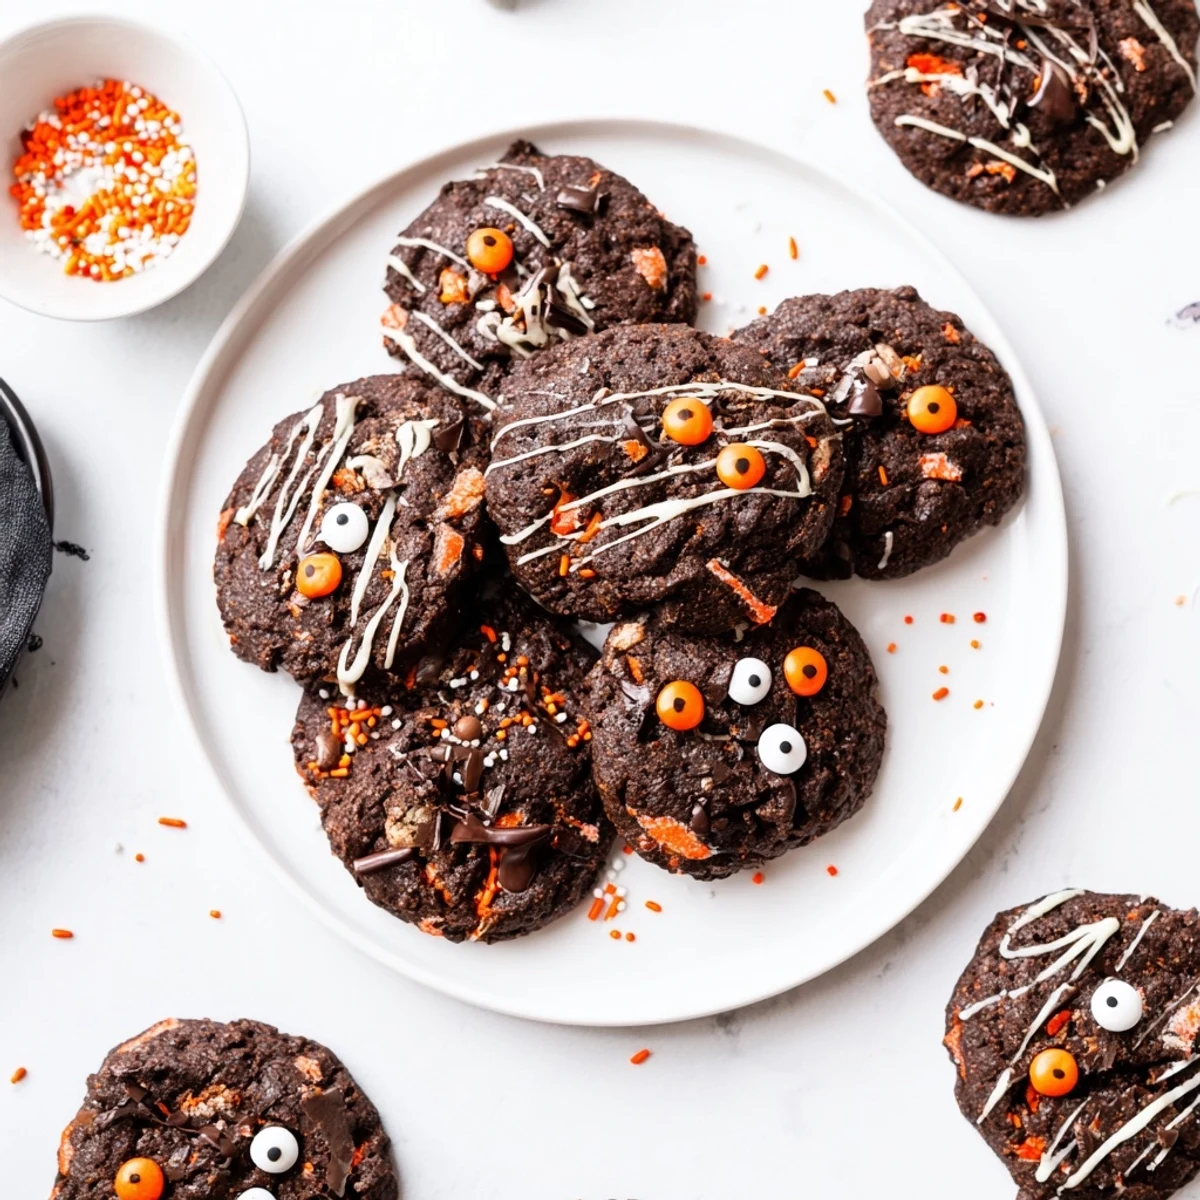
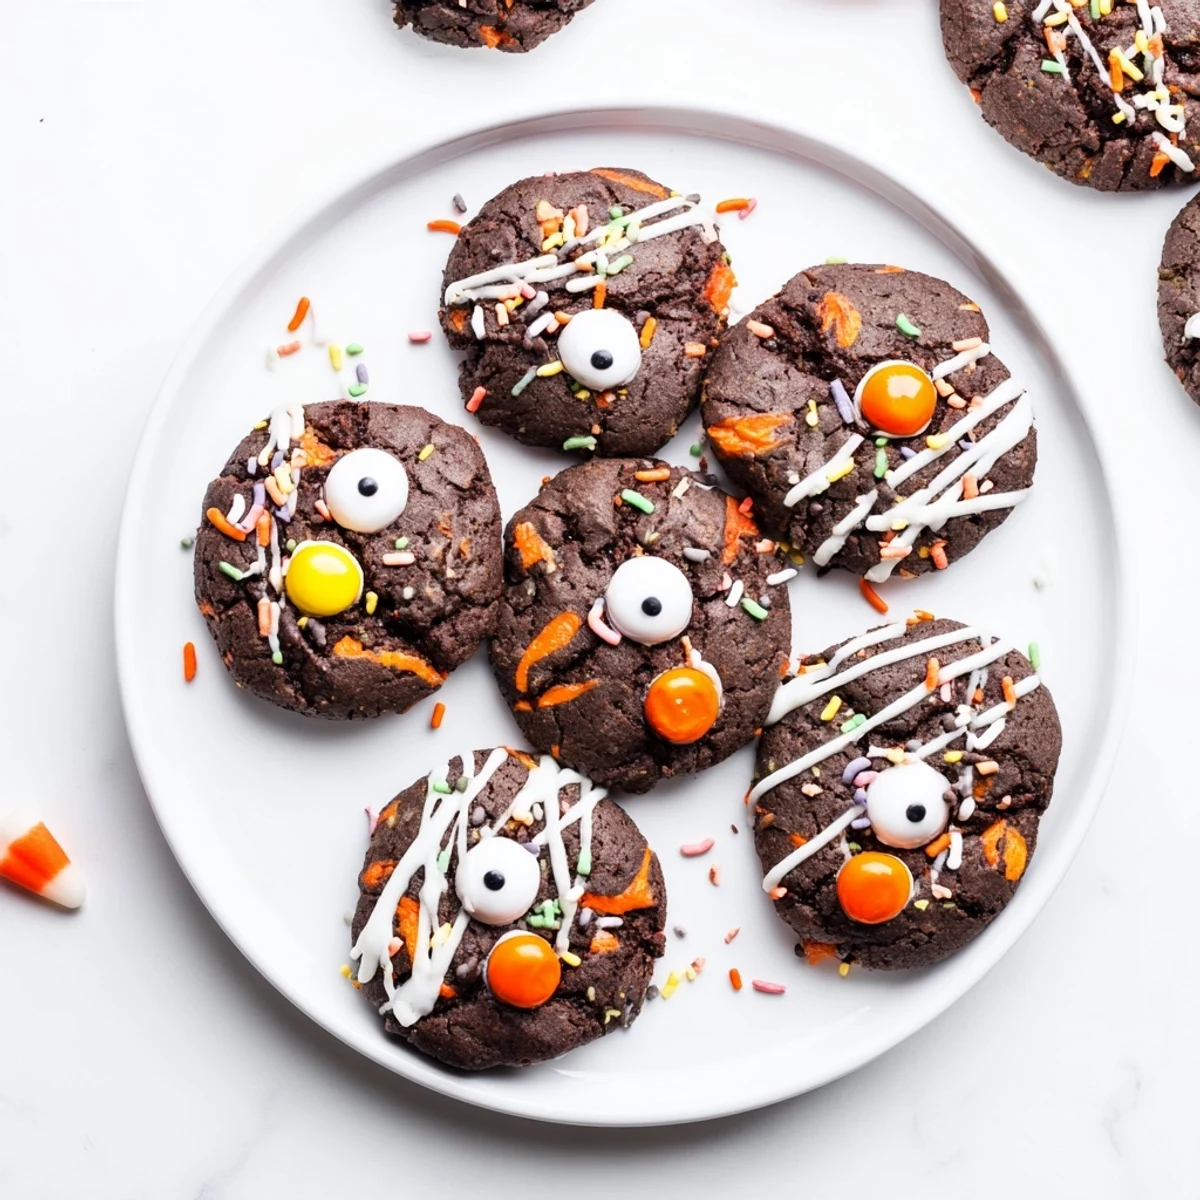
 These delightfully spooky treats combine rich chocolate with bright orange citrus notes, creating the perfect canvas for creative Halloween decorating. The soft, chewy cookies feature a deep chocolate base complemented by fresh orange zest and juice, while semisweet chocolate chips add extra depth. Kids will love transforming these simple treats into freaky faces using candy eyeballs, colorful sprinkles, and playful icing designs. Ready in under 40 minutes, these make excellent party treats or weekend baking projects.
The first time my niece helped me make these, she insisted every cookie needed three eyes because "monsters see better that way." Now I cannot imagine making them any other way. The orange zest hit me like sunshine when I opened the first orange, cutting through the October chill in my kitchen. We ended up with flour in our hair and chocolate on our noses, but the giggles made the mess worth it.
Last Halloween, I brought a plate to my neighbor's annual party and within fifteen minutes, every single cookie had vanished. Someone actually tracked me down to beg for the recipe. My daughter still talks about the cookie she decorated with a mustache made of chocolate melts. Now it is just not Halloween without them.
Ingredients
- 2 cups all purpose flour: The foundation that holds everything together, do not pack it down when measuring
- 1/2 cup unsweetened cocoa powder: Sift this if you see clumps, nobody wants dry cocoa pockets in their cookie
- 1 teaspoon baking soda: This gives the cookies just enough lift to stay soft instead of turning into hockey pucks
- 1/4 teaspoon salt: Crucial for balancing the sweet chocolate and bright orange flavors
- 3/4 cup unsalted butter softened: Room temperature butter blends beautifully, microwave it for 10 seconds if you forgot to take it out
- 1 cup granulated sugar: Creates those crisp edges everyone loves
- 1/2 cup light brown sugar packed: The secret to keeping centers chewy and tender
- 2 large eggs: Bring these to room temperature too, they incorporate way better
- 1 teaspoon vanilla extract: Do not skip this, it bridges the chocolate and orange flavors
- Zest of 2 large oranges: Use a microplane if you have one, avoid the bitter white pith underneath
- 2 tablespoons fresh orange juice: Adds moisture and a fresh citrus kick that makes these special
- 1 cup semisweet chocolate chips: These melt into puddles of chocolate throughout the cookie
- Candy eyeballs colored sprinkles or gel icing: This is where the magic happens, raid the Halloween baking aisle
- White and dark chocolate melts optional: Perfect for drawing mouths, scars, or extra creepy details
Instructions
- Preheat your oven:
- Set it to 350°F and line two baking sheets with parchment paper so nothing sticks
- Whisk the dry ingredients:
- In a medium bowl, combine flour, cocoa powder, baking soda, and salt until everything looks evenly mixed
- Cream the butter and sugars:
- Beat the butter, granulated sugar, and brown sugar until the mixture looks pale and fluffy, about 2 minutes
- Add the wet ingredients:
- Beat in eggs one at a time, then stir in vanilla, orange zest, and orange juice until combined
- Combine everything:
- Gradually mix in the dry ingredients just until you no longer see white streaks, do not overmix
- Fold in the chocolate chips:
- Gently stir them in by hand so every bite gets chocolatey goodness
- Scoop the dough:
- Drop tablespoon sized balls onto your prepared sheets, leaving about 2 inches between each cookie
- Bake until set:
- Bake for 10 to 12 minutes until edges look firm but centers still feel soft to the touch
- Cool completely:
- Let them sit on the baking sheet for 5 minutes before moving them to a wire rack
- Decorate your faces:
- Once cool, go wild with candy eyeballs, sprinkles, and melted chocolate to create spooky expressions
 Save to Pinterest
 My daughter asked if we could make them for her class party and I ended up teaching twelve second graders how to make scary faces. The teacher sent me a photo of all the kids holding up their creations, each cookie weirder than the last. Now those cookies show up in my camera roll every October.
Making Orange Zest Work For You
Grating the zest before you squeeze the juice saves so much time and frustration. I learned this after trying to zest a juiced orange and ending up with mostly bitter pith. The zest carries all the essential oils, which is where that bright orange flavor really lives.
Decorating Without Stress
Set up little bowls of decorations and let everyone go to town. Some of my favorite faces came from kids who just started sticking things on cookies without overthinking it. The asymmetrical ones often turn out the funniest.
Storage And Make Ahead Tips
The dough balls freeze beautifully for up to a month, which means you can bake fresh cookies the day of your party. I like to scoop the whole batch onto a parchment lined tray, freeze them solid, then transfer to a bag.
- Bake frozen dough balls for 1 to 2 minutes longer than the recipe states
- Undecorated cookies stay fresh in an airtight container for up to 4 days
- Decorated cookies are best eaten within 2 days when the candy still crunches
 Save to Pinterest
 These cookies have become the thing my friends actually ask for every October now. There is something joyful about food that lets you be a little messy and creative.
Recipe Help & Support
- → What makes these cookies chocolate orange flavored?
-
The combination of unsweetened cocoa powder in the dough plus fresh orange zest and juice creates a balanced chocolate-citrus profile. Semisweet chocolate chips add extra richness while the orange provides bright, fruity notes that cut through the chocolate intensity.
- → Can I make the dough ahead of time?
-
Absolutely! Scoop the dough into balls and refrigerate for up to 48 hours before baking. You can also freeze the dough balls for up to 3 months. Just add 1-2 extra minutes to the baking time if baking from frozen.
- → What decorations work best for spooky faces?
-
Candy eyeballs are the easiest option for instant spooky faces. Colored sprinkles, gel icing, melted white and dark chocolate piping, and even small candy pieces work wonderfully for creating unique expressions and details.
- → How do I know when the cookies are done?
-
The edges should look set and slightly firm while the centers still appear soft. They'll continue cooking on the hot baking sheet during those 5 minutes of cooling time. Overbaking will make them crunchy instead of chewy.
- → Can I make these without fresh oranges?
-
While fresh zest provides the brightest flavor, you can substitute 1/2 teaspoon orange extract. For the juice, use equal parts fresh lemon or lime juice, though the flavor profile will shift slightly. Bottled orange juice works in a pinch but tastes less vibrant.
- → What's the best way to store decorated cookies?
-
Once fully decorated, store in an airtight container at room temperature for up to 4 days. Place parchment paper between layers if stacking to prevent smudging. Avoid refrigerating as it can make the chocolate decorations bloom and the cookies stale faster.
