 Save to Pinterest
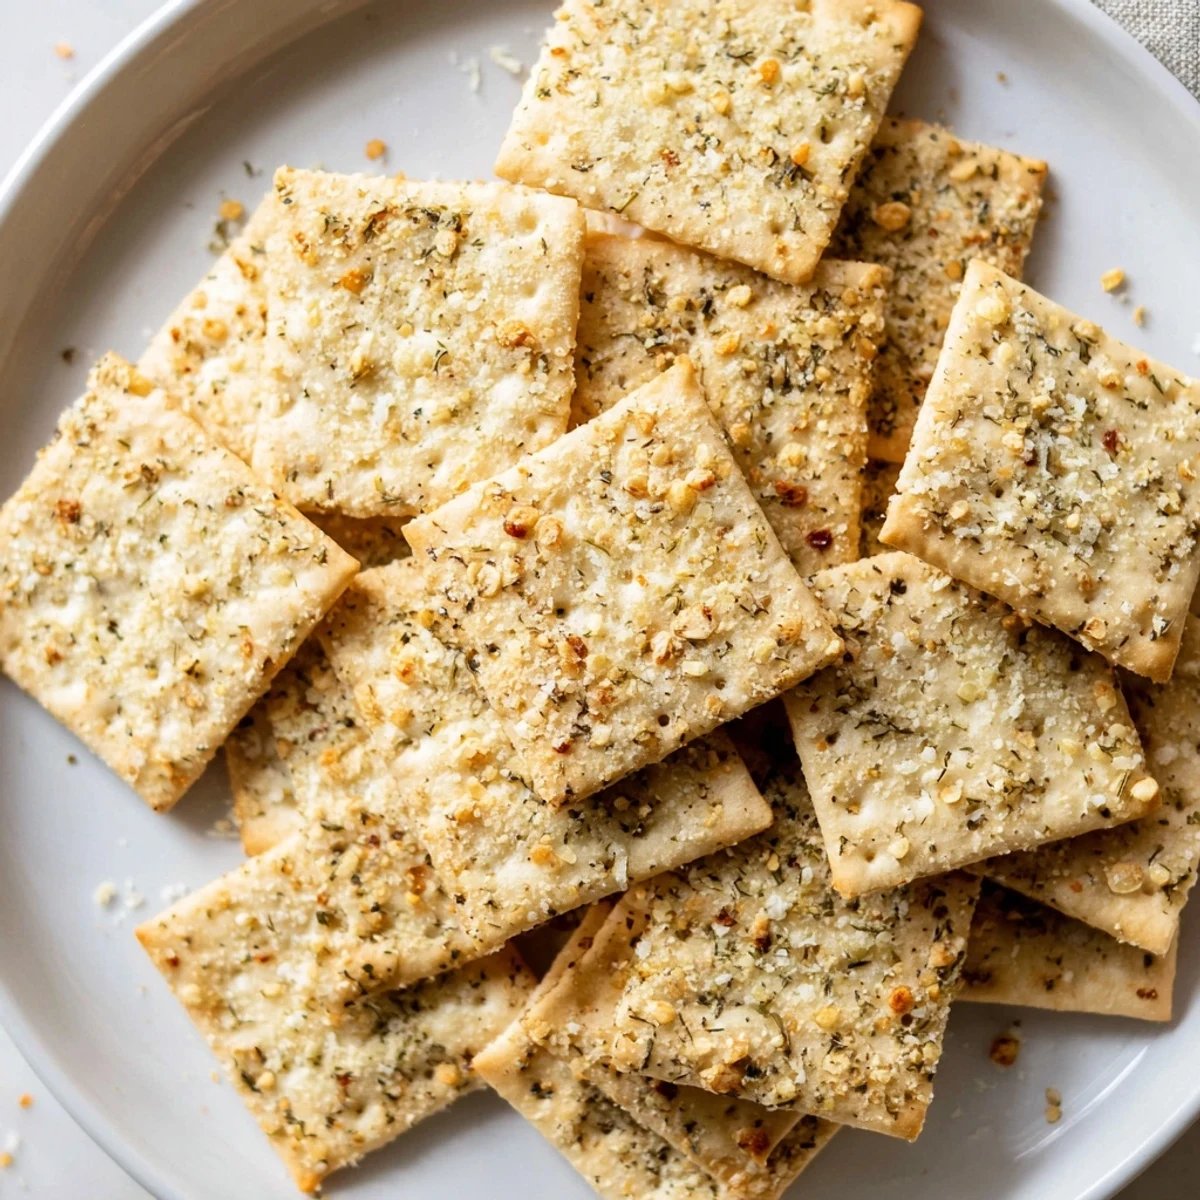
 These addictive saltine crackers get a flavor boost from a tangy dill pickle butter coating. The combination of pickle juice, dried dill, garlic powder, and onion powder creates a savory seasoning that perfectly complements the neutral crunch of saltines.
Simply whisk melted butter with pickle juice and spices, brush over the crackers, and bake until crisp. The result is an irresistible snack that's perfect for parties, picnics, or casual munching at home.
Ready in just 25 minutes with minimal prep, these make an excellent last-minute appetizer or game day treat. The vegetarian-friendly coating can be customized with parmesan cheese or extra heat from red pepper flakes.
The smell of dill and garlic hit me before I even walked into my friend Sarah's apartment door. She'd set out a bowl of these golden crackers on her coffee table, and somehow the entire living room smelled like a really good deli counter. I ate seven before asking what they were, mostly because I couldn't believe something from a saltine box could taste this intentional.
My brother texted me at midnight last week asking for the recipe because his wife kept stealing them from the serving bowl during their movie night. I've started making double batches because the first batch disappears before it even cools completely.
Ingredients
- Saltine crackers: One sleeve is about 40 crackers, and honestly the plain ones work better than the fancy ones because they soak up the butter mixture more evenly
- Unsalted butter: Melt it completely so it mixes into the pickle juice without separating, and dont use salted butter since the crackers are already salty enough
- Dill pickle juice: The brine is where all the flavor lives, so use the good stuff from a jar you actually like eating
- Dried dill weed: Fresh dill works too if you have it, but dried actually distributes better across all those cracker surfaces
- Garlic powder: Not fresh garlic here, the powder adheres to the butter coating way better and wont burn in the oven
- Onion powder: Just enough to add depth without making these taste like onion rings
- Crushed red pepper flakes: Totally optional, but I like the little warmth that kicks in after you've eaten a handful
- Kosher salt: You might not even need this depending on your pickle juice, so taste the mixture first
Instructions
- Get your oven ready:
- Preheat to 300°F and line a baking sheet with parchment paper because the butter mixture can get a little messy and nobody wants to scrub baked-on seasoning off their nice pans.
- Arrange the crackers:
- Spread them out in a single layer, and dont worry about perfect spacing, just make sure theyre not overlapping so they bake evenly.
- Make the coating:
- Whisk the melted butter, pickle juice, dill, garlic powder, onion powder, red pepper flakes, and salt until its completely combined and smells like your favorite sandwich shop.
- Coat the crackers:
- Use a pastry brush to generously brush the mixture over each cracker, or just spoon it over them if you dont have a brush, but make sure every cracker gets some love.
- Bake until golden:
- Pop them in for 12 to 15 minutes until theyre crispy and the topping looks set, keeping an eye on them after 10 minutes because ovens vary and butter can go from golden to burnt fast.
- Let them cool completely:
- This is the hardest part because they smell amazing, but they need to cool down to get that proper crunch or they'll be a little soft in the middle.
 Save to Pinterest
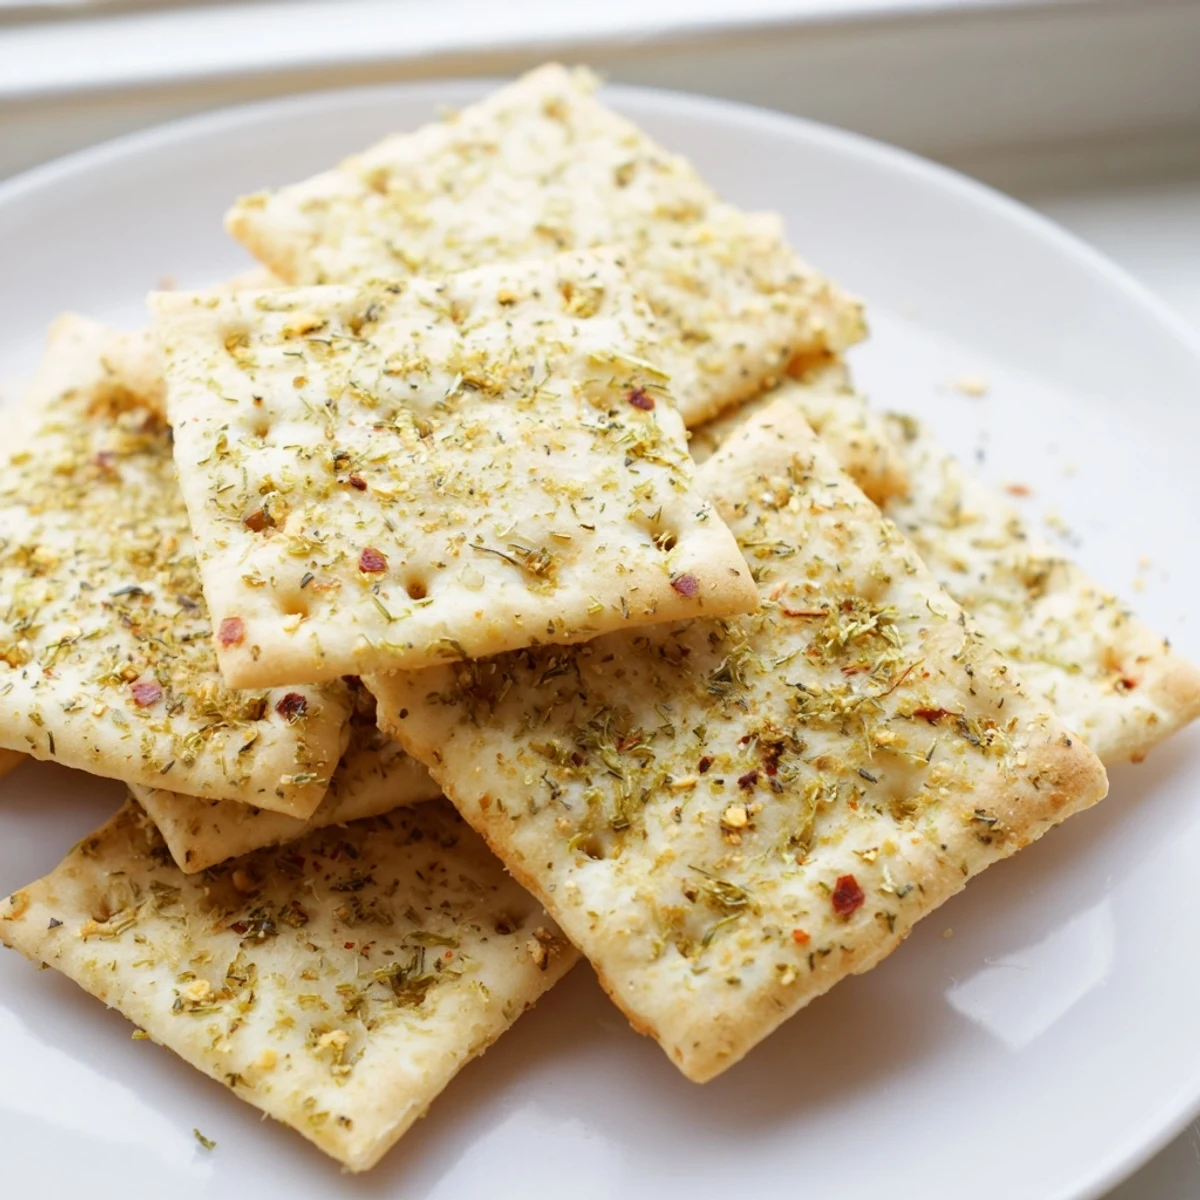
 Last summer I made these for a backyard barbecue and my neighbor's kid asked if I could make them for his birthday party instead of cake. His mom told me later he's not a big fan of vegetables, which I found hilarious given the amount of dill involved.
Serving Suggestions
Cold beer is the obvious pairing here, but I've also served these alongside cheese boards where they ended up being the star. They're salty enough to stand up to mild cheeses but not so aggressive that they overpower delicate fresh mozzarella or soft goat cheese.
Make Them Your Own
Sometimes I'll add a tablespoon of everything bagel seasoning to the butter mixture for extra crunch and flavor. A little grated parmesan sprinkled over the tops before baking creates this incredible salty, savory crust that people will try to identify.
Storage And Make Ahead
The butter mixture can be made a day ahead and kept in the fridge, just bring it to room temperature and give it a good whisk before brushing onto the crackers. Once baked, store them in an airtight container with a piece of bread to help maintain that perfect crunch.
- If they lose their crunch after a day or two, a quick 5 minute toast in the oven brings them back to life
- These freeze surprisingly well if you want to make a huge batch for unexpected guests
- The seasoning ratio works on other salty crackers too, I've tried it on those everything pretzel crackers with great results
 Save to Pinterest
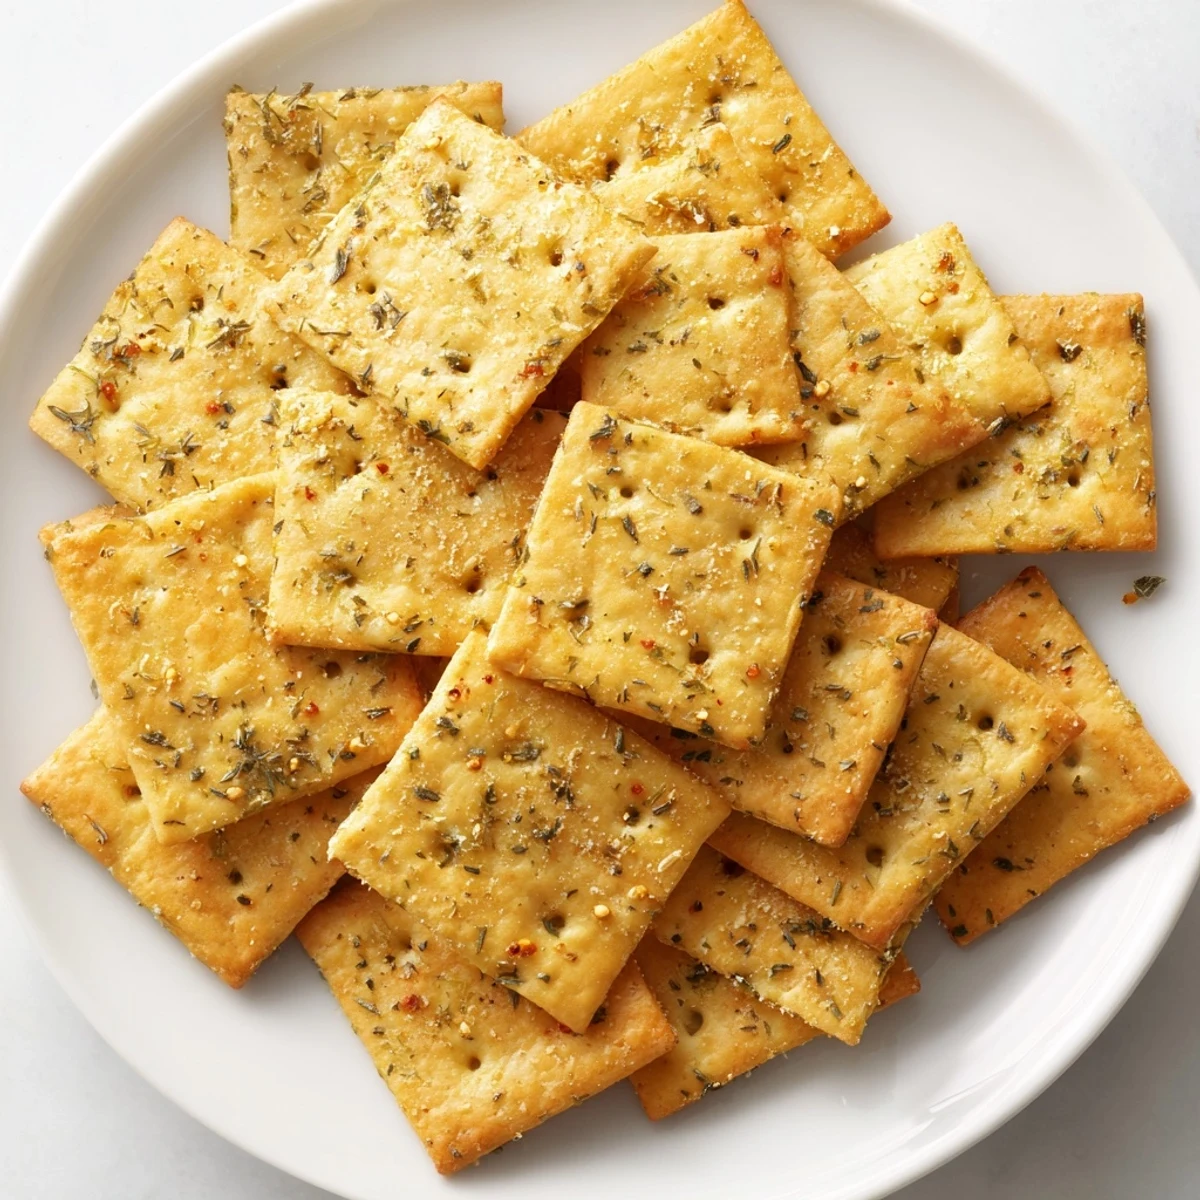
 I keep a sleeve of saltines in the pantry now just for when the craving hits. It's become my go-to for those moments when friends text they're coming over in 20 minutes and I have absolutely nothing prepared.
Recipe Help & Support
- → How should I store these seasoned crackers?
-
Keep your dill pickle saltines fresh by storing them in an airtight container at room temperature. They'll maintain their crunch and flavor for up to 3 days. Avoid refrigeration as it can make the crackers lose their crisp texture.
- → Can I make these gluten-free?
-
Yes, simply substitute the traditional saltine crackers with your favorite gluten-free crackers. The coating mixture itself is naturally gluten-free. The flavor and texture will still be delicious with a good quality gluten-free cracker alternative.
- → What can I serve with dill pickle saltines?
-
These tangy crackers pair wonderfully with cold beer, sparkling water, or light white wine. They're also excellent alongside cheese plates, dips like ranch or hummus, or as a crunchy topping for soups and chowders.
- → Can I reduce the sodium content?
-
You can decrease the salt in the coating or omit it entirely since both saltines and pickle juice contain sodium. Using unsalted butter instead of salted also helps control the overall saltiness while maintaining great flavor.
- → How far ahead can I make these?
-
These crackers are best enjoyed fresh but can be made up to 3 days in advance. Store in an airtight container and they'll stay perfectly crisp. If they soften slightly, a quick 5-minute toast in the oven will restore their crunch.
- → Can I use fresh dill instead of dried?
-
Absolutely! Fresh dill works beautifully and provides a brighter, more vibrant flavor. Use about 2 tablespoons of chopped fresh dill in place of 1 tablespoon dried. Fresh herbs can be added right before baking for the best aroma.
