 Save to Pinterest
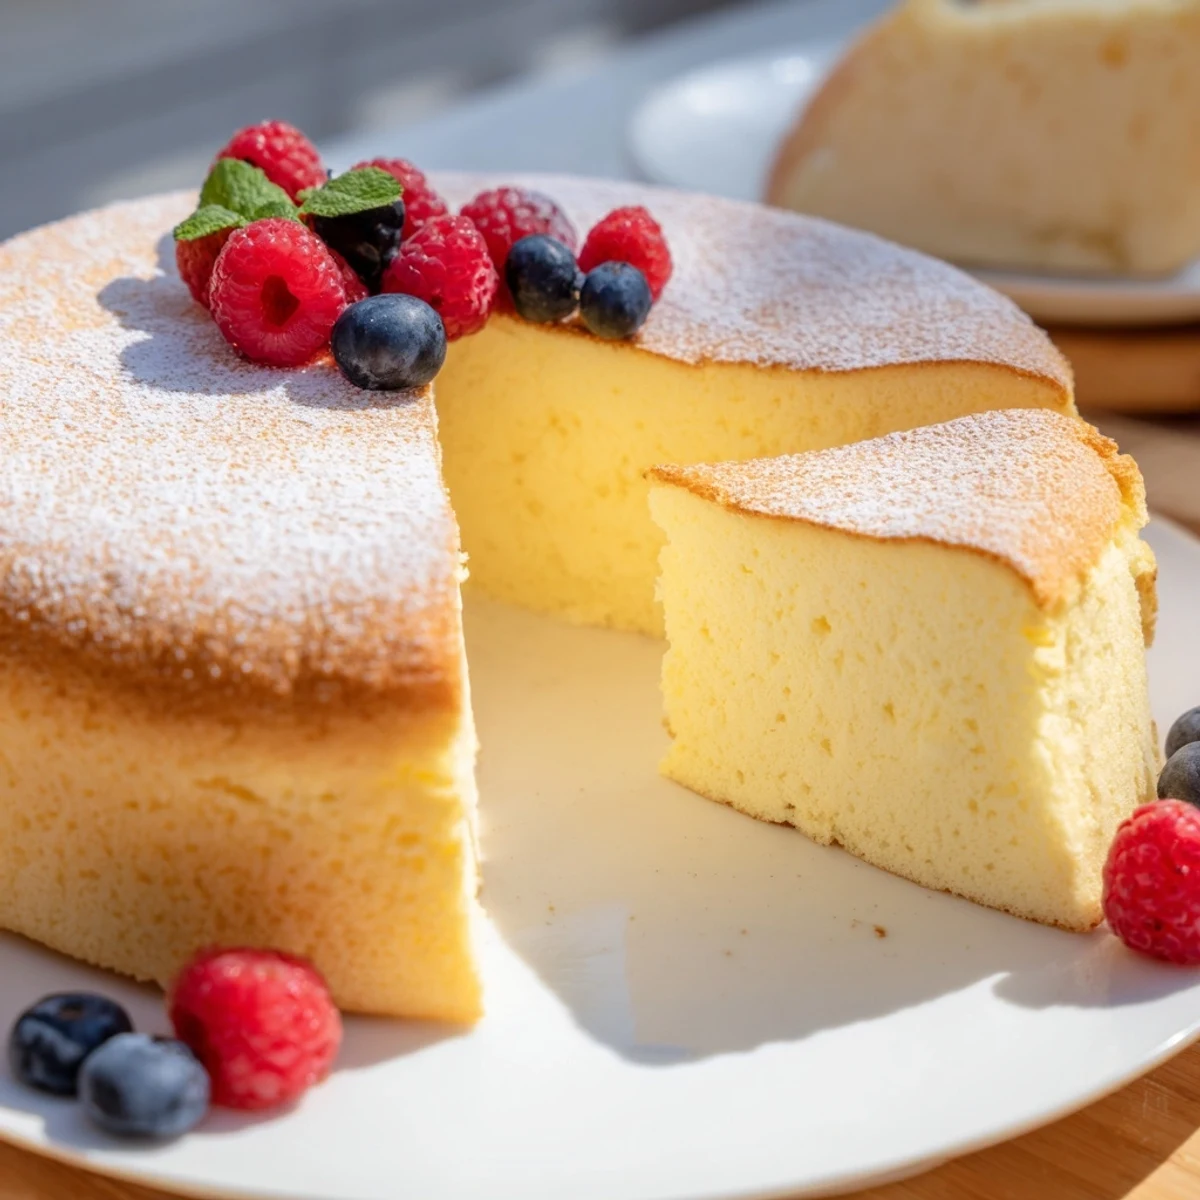
 This delicate Japanese-style cheesecake achieves its signature cloudlike texture through a water bath baking method and carefully folded meringue. The result is a light, soufflé-like dessert that's less sweet than traditional Western cheesecakes while remaining incredibly satisfying.
The key lies in properly beaten egg whites incorporated gently into a smooth cream cheese base. Baking in a water bath ensures even cooking and prevents cracking, while the gradual cooling technique helps maintain that fluffy structure.
Perfect for those who prefer desserts that aren't overly sweet, this cheesecake pairs beautifully with fresh berries or a light dusting of powdered sugar.
The first time I saw a Japanese cheesecake, I thought someone had accidentally left a regular cheesecake in the oven too long and it had somehow collapsed into something beautiful. I was visiting a friend in Tokyo and she served this wobbly, golden soufflé of a cake that defied everything I knew about dense New York style cheesecakes. One bite and I was obsessed with how something so airy could still have that rich creamy satisfaction we all crave from dessert. It took me three attempts to get it right at home, and now my family requests it for every special occasion.
I made this for my mothers birthday last year instead of her usual rich chocolate cake, and the whole family was skeptical about this jiggly foreign dessert. When I sliced into it and it wobbled like jelly on the plate, my father actually asked if it was undercooked. But then they tasted it and suddenly there was silence in the room followed immediately by requests for seconds. Now my mother claims shes never going back to regular cheesecake again, and honestly, neither am I.
Ingredients
- Cream Cheese: Use full fat and let it come to room temperature completely, otherwise youll end up with tiny lumps in your batter that no amount of whisking can fix
- Unsalted Butter: Room temperature butter blends seamlessly with the cream cheese mixture for that smooth velvety base
- Whole Milk: The milk fat contributes to the luxurious mouthfeel, so avoid low fat versions here
- Cake Flour: This is nonnegotiable for the delicate texture, allpurpose flour will make your cheesecake dense and chewy
- Cornstarch: Works with the cake flour to create that signature featherlight structure
- Granulated Sugar: Divided use helps stabilize the egg whites while still sweetening the batter properly
- Eggs: Room temperature eggs separate more easily and whip up better for that crucial meringue
- Lemon Juice: Cuts through the richness just enough so every bite feels light and fresh
- Vanilla Extract: Pure vanilla adds that comforting background warmth we all love in baked goods
- Lemon Zest: Optional but highly recommended for those bright fragrant notes that make each slice memorable
Instructions
- Prep Your Pan Like a Pro:
- Pan preparation is everything here because this delicate cake needs all the help it can get to release cleanly later.
- Melt the Base Together:
- That gentle double boiler method ensures everything blends into silkiness without scrambling any eggs or creating grainy textures.
- Whisk in the Dry Goods:
- Sifting first prevents any stubborn flour lumps from ruining your smooth batter, and whisking thoroughly now saves so much headache later.
- Add the Yolks and Flavor:
- The egg yolks act as emulsifiers while the lemon and vanilla transform this from simple cheese mixture into something dessert worthy.
- Create Perfect Meringue:
- Watch carefully as you beat those whites, because those glossy stiff peaks are literally what holds your entire cake structure together.
- Fold With Gentle Confidence:
- This folding step terrified me at first, but slow deliberate strokes with your spatula will incorporate everything without destroying all your hard work.
- Settle the Batter:
- Those gentle taps release hidden air bubbles that could create unsightly tunnels or craters in your finished masterpiece.
- Create the Water Bath:
- Hot water halfway up the pan creates the gentle humid environment this temperamental cake needs to bake evenly without cracking.
- Bake Until Perfectly Set:
- Your patience here is rewarded with that gorgeous golden top and that characteristic jiggly center that firms up as it cools.
- The Cooling Window:
- Leaving the door slightly cracked lets the temperature drop gradually, which is your secret weapon against those heartbreaking cracks.
 Save to Pinterest
 My daughter helped me make this for Easter last year and was absolutely mesmerized watching the cake transform from liquid batter to this towering golden soufflé in the oven. She said it looked like magic and honestly, the way it rises and then settles into that perfect wobbly dome does feel pretty magical. Now she asks to help every single time, claiming shes the only one who knows the secret folding technique.
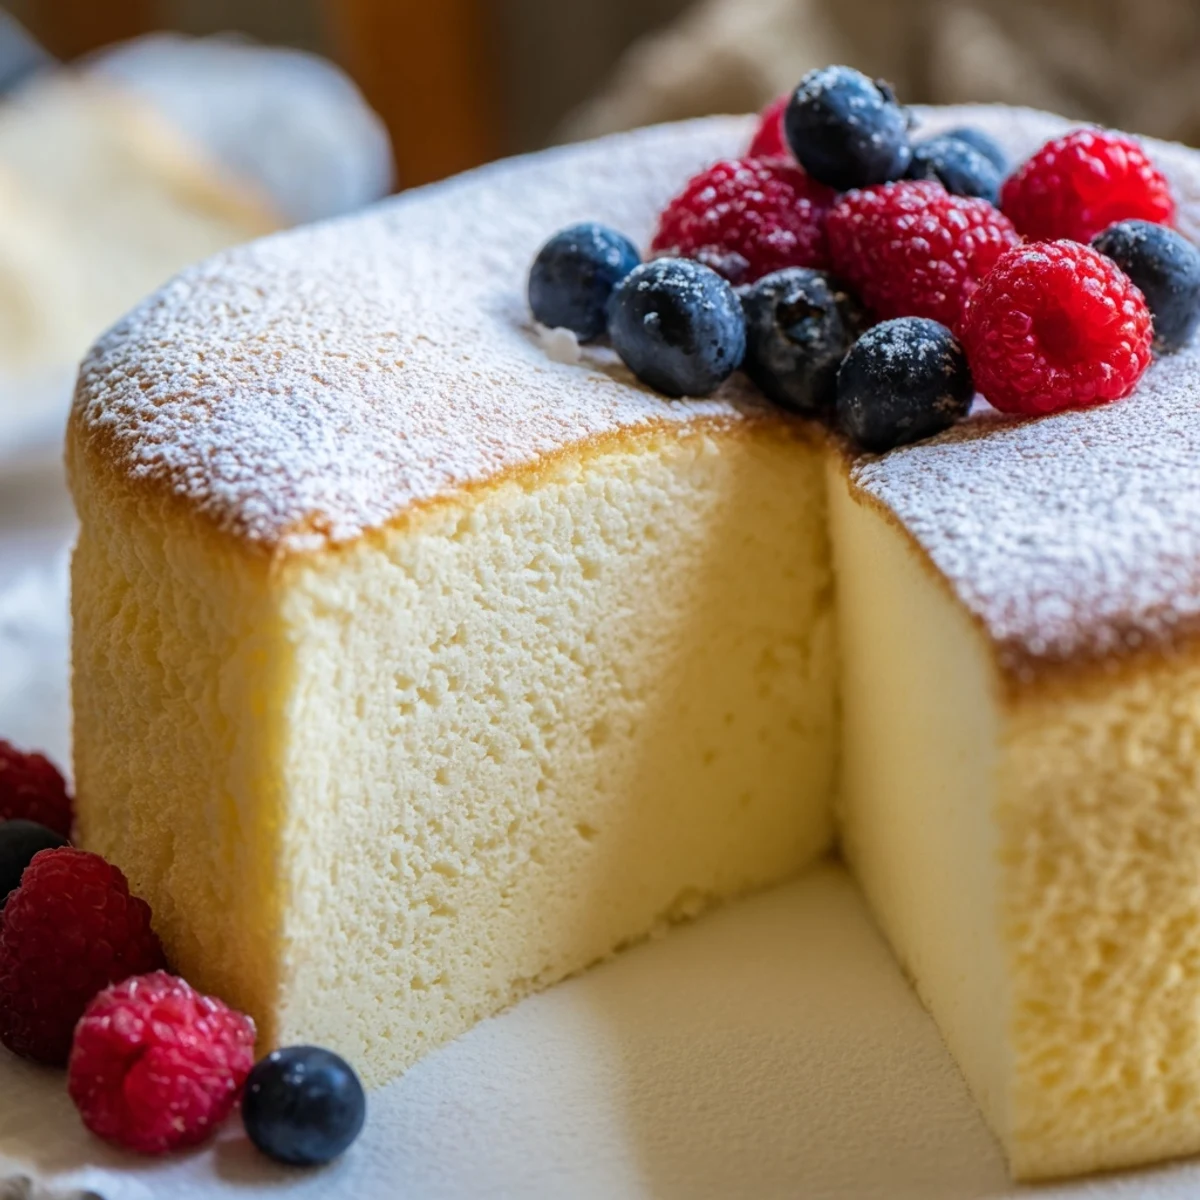
Getting That Signature Wobble
The wobble is what makes this cake so distinctive and intimidating, but I promise it is supposed to be jiggly when it comes out of the oven. Think of it like a custard where the center continues cooking as it cools, so removing it while it still has some movement in the middle is actually correct technique. Ive learned to trust the toothpick test more than my eyes, because this cake will set up beautifully during that crucial cooling period.
Mastering the Water Bath
The water bath seemed like so much extra work when I first started making this cake, but I quickly learned it is absolutely nonnegotiable for that crackfree top and creamy texture. I once tried skipping it to save time and ended up with a sad cracked cake that still tasted good but looked nothing like the photos. Now I embrace the ritual of carefully pouring that hot water and treating my cake pan like its precious cargo.
Serving and Storage Secrets
This cheesecake is actually best served slightly chilled rather than ice cold, so I pull mine from the fridge about twenty minutes before serving. The texture becomes impossibly silky at room temperature and all those subtle lemon notes really come alive.
- Use a hot knife dipped in water for perfectly clean slices that show off the delicate crumb
- Store any leftovers in an airtight container and eat within three days for the best texture
- This cake does not freeze well, so plan to enjoy it all fresh within a few days of baking
 Save to Pinterest
 Every time I serve this cake, someone asks for the recipe, and I always warn them it requires patience but promise it is worth every minute of effort. There is something so satisfying about slicing into that cloudlike cake and watching everyone marvel at how something so light can taste so rich.
Recipe Help & Support
- → What makes Japanese cheesecake different from regular cheesecake?
-
Japanese cheesecake incorporates whipped egg whites into the batter, creating a soufflé-like texture that's much lighter and fluffier than traditional dense cheesecakes. It's also less sweet, allowing the subtle dairy and citrus flavors to shine through.
- → Why is a water bath necessary?
-
The water bath (bain-marie) provides gentle, moist heat that prevents the cheesecake from cracking while ensuring even cooking. This gentle baking method is essential for achieving that signature cloudlike texture.
- → Can I substitute cake flour with all-purpose flour?
-
Cake flour is crucial for the light, delicate texture. All-purpose flour has higher protein content and will result in a denser, heavier final product. If you must substitute, consider removing 2 tablespoons of all-purpose flour per cup and adding cornstarch.
- → How do I know when the cheesecake is done?
-
The cheesecake is ready when it's golden, set around the edges, and slightly jiggly in the center like gelatin. A skewer inserted into the center should come out clean or with just a few moist crumbs.
- → Why did my cheesecake crack?
-
Cracking typically occurs from overbaking, rapid temperature changes, or overmixing the batter which deflates the air pockets. Always cool gradually in the oven with the door ajar, and handle the folded meringue gently to maintain those air bubbles.
- → How should I store the cheesecake?
-
Refrigerate the cooled cheesecake for at least 2 hours before serving to set the texture properly. Store covered in the refrigerator for up to 3 days. Bring to room temperature for 15-20 minutes before serving for the best texture.
