 Save to Pinterest
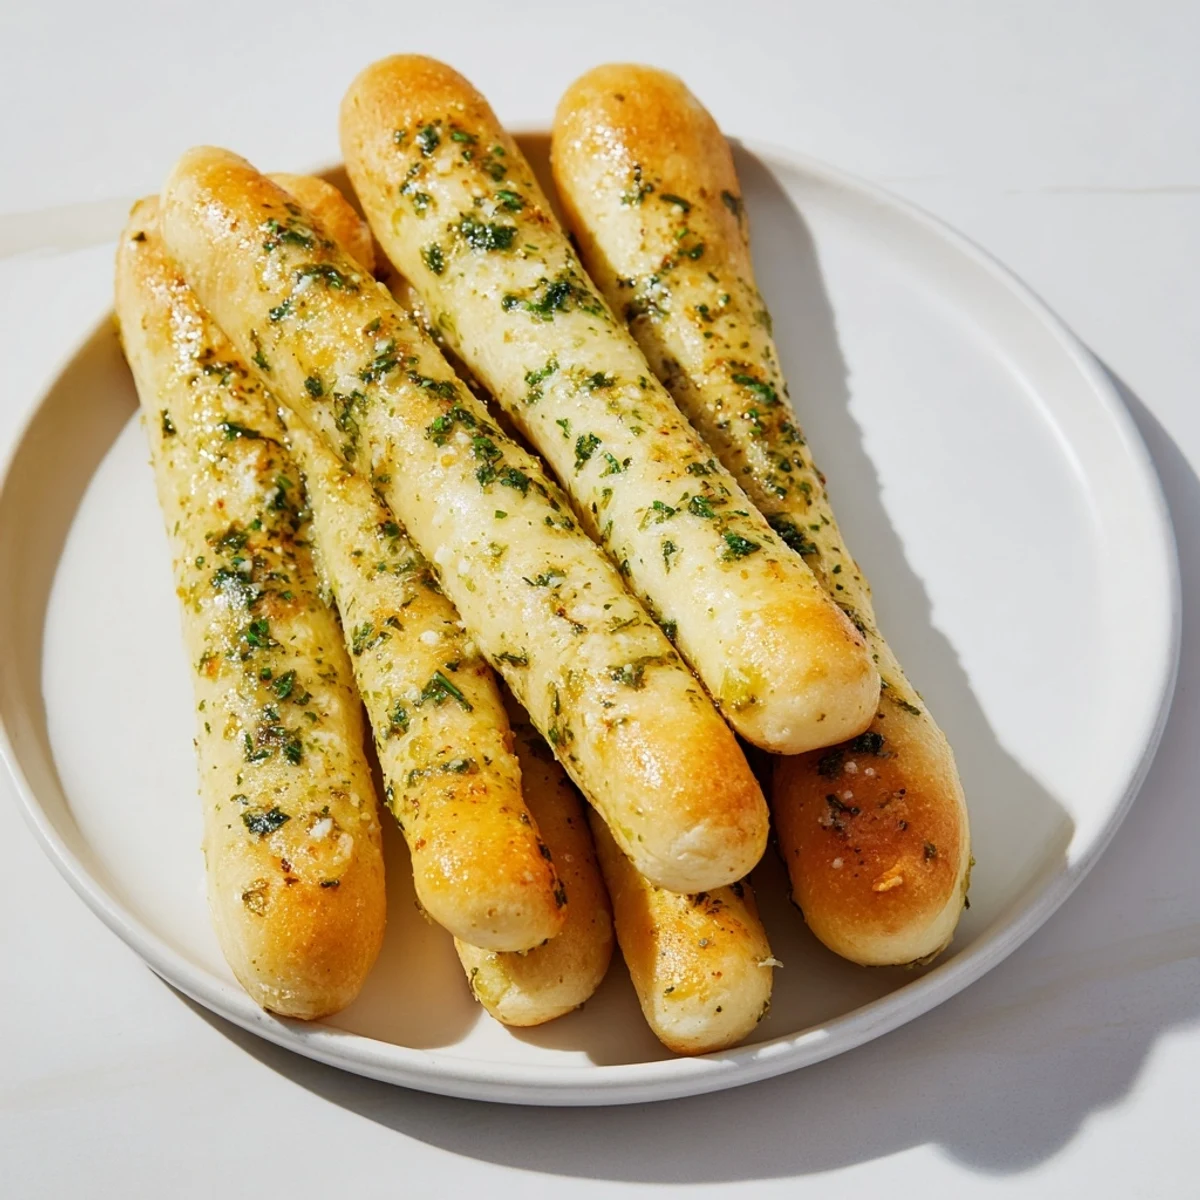
 These breadsticks are soft and fluffy, enhanced by a flavorful blend of garlic and fresh herbs. The dough, made with active yeast and melted butter, rises to perfection before being brushed with a savory garlic-herb butter. Baking yields golden brown sticks that pair wonderfully with pasta dishes or marinara sauce. Simple to prepare and sure to delight, they make an excellent side or snack with a hint of Italian flair.
I'll never forget the first time I made garlic herb breadsticks from scratch in my tiny apartment kitchen. My roommate came home to find the entire place filled with the most incredible aroma of warm bread and roasted garlic, and before I could even finish brushing them with that golden herb butter, she had already grabbed one off the cooling rack. That moment taught me that the simplest recipes often create the most memorable experiences, and these breadsticks have been my go-to ever since whenever I want to impress without stress.
I remember bringing a batch of these to a potluck where everyone was supposed to bring something fancy, and I nervously showed up with breadsticks. By the end of the night, they were completely gone and three people asked for the recipe. That's when I realized these humble breadsticks had become my secret weapon for any gathering.
Ingredients
- Active dry yeast (2 1/4 teaspoons): This is your magic ingredient that makes the dough rise into those pillowy breadsticks. Make sure it's fresh and stored in a cool place, because old yeast won't give you that beautiful rise you're after.
- Warm water (1 cup at 110°F): Temperature matters here more than you'd think. Too hot and you'll kill the yeast, too cold and nothing happens. I learned to use my instant-read thermometer to get it just right.
- Granulated sugar (2 tablespoons): This feeds the yeast and helps it activate, plus it adds just a touch of gentle sweetness that balances the garlic beautifully.
- All-purpose flour (3 cups): The foundation of everything. I always measure by weight if I have a scale, but spooning and leveling works just fine too.
- Salt (1 1/2 teaspoons for dough): This strengthens the gluten and deepens the flavor. Don't skip it even though it seems like a small amount.
- Unsalted butter, melted (2 tablespoons for dough, 4 tablespoons for herb mixture): I use unsalted so I can control the salt level myself, and melting it first makes it easier to distribute through the dough.
- Garlic, minced (2 cloves): Mince it fresh right before mixing the herb butter so it stays vibrant and pungent. This is where the magic really happens.
- Fresh parsley, finely chopped (2 tablespoons): Fresh herbs make all the difference. Dried parsley would work in a pinch, but fresh brings this bright, clean flavor that makes people say 'wow.'
- Dried oregano and basil (1 teaspoon and 1/2 teaspoon): These dried herbs have had time to concentrate their flavors, so they pack a punch. Crush them gently between your fingers as you sprinkle them to release their oils.
Instructions
- Activate Your Yeast:
- Pour that warm water into your bowl and sprinkle the yeast with the sugar over the top. You'll see it start to foam and bubble within a minute or two, which is exactly what you want to see. This tells you your yeast is alive and ready to work its magic.
- Build the Dough:
- Mix in your flour, salt, and melted butter until everything comes together into a shaggy mass. Don't worry if it looks a little rough at this stage.
- Knead into Silkiness:
- Turn it out onto a lightly floured surface and knead for 5 to 7 minutes. You'll feel the dough gradually become smoother and more elastic under your hands. This is the meditative part where the gluten develops and everything comes together.
- Let It Rise:
- Place your dough in a greased bowl, cover it with a clean towel, and find a warm spot in your kitchen. The top of the fridge, near a sunny window, or even a turned-off oven all work beautifully. Come back in about an hour when it's doubled in size.
- Shape Your Breadsticks:
- Punch down that puffy dough with satisfaction, then divide it into 12 equal pieces. Roll each one into a rope about 7 inches long. Don't stress about making them perfectly uniform; they'll still bake beautifully.
- Second Rise:
- Arrange your ropes on a parchment-lined baking sheet, cover loosely, and let them rise for 15 more minutes while your oven preheats to 400°F.
- Make the Magic Butter:
- While the breadsticks rise, combine your melted butter, minced garlic, fresh parsley, and dried herbs. This is where the aroma starts to develop and your kitchen becomes absolutely irresistible.
- Brush and Bake:
- Generously brush half of that garlic herb butter over your breadsticks, then pop them into the oven for 12 to 15 minutes until they're golden brown and fragrant beyond belief.
- Finish with Warmth:
- Pull them from the oven and immediately brush with the remaining garlic herb butter while they're still warm. This is when they'll absorb all those flavors and develop that irresistible shine.
 Save to Pinterest
 There was a Wednesday evening when my neighbor came over and caught me pulling these from the oven, and she stayed for an hour just talking and eating warm breadsticks dipped in marinara sauce. That's when I realized these aren't just bread. They're an invitation, a moment of pause, something that makes people want to linger a little longer.
The Magic of Garlic and Herbs
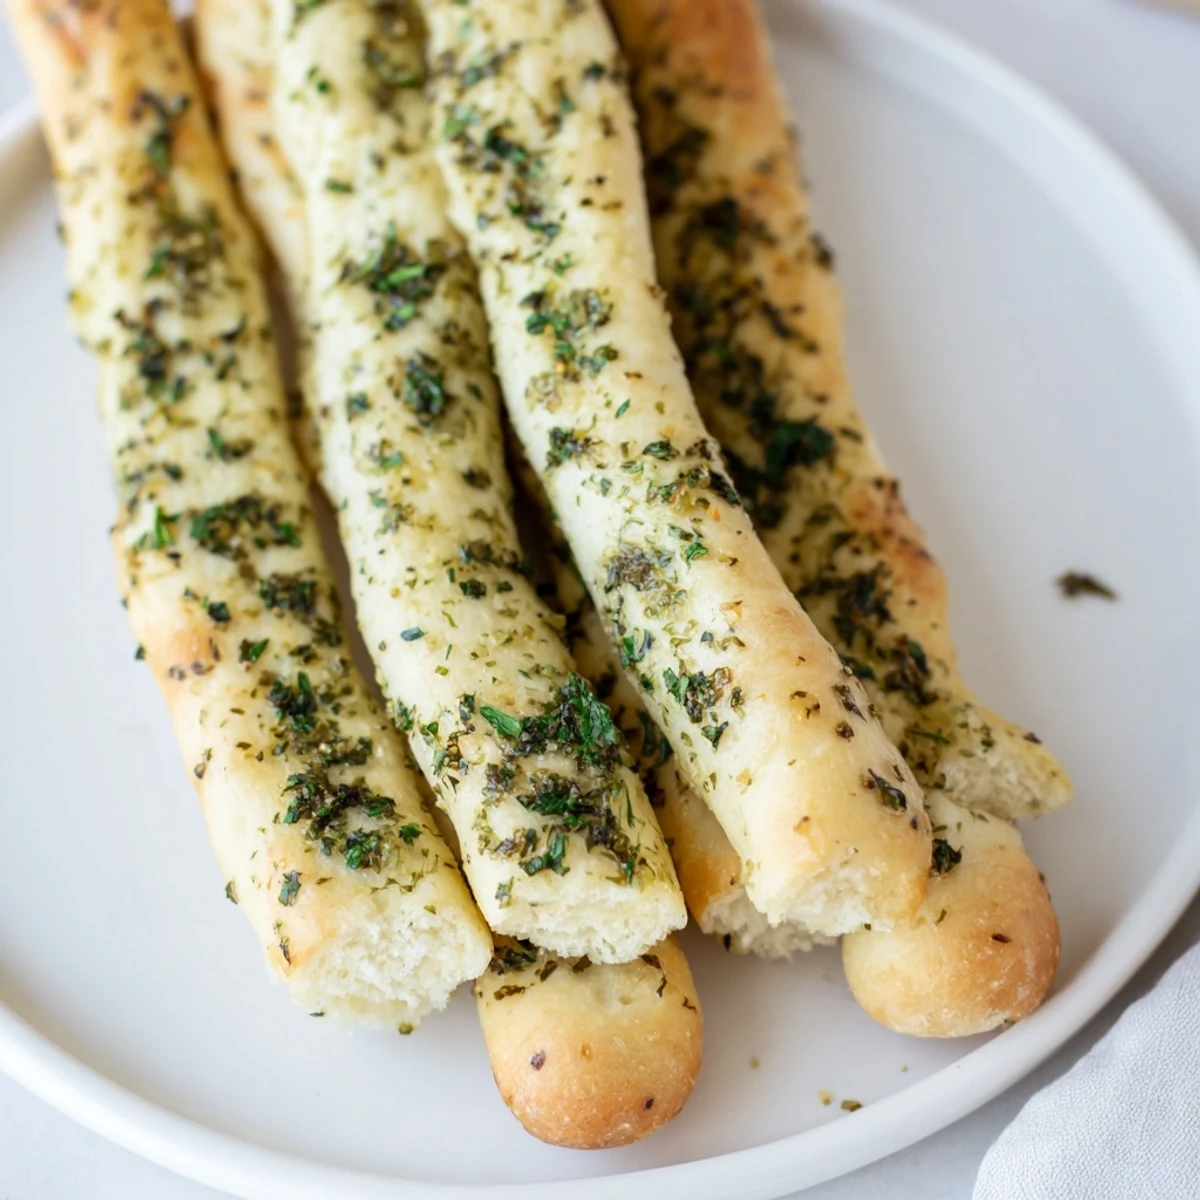
What makes these breadsticks special isn't the dough itself, it's what happens when you brush that garlic herb butter on top while everything is still warm from the oven. The butter soaks into the bread, the garlic becomes mellow and sweet rather than sharp, and those fresh herbs create little bursts of flavor in every bite. I learned this lesson the hard way when I tried applying the butter after the breadsticks had cooled, and the difference was absolutely noticeable. That butter needs to meet warm bread.
Variations That Work
Once you master the basic recipe, you can easily make it your own. Some of my favorite experiments have been adding a sprinkle of grated Parmesan before baking, which creates this crispy, savory top layer, or switching out the dried oregano for Italian seasoning if that's what I have on hand. I've even made them vegan by swapping in plant-based butter, and honestly, nobody could tell the difference. The key is respecting the foundation while letting your own kitchen style shine through.
Storage and Make-Ahead Tips
These breadsticks are absolutely best served warm and fresh, but I've learned they reheat beautifully. Store any leftovers in an airtight container, and when you want them again, just pop them back in a 350°F oven for about 5 minutes to revive that softness. You can also shape the dough, cover it tightly, and refrigerate it overnight, then let it come to room temperature before that final rise and bake. This makes them perfect for meal planning when you want fresh bread without the stress.
- Wrap cooled breadsticks in foil and freeze for up to two weeks for a quick homemade bread anytime
- If you double the herb butter recipe, you'll have plenty for both brushing and serving on the side for dipping
- Pair these with marinara, olive oil, or hummus for completely different flavor experiences
 Save to Pinterest
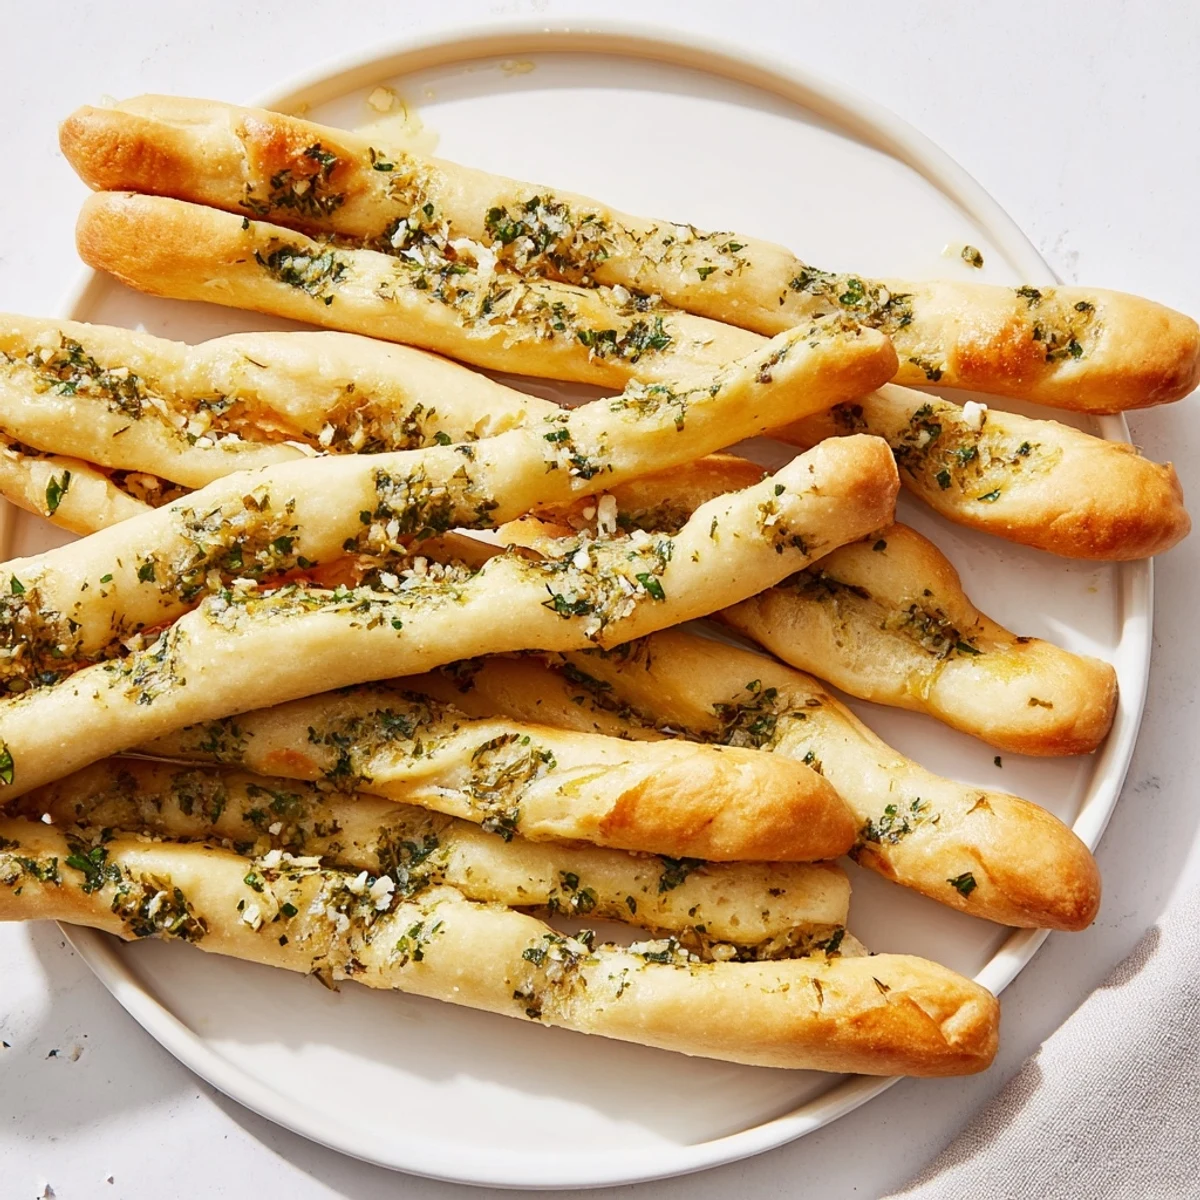
 These garlic herb breadsticks have become my favorite thing to make for people I love. There's something deeply satisfying about pulling warm bread from the oven and watching someone's face light up when they take that first bite.
Recipe Help & Support
- → How do I achieve soft breadsticks?
-
Ensure the dough is kneaded well until smooth and elastic, and allow it to rise fully to develop the soft texture.
- → Can I substitute fresh herbs with dried?
-
Yes, dried herbs can be used but should be added sparingly as they have a more concentrated flavor than fresh ones.
- → What is the best way to store leftover breadsticks?
-
Keep them in an airtight container at room temperature for up to two days, or freeze for longer storage.
- → How can I make these breadsticks vegan?
-
Replace the butter with a plant-based alternative both in the dough and the garlic herb butter mixture.
- → What sides complement these breadsticks?
-
They pair well with marinara sauce, pasta dishes, or a fresh salad for a complete meal.
