 Save to Pinterest
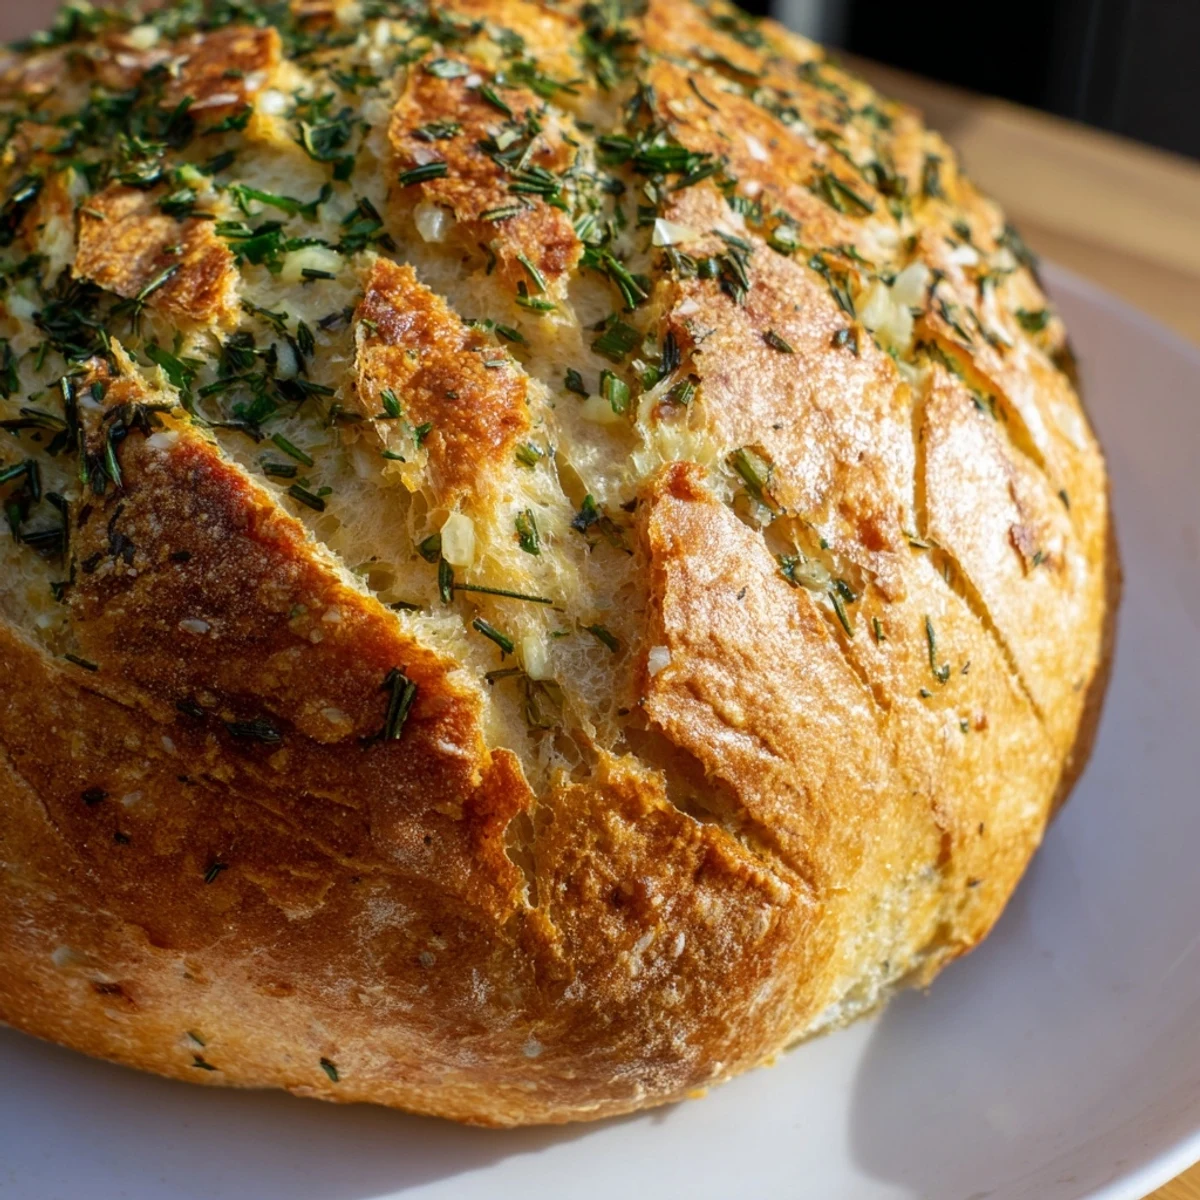
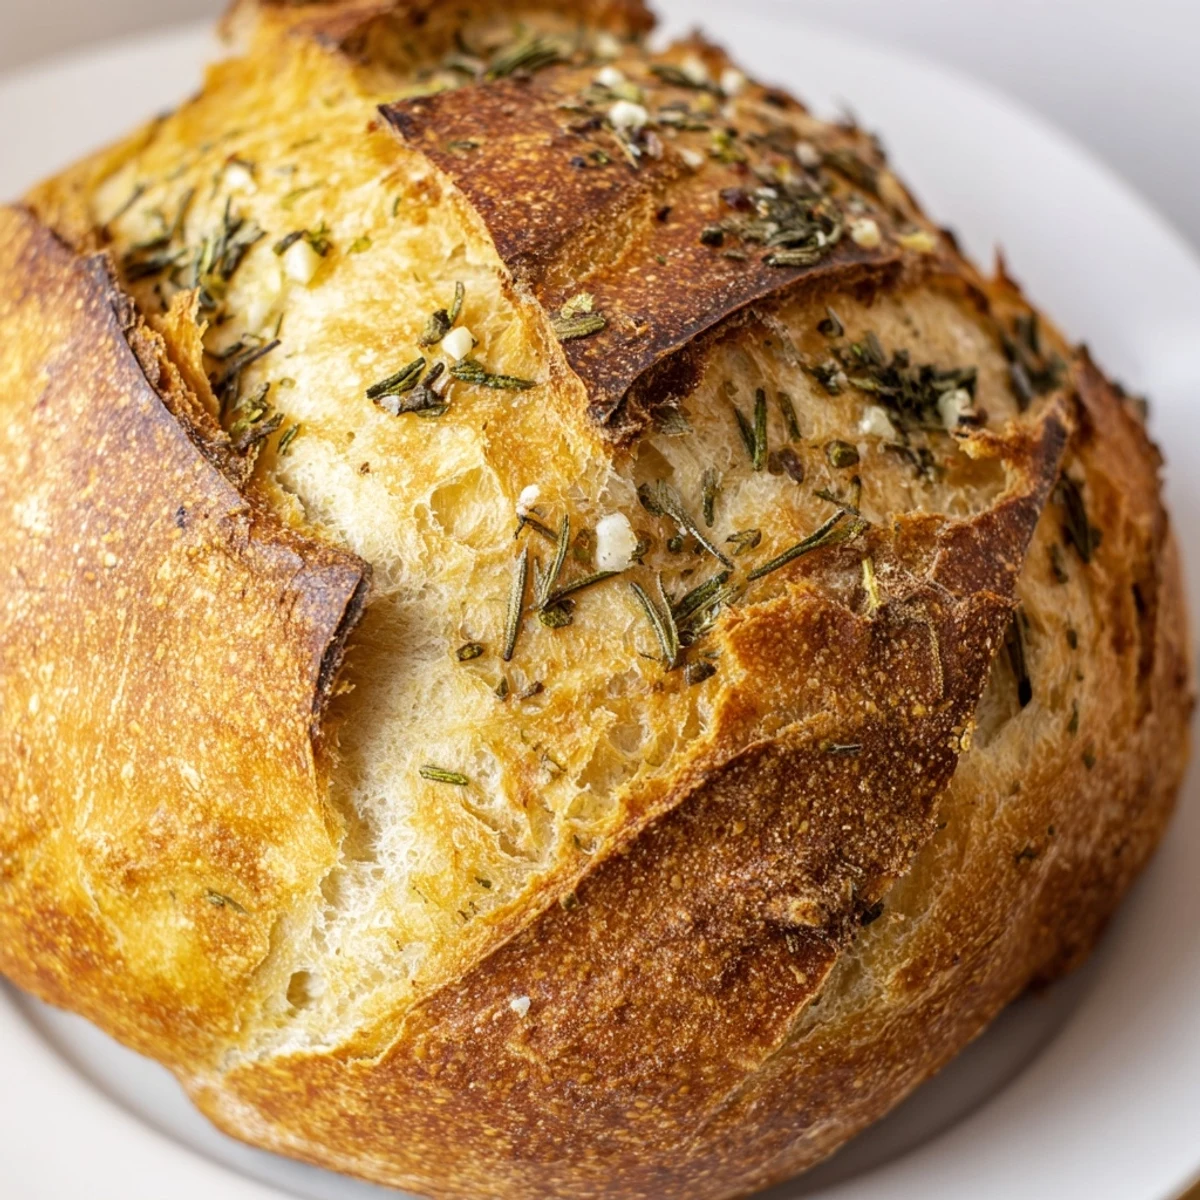
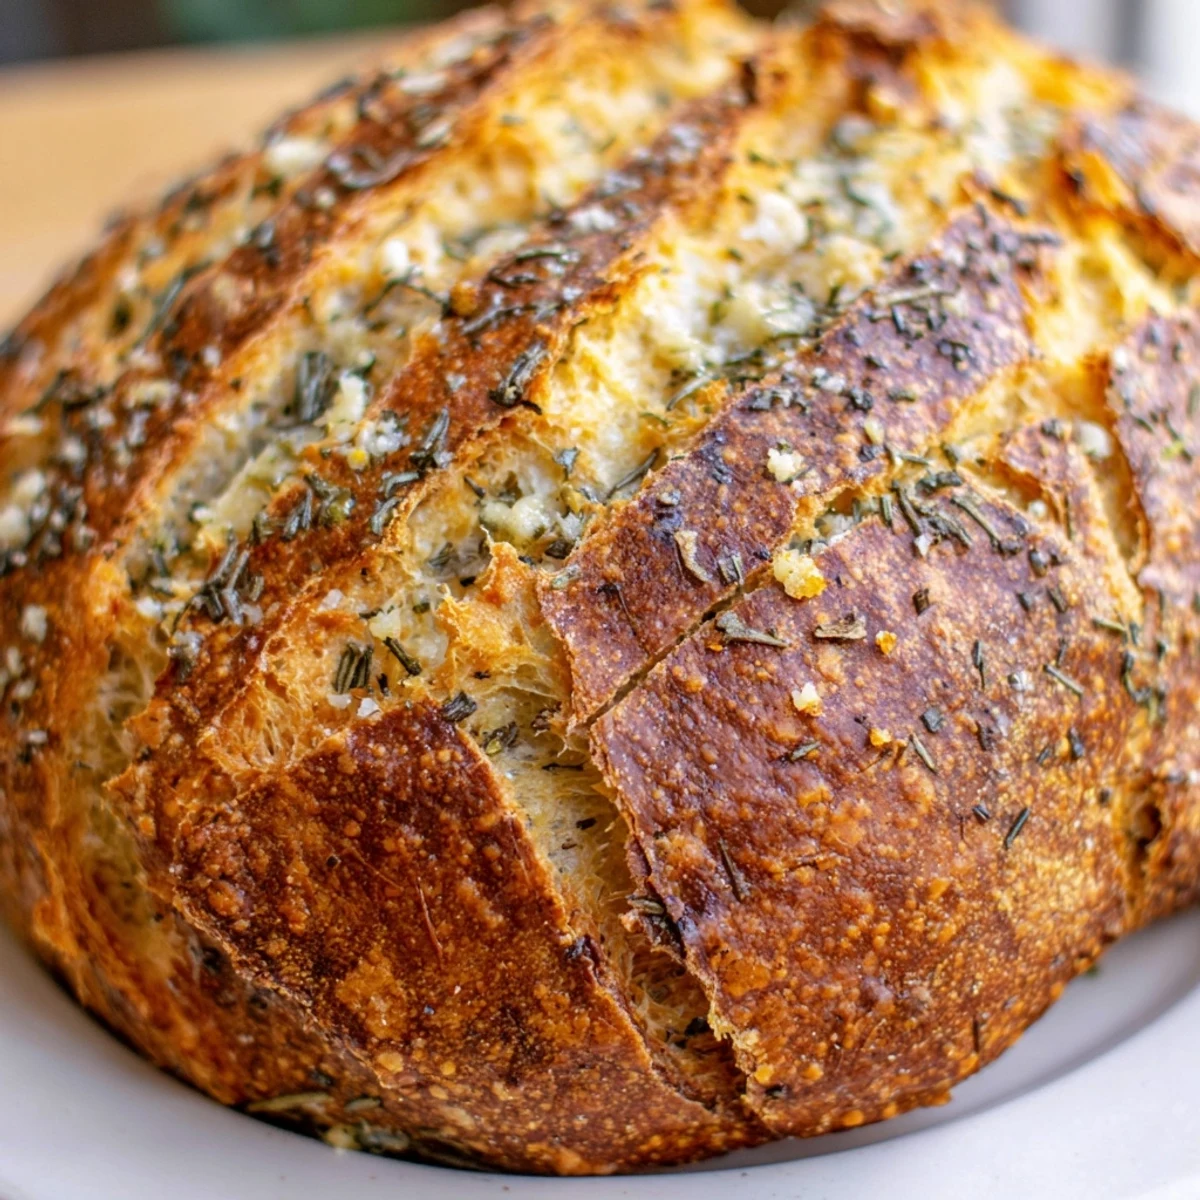
 This artisan-style loaf combines the robust flavors of fresh garlic, rosemary, thyme, and parsley in a traditional Dutch oven baking technique. The method creates professional bakery results at home with a crackling golden crust and soft, airy interior. After rising, the dough bakes covered for steam infusion, then finishes uncovered for crust development. A final brush with melted butter adds richness while extra fresh herbs provide aromatic garnish. Perfect alongside soups, salads, or with olive oil for dipping.
The first time I made this bread, my apartment smelled so incredible that my neighbor actually knocked on my door to ask what was baking. I had to laugh and admit I was just experimenting with garlic and herbs from my windowsill garden. That loaf disappeared in minutes during dinner, and I've never looked back since.
Last winter, when my sister visited during a snowstorm, we made this bread together while drinking wine and catching up. There's something so therapeutic about getting your hands floury and watching dough rise while good conversation flows. She texted me the next morning saying it was the best bread she'd ever had.
Ingredients
- 3 ½ cups bread flour: High protein flour gives the bread structure and chewiness that allpurpose flour cant match
- 1 ½ teaspoons salt: Essential for flavor development and controlling yeast activity
- 1 teaspoon sugar: Helps feed the yeast and creates that beautiful golden crust color
- 1 packet active dry yeast: The leavening agent that makes those gorgeous air pockets possible
- 1 ½ cups warm water: Must be around 110°F or it will either kill the yeast or fail to activate it
- 2 tablespoons olive oil: Adds richness and keeps the crumb tender and moist
- 4 cloves garlic: Freshly minced garlic infuses every bite with aromatic depth
- 1 tablespoon fresh rosemary: Piney and woody, rosemary adds a rustic earthiness
- 1 tablespoon fresh thyme: Delicate lemony notes that complement garlic beautifully
- 2 tablespoons fresh parsley: Bright and fresh, it balances the stronger flavors
- 2 tablespoons melted butter: The finishing touch that creates an irresistible glossy crust
Instructions
- Mix the dry foundation:
- Whisk together flour, salt, and sugar in a large bowl until well combined, then stir in the yeast
- Create the dough:
- Pour in the warm water and olive oil, mixing with a wooden spoon until a shaggy, sticky dough forms
- Add the aromatics:
- Fold in the minced garlic, rosemary, thyme, and parsley until theyre evenly distributed throughout
- Let it rise:
- Cover the bowl and let the dough rest at room temperature for 2 hours until it has doubled in size
- Shape your loaf:
- Turn the dough onto a floured surface and gently tuck the edges underneath to form a round
- Prepare for baking:
- Place the shaped dough on parchment paper, cover loosely, and let it rest for 30 minutes while your oven heats
- Heat your Dutch oven:
- Place your Dutch oven with its lid in the oven and preheat to 450°F for at least 30 minutes
- Bake covered:
- Carefully lift the dough into the hot pot, score the top, cover, and bake for 30 minutes
- Create the crust:
- Remove the lid and bake for another 15 to 20 minutes until the crust is deeply golden
- Finish with flair:
- Brush the hot bread with melted butter and sprinkle with extra fresh herbs
 Save to Pinterest
 My friend Lauren refused to buy store bread after tasting this at a dinner party. She said it ruined her for anything else. I took that as the highest compliment possible.
Choosing Your Dutch Oven
Any enameled cast iron Dutch oven will work beautifully, but the size does matter. You want at least a 4 quart capacity so the bread has room to expand without touching the sides. I have found that a 5 to 6 quart pot gives the best results with plenty of headspace for that dramatic oven spring.
Herb Variations
While the classic garlic and herb combination is hard to beat, do not be afraid to experiment. Fresh basil and sun dried tomatoes make a wonderful Italian version. Or try shredded cheddar and jalapeño for something completely different. The dough itself is incredibly forgiving.
Storage and Reheating
This bread keeps remarkably well wrapped in a clean kitchen towel for up to 2 days. After that, I recommend slicing and freezing the remainder. To refresh day old bread, sprinkle it lightly with water and warm in a 350°F oven for 10 minutes.
- Never store bread in the refrigerator as it will stale six times faster
- Freezing sliced bread makes toast incredibly convenient on busy mornings
- A slightly stale loaf makes the most incredible garlic bread or croutons
 Save to Pinterest
 There is nothing quite like tearing into a warm loaf of homemade bread with people you love. Enjoy every bite.
Recipe Help & Support
- → Can I use dried herbs instead of fresh?
-
Yes, substitute dried herbs using 1 teaspoon each instead of 1 tablespoon. Dried herbs are more concentrated, so adjust accordingly. They'll still provide excellent flavor throughout the loaf.
- → Why bake bread in a Dutch oven?
-
The Dutch oven creates a mini steam chamber that mimics professional deck ovens. Steam keeps the crust soft initially, allowing maximum oven spring, then the dry heat finishes a crispy, golden exterior.
- → How do I know when the bread is done?
-
The crust should be deep golden brown and sound hollow when tapped on the bottom. An instant thermometer inserted into the center should read 190-200°F for fully baked interior.
- → Can I make this dairy-free?
-
Replace the butter brushing with additional olive oil or melted coconut oil. The dough itself contains no dairy except for the final finish, so substitutions work beautifully.
- → How should I store this bread?
-
Keep at room temperature wrapped in a clean kitchen towel or paper bag for 1-2 days. For longer storage, slice and freeze in an airtight bag, then toast individual slices as needed.
- → What if I don't have a Dutch oven?
-
Use a heavy oven-safe pot with a tight-fitting lid, like a cast iron skillet with foil cover or a stainless steel soup pot. The key is creating a sealed environment for steam retention.
