 Save to Pinterest
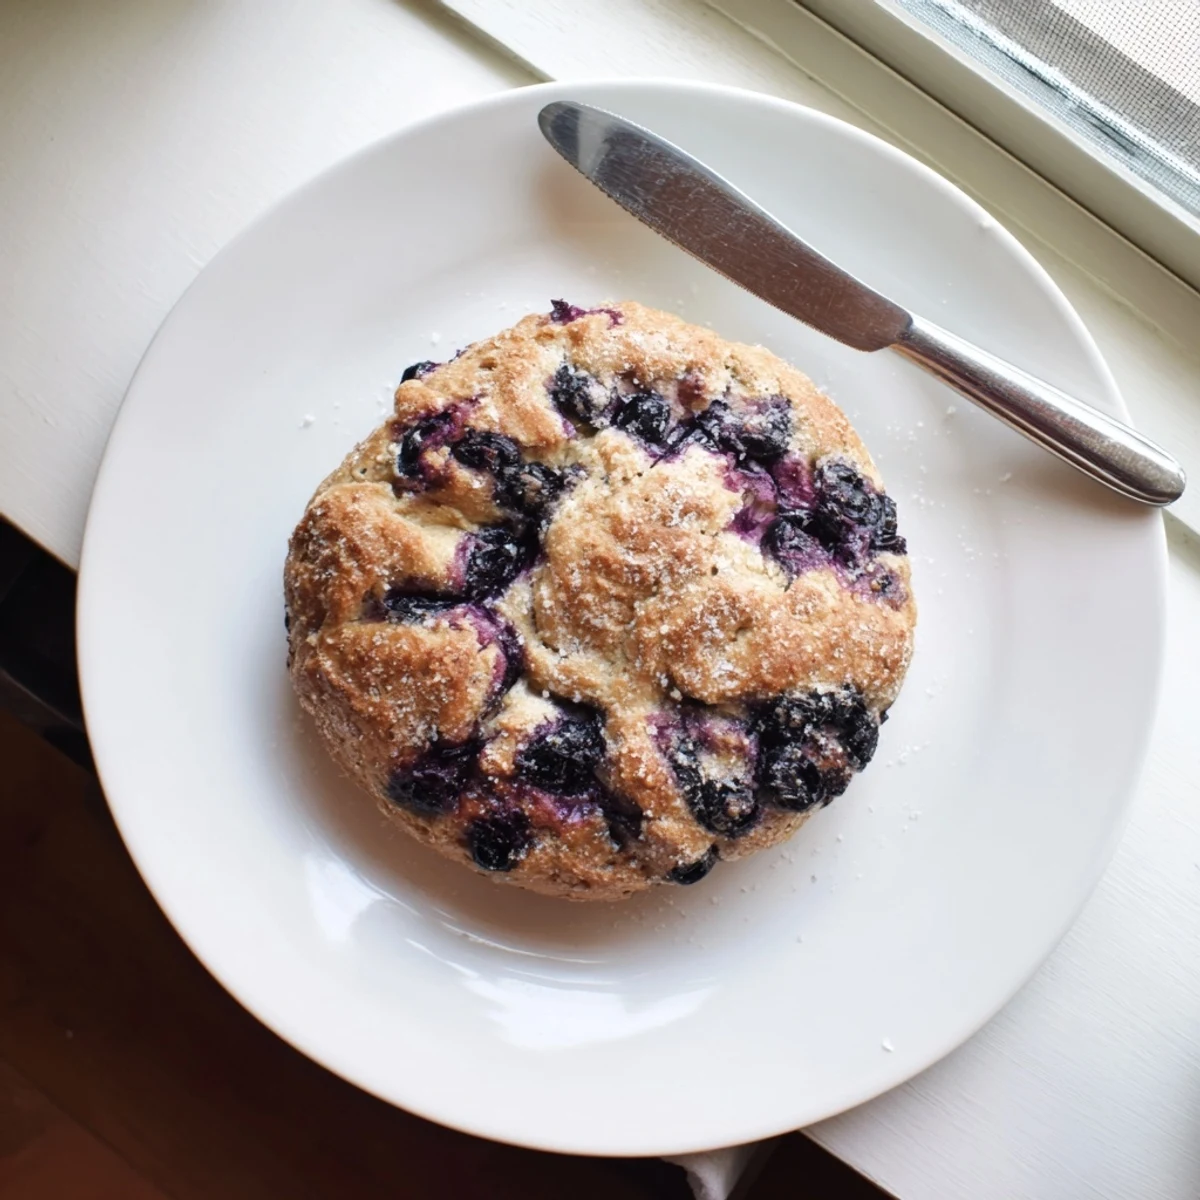
 Create bakery-worthy gluten-free blueberry bagels with soft interiors and chewy crusts. This American classic combines sweet blueberries with a perfectly textured dough that rises beautifully without traditional wheat flour.
The process involves mixing a simple gluten-free flour blend with instant yeast, folding in fresh or frozen berries, then boiling each bagel before baking. This traditional technique creates that signature bagel texture - dense yet tender inside with a shiny, chewy exterior.
Ready in under 90 minutes including rise time, these bagels store well for days and freeze beautifully for months. Enjoy them toasted with cream cheese, butter, or your favorite spread for breakfast or snacks throughout the week.
The smell of boiling bagels drifting through my apartment still takes me back to that first snowy morning when I decided gluten-free baking wouldnt defeat me. My kitchen was tiny, the counter space barely enough for a mixing bowl, but I woke up craving that specific chewy crunch you only get from proper boiled bagels. Three failed attempts later, I finally pulled these blueberry beauties from the oven, warm and speckled with bursting fruit, and knew Id cracked the code.
Last summer my sister visited, still skeptical that anything gluten-free could taste like real bread. I made a fresh batch while she slept, filling the whole house with that unmistakable boiled dough aroma. She took one bite, still warm from the oven, and actually asked if Id secretly bought them from a bakery. We ate the entire batch standing at the counter, slathering them with cream cheese and talking until the sun went down.
Ingredients
- Gluten-free bread flour blend: Use a blend with xanthan gum already added to save time and ensure proper structure. Ive tested countless brands and find that blends with sorghum and millet create the best bagel texture.
- Instant yeast: No need to proof it separately, which saves precious minutes on weekend mornings. Make sure it is fresh and not expired for the best rise.
- Warm water: The temperature should feel like a comfortable bath. Too hot will kill your yeast, too cold and your dough will take forever to rise.
- Apple cider vinegar: This little trick activates the baking powder in many flour blends and helps neutralize any bitter aftertaste common in gluten-free flours.
- Blueberries: Fresh berries give you distinct pockets of fruit, but frozen work beautifully too. Just toss them into the dough straight from the freezer to prevent turning your bagels purple.
- Honey or maple syrup: Adding sweetener to your boiling water helps achieve that shiny professional-looking crust. It is optional but worth the extra step.
Instructions
- Mix your dough:
- Whisk together the flour blend, sugar, yeast, and salt in a large bowl. Pour in the warm water, vegetable oil, and vinegar, stirring until you have a sticky, shaggy dough that holds together when pressed.
- Add the berries:
- Gently fold in the blueberries using a spatula, being careful not to mash them. The dough will feel tacky and somewhat messy, which is exactly right for gluten-free bread.
- Let it rise:
- Cover the bowl with a clean towel and set it somewhere warm. After about 45 minutes, the dough should look slightly puffy and feel lighter to the touch.
- Shape the bagels:
- Divide the dough into 8 equal pieces and roll each into a smooth ball. Poke your thumb through the center and stretch gently to form the bagel hole, working carefully as the dough is delicate.
- Boil for texture:
- Bring your water to a gentle boil with the honey or maple syrup. Drop in 2 to 3 bagels at a time and cook for 30 seconds per side. They will puff up slightly and look glossy.
- Bake until golden:
- Brush with egg wash if you want a shiny finish, then bake at 425°F for 20 to 22 minutes. They are done when deep golden brown and sound hollow when tapped on the bottom.
 Save to Pinterest
 These bagels have become my go-to for bringing to brunches and potlucks. There is something so satisfying about watching peoples faces when they realize these are gluten-free. Last month I made them for a friends birthday breakfast, and we ended up sitting around the table for hours, talking and eating, long after the plates were empty.
Getting The Shape Right
The first time I tried shaping bagels, they looked like lumpy donuts. The trick is working quickly with oiled hands and keeping the dough moving. Form a smooth ball first, then gently press your thumb through the center. Use two fingers in the hole to stretch it wider, rotating the dough like a steering wheel. Do not worry about perfection. Homemade bagels are supposed to look rustic, and the texture will be delicious regardless.
Storage And Freezing
Fresh bagels are best eaten the same day, but they freeze beautifully for later. Slice them before freezing so you can pop them directly into the toaster. Wrap each bagel individually in plastic wrap, then place them in a freezer bag. They will keep for up to two months, which means you can always have fresh-tasting bagels ready for busy weekday mornings.
Serving Suggestions
The beauty of a good blueberry bagel is how it bridges breakfast and dessert. Toasted with salted butter is simple perfection, but cream cheese takes it to another level. I also love them sliced in half, topped with ricotta cheese and a drizzle of honey. Sometimes I serve them as an unexpected addition to brunch boards alongside scrambled eggs and fresh fruit.
- Try them toasted with lemon ricotta cheese and fresh mint
- Serve warm with honey butter for a special weekend treat
- Pile high with cream cheese and extra fresh blueberries
 Save to Pinterest
 There is something deeply satisfying about making bagels from scratch, especially when you have dietary restrictions. These blueberry beauties prove that gluten-free does not mean flavor-free, and that first warm, chewy bite makes every minute worth it.
Recipe Help & Support
- → Can I use frozen blueberries instead of fresh?
-
Yes, frozen blueberries work perfectly in this dough. Add them straight from the freezer without thawing to prevent excess bleeding into the dough and maintain their shape during mixing and baking.
- → Why boil the bagels before baking?
-
Boiling gelatinizes the starch on the surface, creating that signature shiny, chewy exterior that sets bagels apart from regular bread. The 30-second boil per side ensures proper texture development without making them dense.
- → How do I store these gluten-free bagels?
-
Keep bagels in an airtight container at room temperature for up to 3 days. For longer storage, freeze individually wrapped for up to 2 months. Thaw at room temperature or toast directly from frozen.
- → Can I make these vegan?
-
Absolutely. Simply omit the egg wash or replace with non-dairy milk brushed on before baking. The bagels will still develop good color and texture without the egg component.
- → What gluten-free flour blend works best?
-
Use a gluten-free bread flour blend that contains xanthan gum for best structure and texture. The gum helps bind the dough without gluten, creating that characteristic bagel chewiness.
- → Why is apple cider vinegar added to the dough?
-
The vinegar enhances the yeast activity and helps tenderize the gluten-free dough. It also improves the overall flavor profile, balancing the sweetness from blueberries and sugar.
