 Save to Pinterest
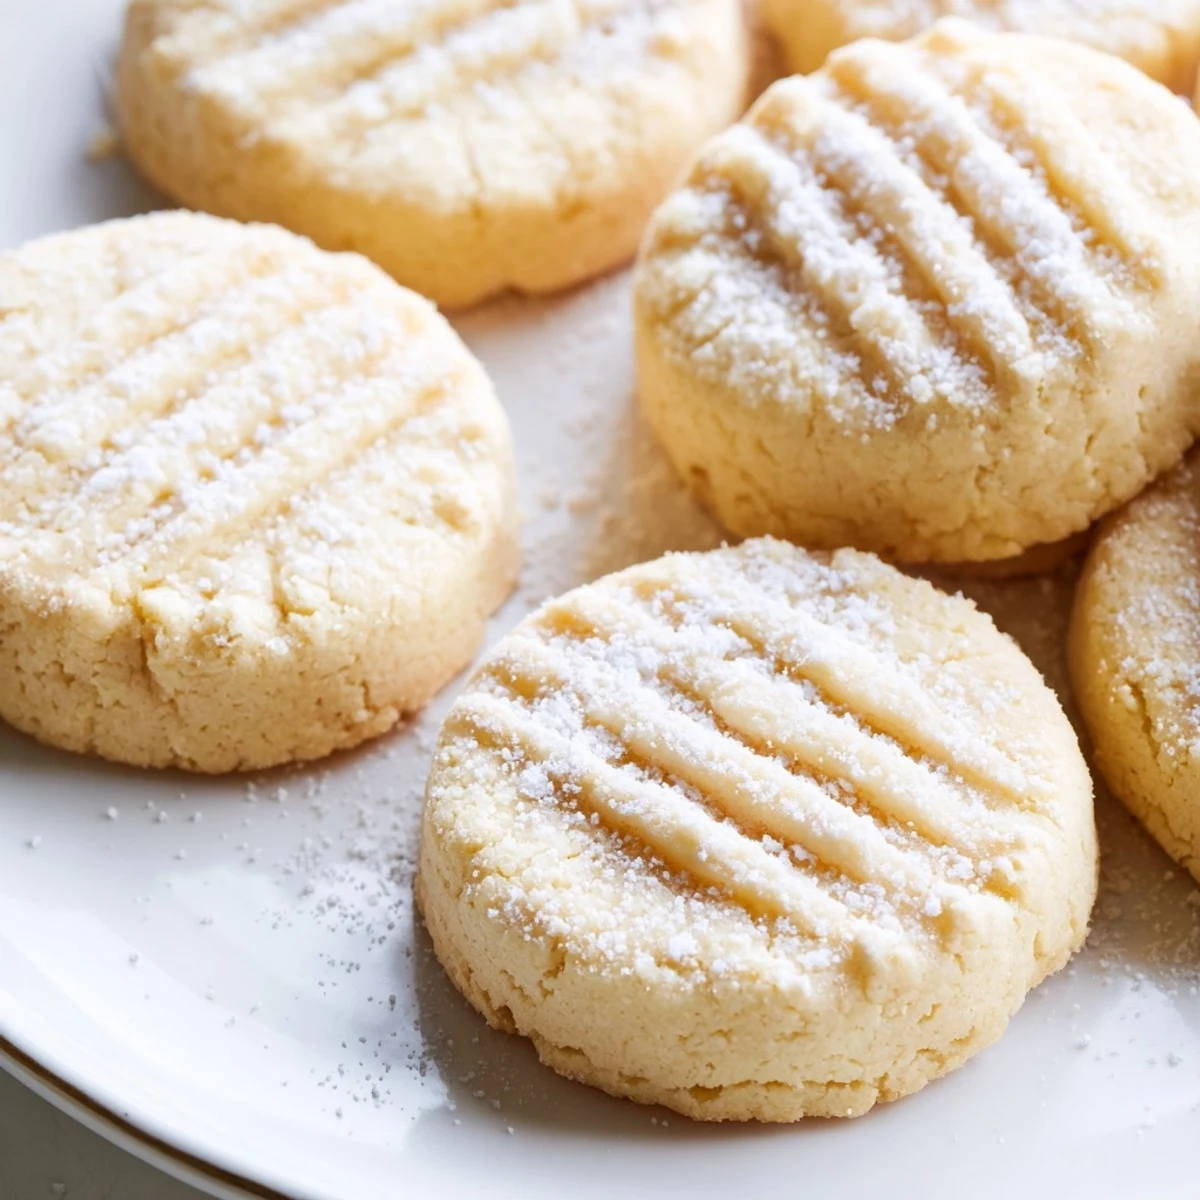
 These tender cookies deliver rich buttery flavor with a delicate crumb that truly melts away. The dough comes together quickly using simple pantry staples—flour, butter, sugar, vanilla—yet produces bakery-worthy results every single time. After just 12 minutes in the oven, you'll have golden-edged treats perfect for dusting with powdered sugar or dipping in melted chocolate.
The secret lies in properly creaming butter and sugar until fluffy, then incorporating egg yolk for extra richness. Rolling the dough into uniform balls ensures even baking, while a gentle press with fork tines creates that classic patterned appearance.
The butter would sit out for hours, wrapped in wax paper, until it reached that perfect room temperature state. My grandmother swore this was the secret that made these cookies different from all others. She taught me to press them with a fork, creating those familiar crosshatch patterns that meant something special was baking. Now whenever I smell vanilla and butter together, I'm back in her sunlit kitchen.
I brought a batch to my new neighbor's housewarming last winter, and she called me the next day asking for the recipe. She said her husband ate four before dinner and hid the rest so the kids wouldn't find them. Now we trade baked goods across the driveway every Sunday.
Ingredients
- 2 1/4 cups (280 g) all-purpose flour: This foundation needs to be sifted or at least fluffed before measuring to avoid dense cookies.
- 1/2 teaspoon sea salt: A tiny pinch that makes all the difference, balancing sweetness and intensifying butter flavor.
- 1 cup (225 g) unsalted butter: Use real butter, nothing else matters here. Let it soften naturally on the counter for at least two hours.
- 3/4 cup (150 g) granulated sugar: This amount hits the sweet spot without overwhelming the delicate butter taste.
- 1 large egg yolk: The yolk adds richness while keeping the texture tender and crumbly.
- 2 teaspoons pure vanilla extract: Don't skimp on quality here. The vanilla shines through in every bite.
- 1/4 cup (30 g) powdered sugar for dusting: This final touch makes them look as special as they taste.
Instructions
- Getting Started:
- Preheat your oven to 350°F (180°C) and line two baking sheets with parchment paper. This prep step feels professional and saves you from scrambling later.
- Whisking Dry Ingredients:
- In a medium bowl, whisk together the flour and salt until they're completely combined. This tiny step ensures even distribution throughout every single cookie.
- Creating the Base:
- Beat the butter and granulated sugar together for about three minutes until the mixture is light and fluffy. The texture transforms dramatically during this time, creating the tender crumb we're after.
- Adding Flavor:
- Add the egg yolk and vanilla extract, mixing until everything is incorporated. The mixture will look smooth and glossy, smelling absolutely incredible already.
- Bringing It Together:
- Gradually add the flour mixture to the wet ingredients, mixing just until the dough comes together. Stop as soon as you no longer see dry flour patches. Overmixing makes tough cookies.
- Shaping:
- Roll tablespoonfuls of dough into balls and place them two inches apart on the prepared baking sheets. This spacing prevents them from merging into each other while baking.
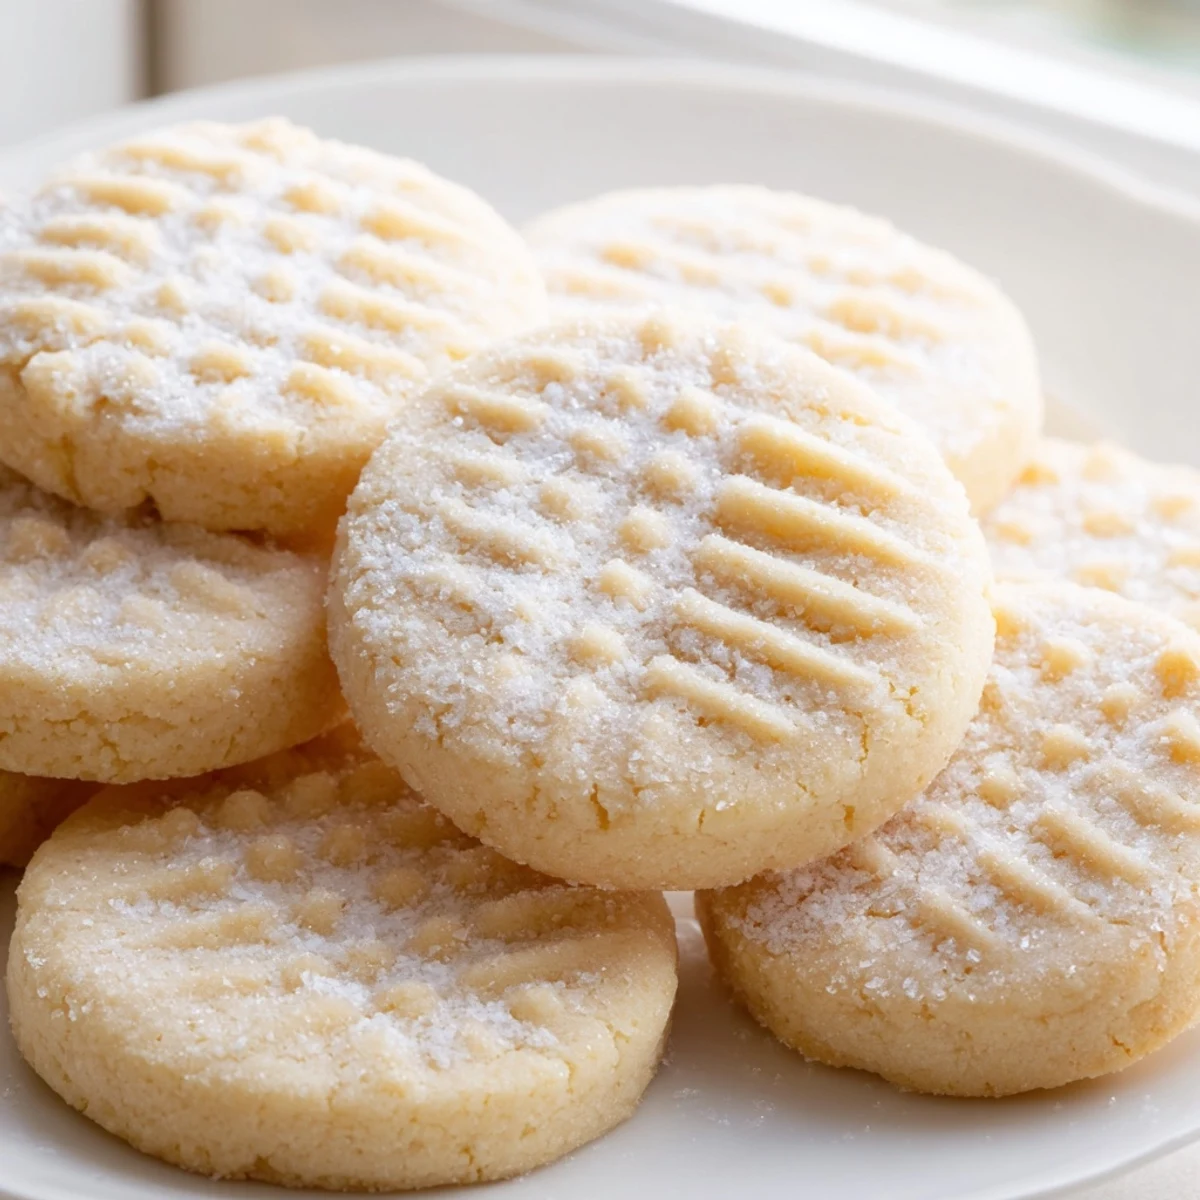
- The Signature Press:
- Gently press each ball with the tines of a fork or the bottom of a glass to flatten slightly. This creates those classic ridges that help the cookies bake evenly.
- The Golden Moment:
- Bake for 10 to 12 minutes, watching until the edges are just turning golden. This is where the magic happens and your kitchen starts smelling like a bakery.
- The Hardest Part:
- Cool on the baking sheet for five minutes before transferring to a wire rack. They're fragile when hot and need this time to set without falling apart.
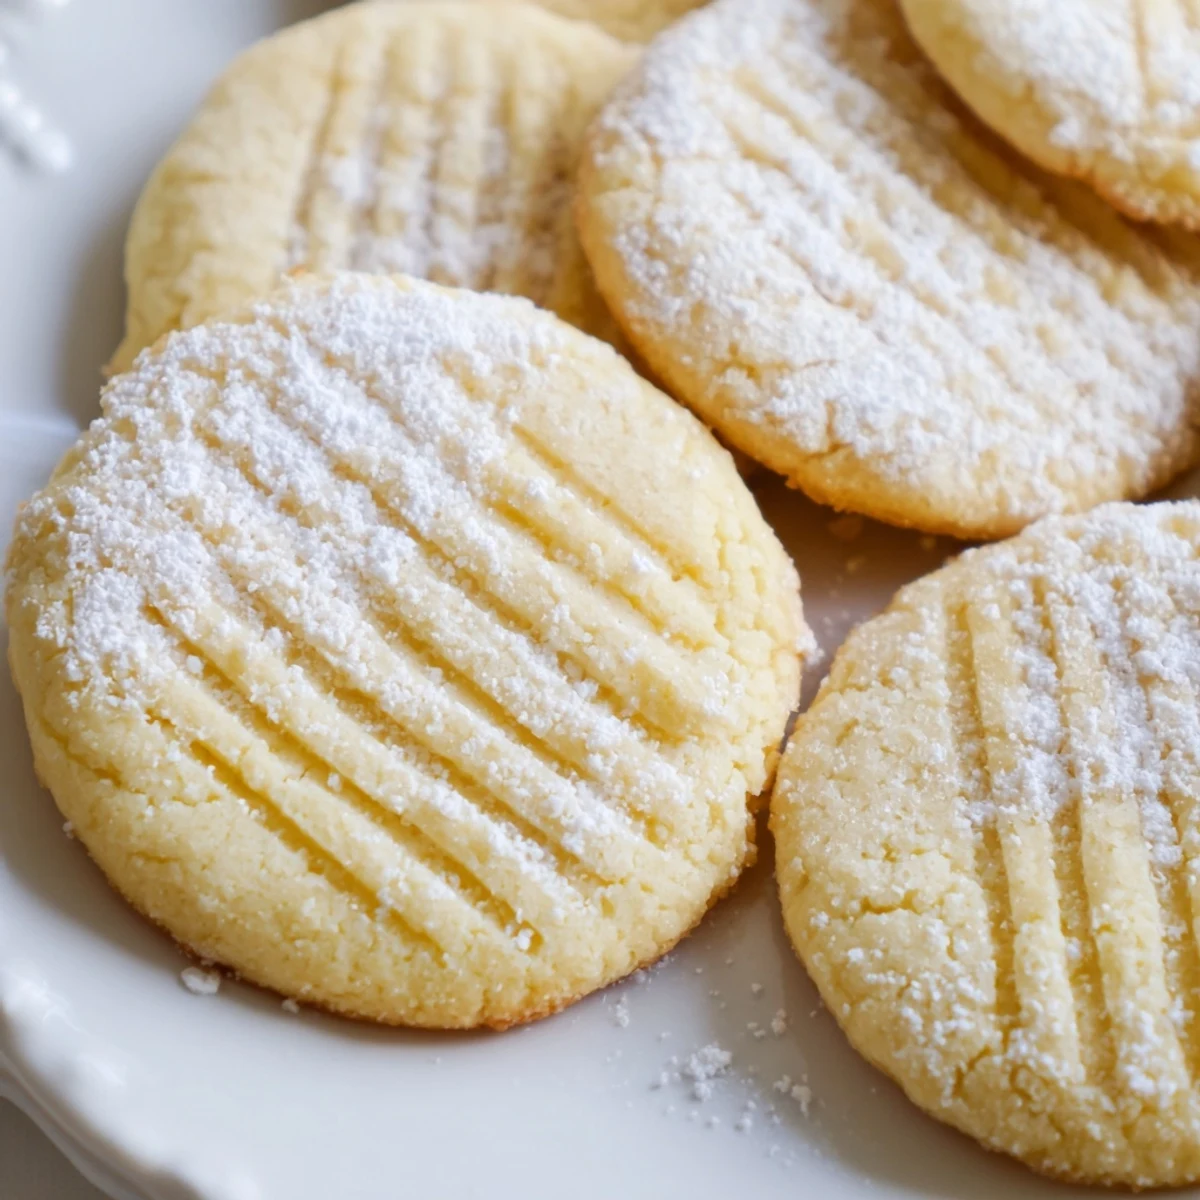
- The Final Touch:
- Dust cooled cookies lightly with powdered sugar if you want that extra snowy finish. It makes them look absolutely stunning on a serving plate.
 Save to Pinterest
 My daughter helped me make these for the first time last Christmas, covered in flour and grinning ear to ear. She insisted on doing the fork pressing herself and created the most beautifully imperfect patterns. That batch was somehow the best one we've ever made.
Making Them Your Own
Sometimes I dip half of each cooled cookie in melted chocolate and let them set on wax paper. The combination of buttery vanilla and bittersweet chocolate creates something truly special. Other times I'll press a thumbprint into the center before baking and fill the indentation with jam after they cool.
Storage Secrets
These cookies actually taste better the next day when the flavors have had time to meld together. Store them in an airtight container at room temperature, placing a piece of white bread inside if you want to keep them soft for days. The bread miraculously transfers moisture to the cookies while staying dry itself.
Serving Suggestions
I've learned these cookies pair exceptionally well with a cup of Earl Grey tea or a glass of cold milk. They're also perfect for sandwiching with buttercream frosting between two cookies. The contrast of textures creates something reminiscent of store-based cookies but infinitely better.
- Try adding lemon zest to the dough in summer for a bright twist
- Swap half the vanilla for almond extract during holiday season
- These freeze beautifully if you want to keep dough balls ready for unexpected guests
 Save to Pinterest
 There's something profoundly comforting about recipes that have traveled through generations of hands. Every time you bake these, you're adding your own chapter to a story that started long before you and will continue long after.
Recipe Help & Support
- → What makes these cookies so tender?
-
The high butter content combined with proper creaming technique creates a tender texture. Using egg yolk instead of whole egg adds richness without making them dense, while avoiding overmixing keeps them delicate.
- → Can I make the dough ahead of time?
-
Absolutely. The dough refrigerates well for up to 3 days when wrapped tightly. You can also scoop and freeze the balls for up to 3 months—just add 1-2 minutes to the baking time when baking from frozen.
- → Why do the edges need to be just golden?
-
Removing them when edges are barely golden ensures the centers stay soft and tender. Overbaking leads to dry, crumbly cookies that lose that signature melt-in-your-mouth quality.
- → Can I substitute different extracts?
-
Yes, almond extract makes a wonderful alternative to vanilla. You can also try lemon or orange zest for a citrus variation, or coconut extract for a tropical twist on this classic.
- → How should I store these butter cookies?
-
Keep them in an airtight container at room temperature for up to a week. For longer storage, freeze undusted cookies for up to 3 months. Layer parchment between stacked cookies to prevent sticking.
