 Save to Pinterest
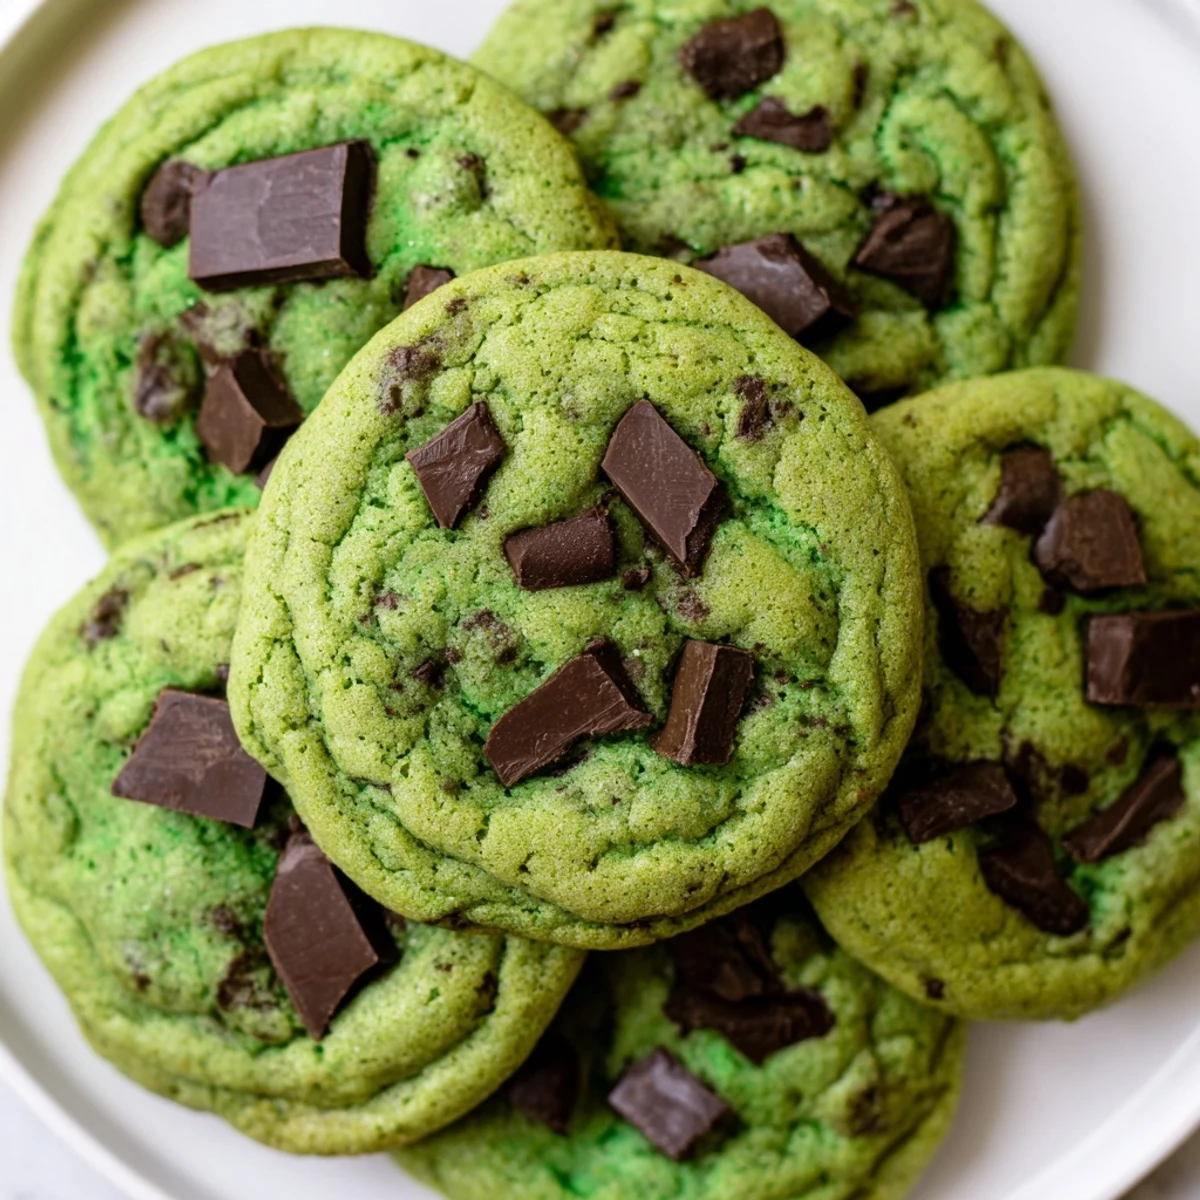
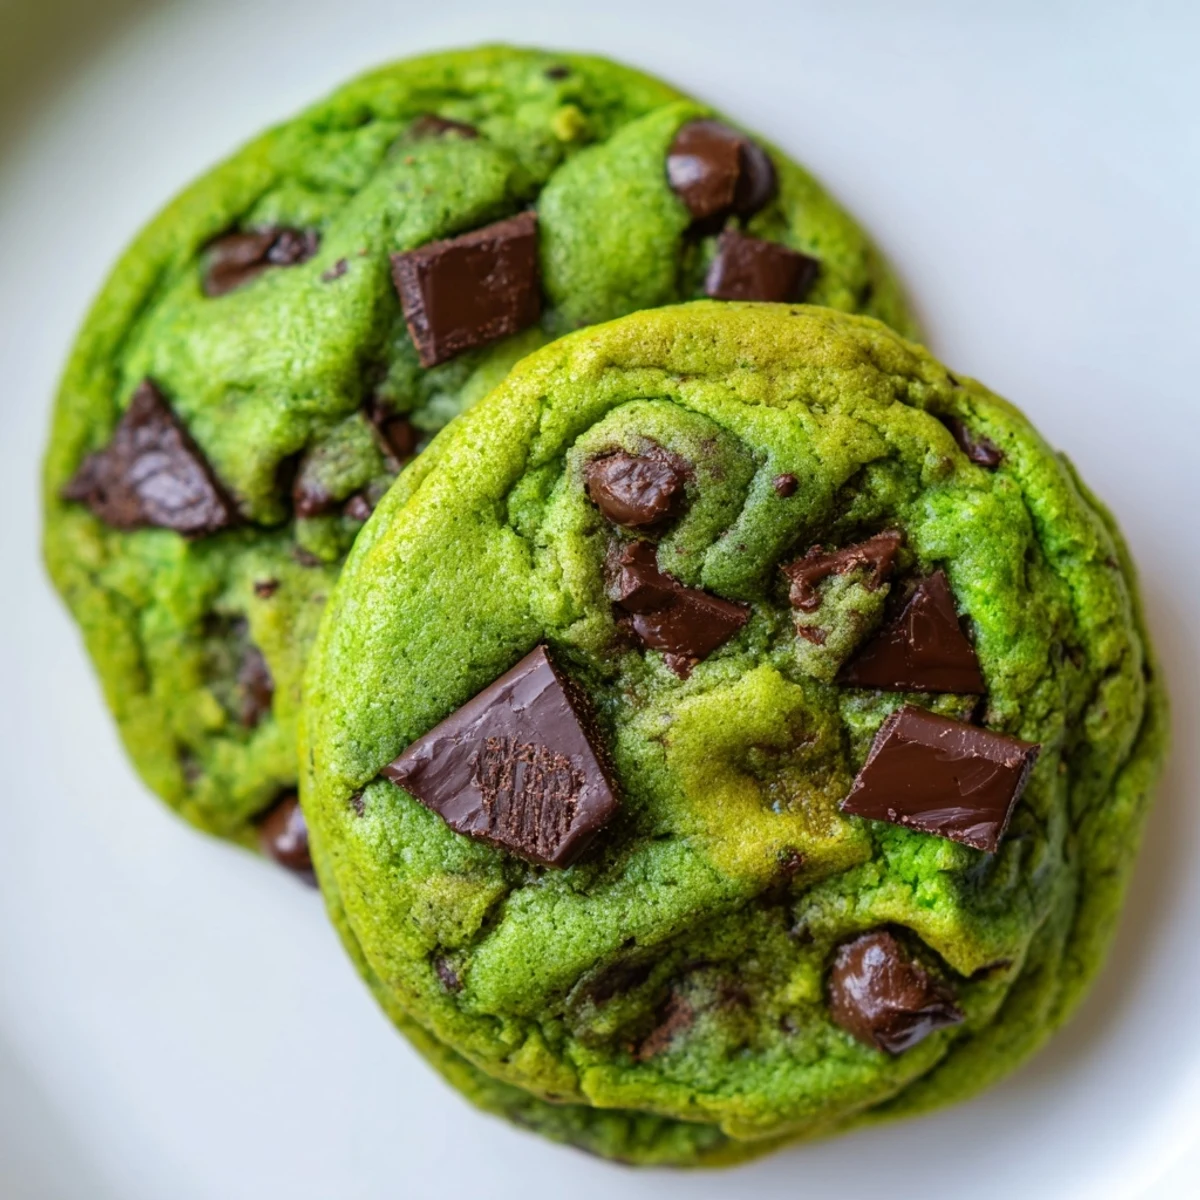
 These vibrant green cookies deliver the perfect balance of cool mint and rich chocolate. The dough comes together quickly with softened butter creamed with granulated and brown sugar, then enhanced with pure mint extract and vanilla extract. A touch of green gel food coloring gives them their signature hue, while semi-sweet chocolate chips provide pockets of melted goodness in every bite.
Baking takes just 10 minutes at 350°F, resulting in edges that are perfectly set while centers remain soft and chewy. Let them rest on the baking sheet for 5 minutes after baking to achieve that ideal texture—crispy edges, gooey middle. The dough can be chilled for thicker cookies if you prefer a bit more structure.
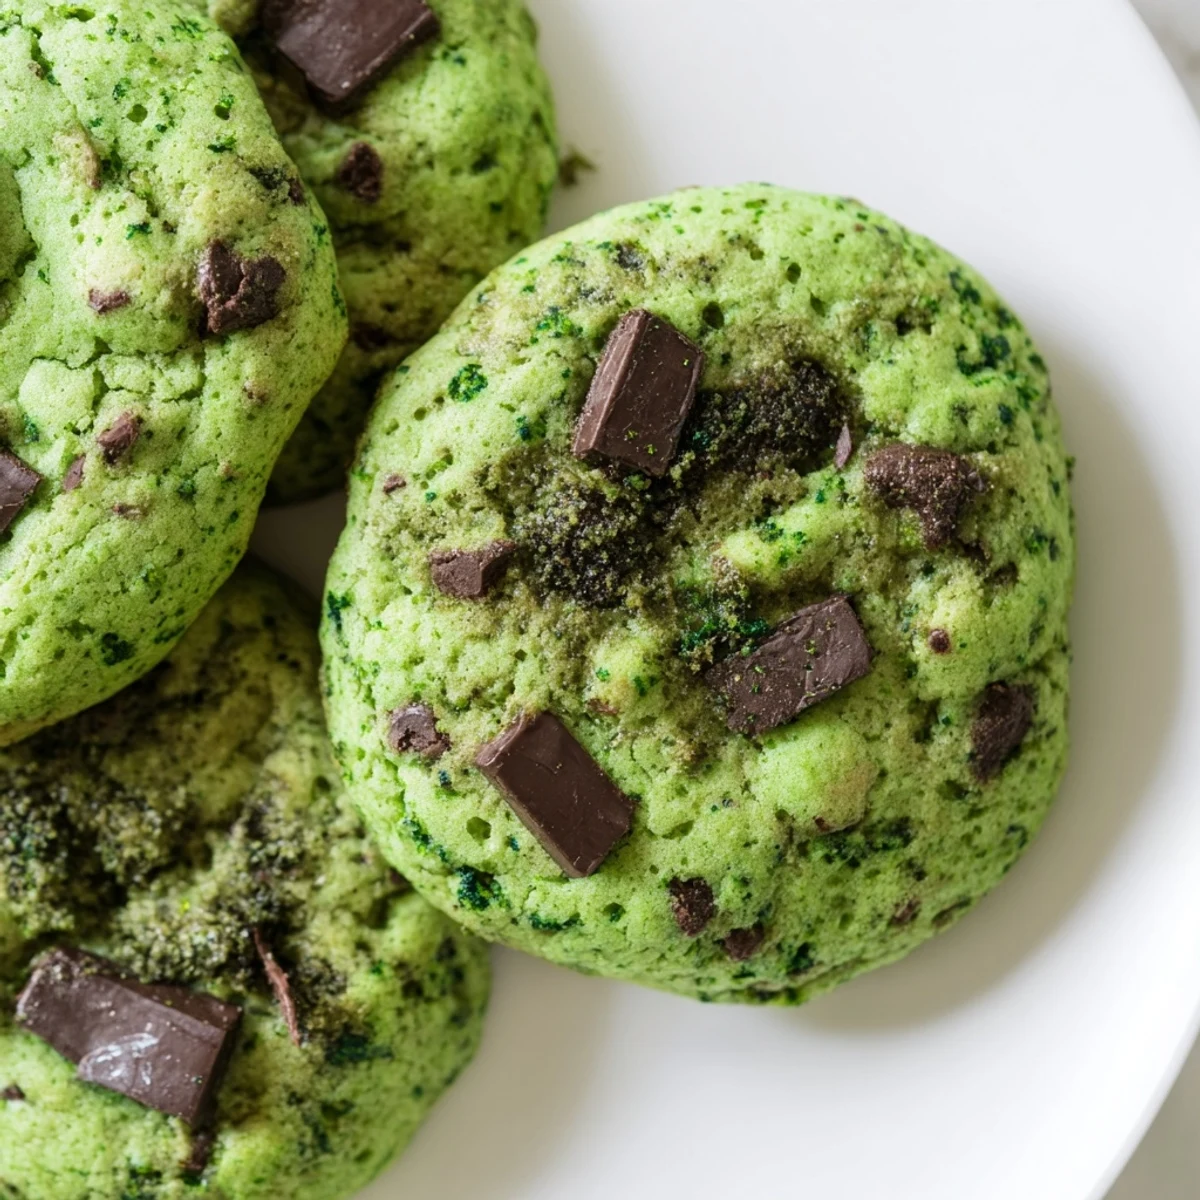
Store these treats in an airtight container for up to 5 days, though they rarely last that long. For variation, try swapping in white chocolate chips or Andes mint pieces. Each batch makes 24 cookies, perfect for sharing or keeping all to yourself.
My niece called them 'Grinch cookies' the first time she saw them on the cooling rack, and honestly, she wasn't wrong. We'd been experimenting with holiday baking all afternoon, and when that green dough came together, her eyes went wide. Now they're the most requested treat for every St. Patrick's Day gathering and birthday party.
Last Christmas, I brought a batch to my office potluck and watched them disappear in under twenty minutes. My coworker Sarah, who claims she doesn't even like mint, texted me that evening asking for the recipe. Sometimes the most playful-looking cookies end up being the ones everyone takes seriously.
Ingredients
- 2 1/4 cups all-purpose flour: The foundation that gives these cookies their perfect chewy structure
- 1 teaspoon baking soda: Helps them rise just enough to be thick and soft
- 1/2 teaspoon salt: Balances the sweetness and intensifies the chocolate flavor
- 1 cup unsalted butter: Use room temperature butter for the creamiest dough base
- 1 cup granulated sugar: Creates crisp edges while keeping centers tender
- 1/2 cup light brown sugar: Adds moisture and subtle caramel notes
- 2 large eggs: Binds everything together for structure
- 1 1/2 teaspoons pure mint extract: The star flavor that makes these special
- 1 teaspoon pure vanilla extract: Rounds out the mint beautifully
- Green gel food coloring: Gel coloring won't thin your batter like liquid does
- 2 cups chocolate chips: Semi-sweet or dark chocolate complements mint perfectly
- 1/2 cup chopped dark chocolate: Optional but creates those gorgeous chocolate pools
Instructions
- Get your oven ready:
- Preheat to 350°F and line two baking sheets with parchment paper
- Whisk the dry ingredients:
- Combine flour, baking soda, and salt in a medium bowl
- Cream the butter and sugars:
- Beat together for 2-3 minutes until light and fluffy
- Add the eggs and flavor:
- Mix in eggs one at a time, then stir in mint and vanilla extracts
- Make it green:
- Add food coloring until you reach your desired shade
- Combine everything:
- Gradually mix in dry ingredients just until incorporated
- Add the chocolate:
- Fold in chocolate chips and chopped dark chocolate gently
- Scoop and bake:
- Drop tablespoons of dough 2 inches apart and bake for 9-11 minutes
- Cool completely:
- Let them rest on the baking sheet for 5 minutes before transferring
 Save to Pinterest
 My daughter started requesting these for her school bake sales because they always sell out first. There's something about that color combination that draws people in before they even take a bite. Now we double the recipe and still run out.
Getting the Perfect Green
Start with a tiny amount of gel coloring and add more gradually. You can always add more, but you can't take it back. I've learned that a forest green looks more sophisticated than bright neon.
Making Them Thicker
If you prefer bakery-style thick cookies, chill the dough for 30 minutes before baking. The cold dough spreads less and creates those irresistible soft centers with slightly crisp edges.
Storage and Sharing
These stay fresh in an airtight container for up to five days, though they rarely last that long in my house. I've started freezing half the dough immediately to avoid eating the entire batch in one sitting.
- Freeze scooped dough balls on a baking sheet before transferring to a bag
- Bake frozen dough for an extra minute or two
- Package them in clear bags tied with green ribbon for gifts
 Save to Pinterest
 Whether you're making them for a holiday or just because Tuesdays need more color, these cookies have a way of making ordinary moments feel special.
Recipe Help & Support
- → Why are my cookies flat?
-
If your cookies spread too much, the dough might be too warm. Chill it for 30 minutes before baking, or ensure your butter wasn't overly soft when mixing. Also check that you measured the flour correctly—too little flour causes excessive spreading.
- → Can I use natural food coloring?
-
Natural green food coloring from spinach or matcha powder works, though the hue will be more muted than gel coloring. You'll need to add about 1-2 teaspoons of matcha powder to achieve a visible green tint, which may slightly alter the flavor profile.
- → What's the best type of mint extract?
-
Pure mint extract (peppermint) provides the strongest, most authentic flavor. Imitation extract works but can taste artificial. For a subtler mint taste, start with 1 teaspoon and add more to taste. Avoid using mint oil as it's much more concentrated.
- → How do I know when they're done?
-
The edges should look set and slightly golden while the centers appear soft and underbaked. They'll continue cooking on the hot baking sheet during the 5-minute rest period. Overbaked cookies lose their chewiness, so err on the side of slightly underdone.
- → Can I freeze the dough?
-
Yes, scoop the dough onto a baking sheet and freeze until solid, then transfer to a freezer bag. Bake from frozen, adding 1-2 minutes to the baking time. Frozen dough keeps for up to 3 months and you can bake just as many as you need.
- → Why add both chocolate chips and chopped chocolate?
-
Chocolate chips hold their shape during baking, creating distinct pockets of chocolate. Chopped dark chocolate melts more completely, creating rich swirls throughout the cookie. Using both gives you the best of both textures—small bursts and gooey ribbons of chocolate.
