 Save to Pinterest
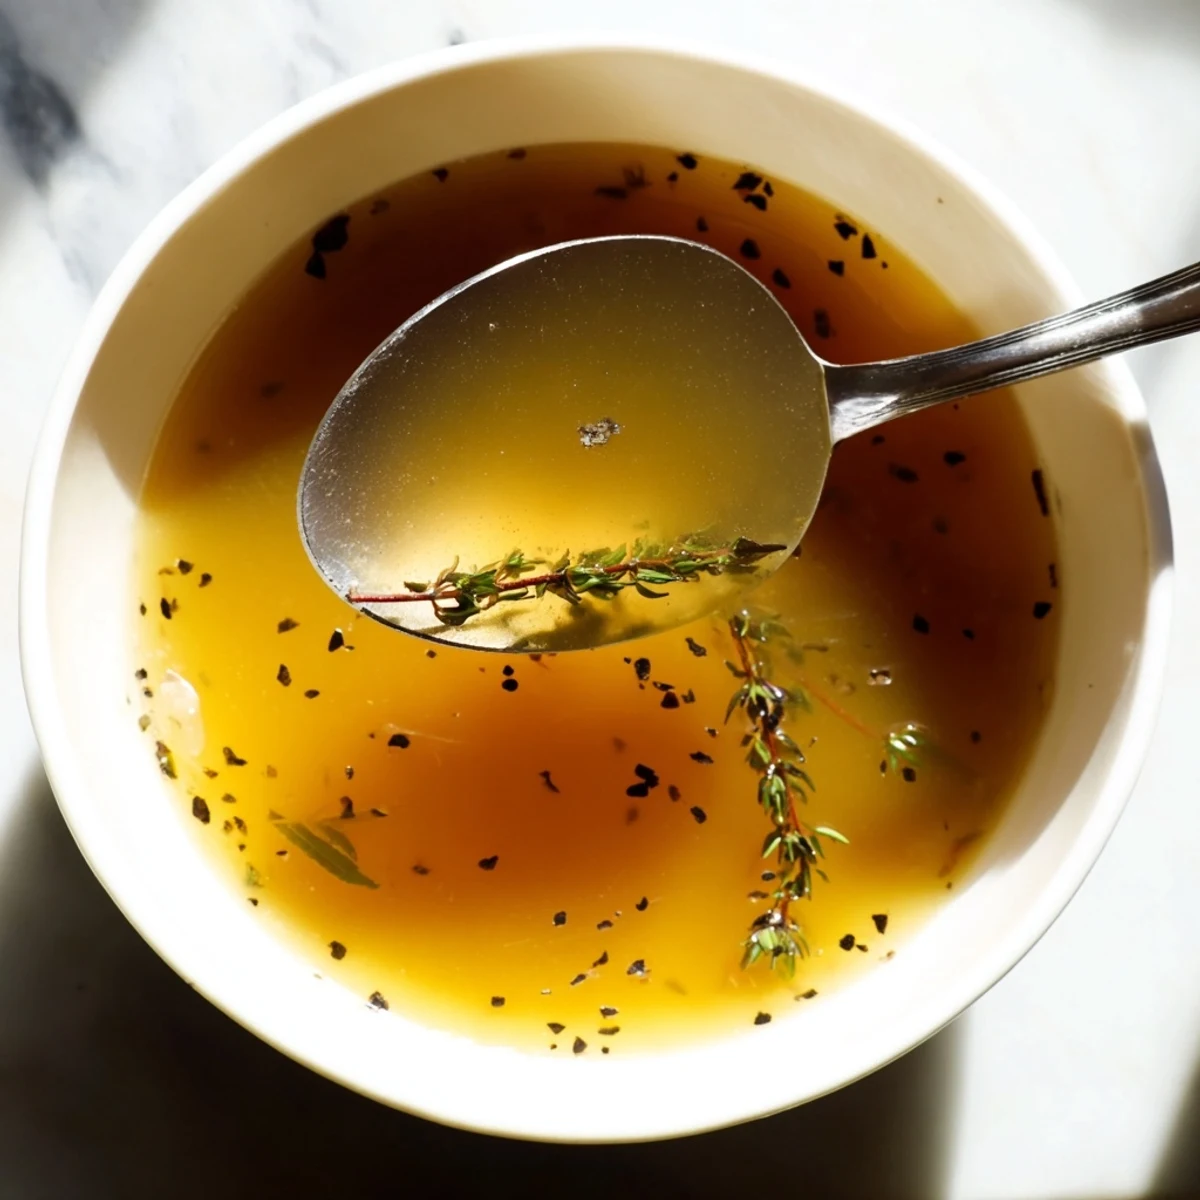
 This homemade vegetable broth utilizes leftover vegetable scraps combined with herbs and spices simmered slowly to extract a rich, aromatic flavor. It's easy to prepare, taking just over an hour to develop a deep, savory base that enhances a variety of dishes. The process involves simmering the scraps with bay leaves, peppercorns, and thyme in cold water, then straining to produce a clear, versatile liquid. Ideal for adding natural umami and freshness to your culinary creations while reducing waste and supporting sustainable cooking practices.
I started saving vegetable scraps in a freezer bag after watching my neighbor rinse and toss perfectly good carrot peels into the compost. She mentioned her grandmother used to simmer them into broth, and I decided to try it that weekend. The smell that filled my kitchen that first time was earthy and comforting, nothing like the boxed broth I had been buying. Now I keep a dedicated container in my freezer and it fills up faster than I expected.
I made my first big batch the night before a snowstorm, and by morning the house still smelled like thyme and slow simmered vegetables. My partner came downstairs and said it smelled like someone had been cooking all night. I used half of it that day for a quick lentil soup, and the difference was immediate. It tasted like effort, even though it required almost none.
Ingredients
- Vegetable Scraps: Use clean peels, ends, and stems from carrots, onions, celery, leeks, mushrooms, and herbs. Avoid anything bitter or overly starchy like too many potato peels or large amounts of cabbage.
- Bay Leaves: They add a subtle herbal backbone that ties everything together without taking over.
- Black Peppercorns: A little heat and complexity that blooms slowly as the broth simmers.
- Fresh Thyme: Dried works too, but fresh thyme brings a brightness that feels almost grassy in the best way.
- Salt: Optional at this stage since you can always season later, but a pinch helps coax out flavor early.
- Cold Water: Starting with cold water helps extract more flavor from the scraps as they heat gradually.
Instructions
- Load the Pot:
- Toss all your vegetable scraps into a large stockpot. It should look messy and full, like a compost bin with potential.
- Add Aromatics:
- Drop in the bay leaves, peppercorns, thyme, and a little salt if using. These will quietly build the flavor as everything simmers.
- Cover with Water:
- Pour in cold water until the scraps are fully submerged. You want everything floating freely, not packed tight.
- Bring to a Boil:
- Set the heat to high and watch for the first rolling bubbles. Once it boils, turn it down immediately to a gentle simmer.
- Simmer Low and Slow:
- Let it bubble quietly for an hour, uncovered. Skim off any foam that rises to the top with a spoon.
- Cool and Strain:
- Turn off the heat and let it sit for a few minutes. Strain everything through a fine-mesh sieve or cheesecloth into a big bowl, pressing gently on the solids to get every drop.
- Taste and Store:
- Taste the broth and add more salt if needed. Let it cool completely before refrigerating or freezing in portions.
 Save to Pinterest
 The first time I froze this broth in ice cube trays, I felt like I had unlocked a secret level of home cooking. I could drop a few cubes into a pan when sauteing onions or deglazing, and suddenly everything tasted more intentional. My friend asked what I did differently to my rice once, and I just smiled and said I used homemade broth instead of water.
How to Store Your Broth
I keep mine in wide mouth mason jars in the fridge for up to five days, but most of it goes straight into the freezer in silicone muffin cups. Once frozen, I pop them out into a labeled bag and grab however many I need. It is the kind of thing that makes weeknight cooking feel less frantic.
What Not to Add
I learned the hard way not to toss in bell pepper scraps or too many tomato ends. Bell peppers make the broth taste oddly sweet and one dimensional, and tomatoes can make it too acidic. Stick to the classics like onion, carrot, celery, and herbs, and you will get something balanced every time.
Ways to Use This Broth
I have used this as the base for everything from risotto to braised greens to a simple mug of warm broth with miso stirred in. It is gentle enough to let other flavors shine but strong enough to carry a dish on its own. Once you start keeping it around, you will find reasons to use it everywhere.
- Swap it in for water when cooking grains like rice, quinoa, or farro.
- Use it to deglaze pans after sauteing vegetables or mushrooms.
- Warm a cup with a splash of soy sauce and sesame oil for a quick savory drink.
 Save to Pinterest
 There is something quietly satisfying about turning what most people throw away into something this useful and warm. It feels like a small act of care, both for your kitchen and for whatever you cook next.
Recipe Help & Support
- → What types of vegetable scraps work best?
-
Use a mix of carrot peels, onion skins, celery leaves, leek tops, parsley stems, and mushroom stems for a balanced flavor. Avoid overly bitter scraps like broccoli or cabbage.
- → Can I use dried herbs in the broth?
-
Yes, dried thyme or bay leaves can be substituted if fresh herbs are unavailable, though fresh herbs add a brighter aroma.
- → How long should the broth simmer?
-
Simmer the vegetable scraps and seasonings for about one hour to extract maximum flavor without bitterness.
- → How should I store the broth after cooking?
-
Cool the broth completely, then refrigerate for up to 5 days or freeze in portions for up to 3 months.
- → Can the broth be used as a base for other dishes?
-
Absolutely, it’s excellent as a foundation for soups, stews, risottos, and sauces, adding rich, natural flavor.
- → Are there any allergen considerations?
-
Check vegetable scraps for allergens like celery, and verify that added spices do not contain allergens.
