 Save to Pinterest
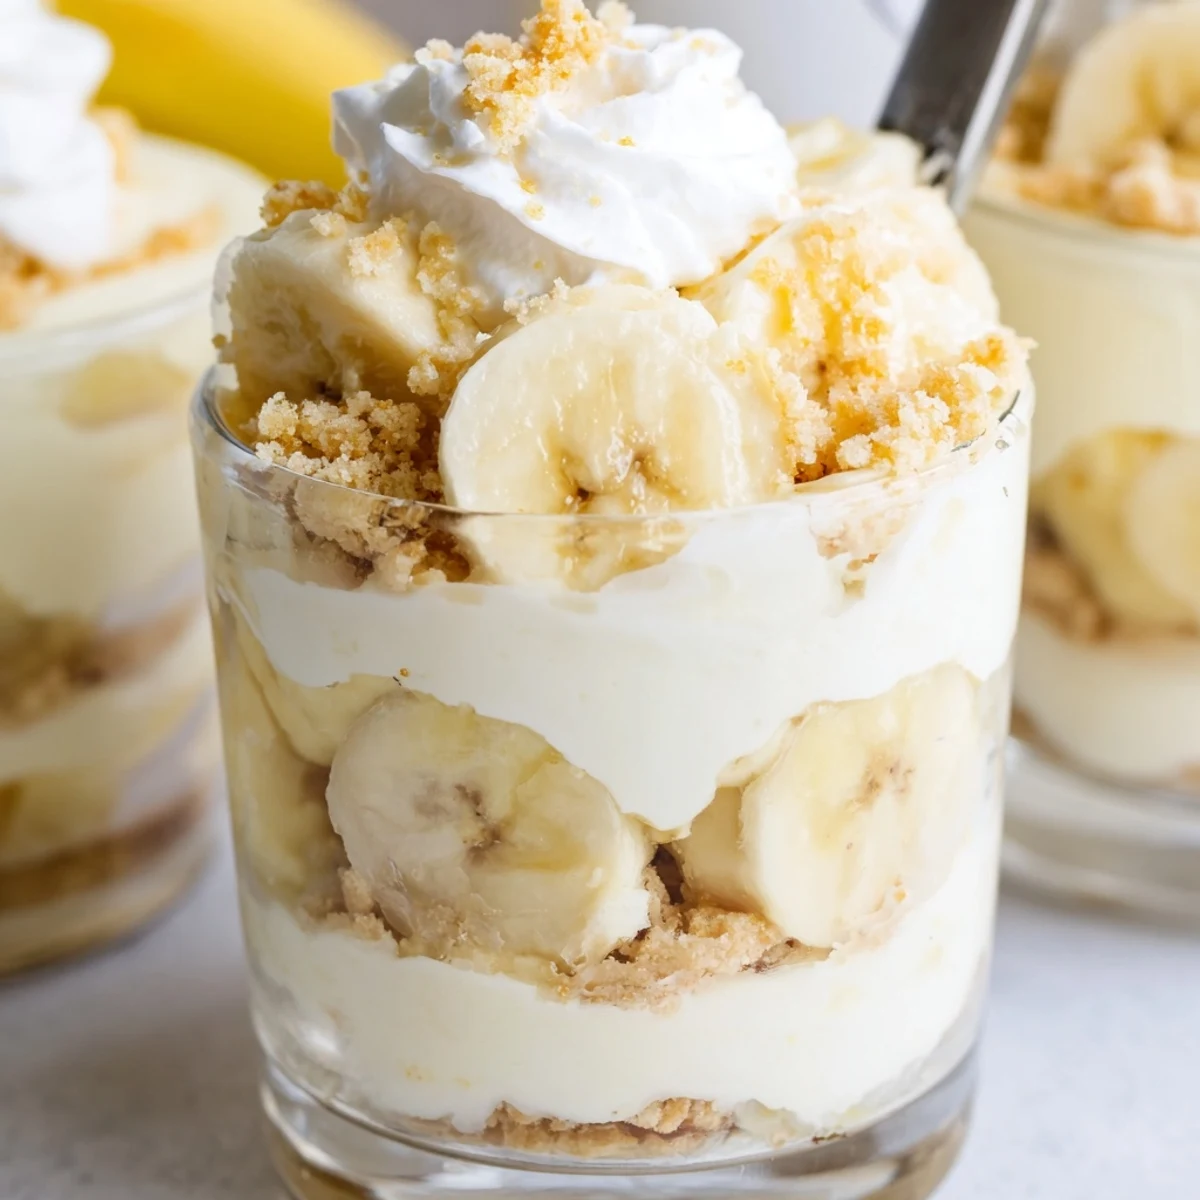
 These individual cheesecake cups combine the best of two beloved desserts—rich cheesecake and classic banana pudding—into one elegant, portion-controlled treat. The vanilla wafer crust provides a buttery foundation, while layers of silky cheesecake filling and sweet banana pudding create perfect harmony in every bite. Fresh banana slices and crunchy wafer crumbs add texture and visual appeal, making these cups ideal for entertaining or everyday indulgence.
The first time I made these individual cups, my kitchen counter looked like a science experiment gone right. Little glass vessels lined up like edible test tubes, each one holding layers of creamy perfection that I couldn't stop sampling with my spoon. Sometimes the best desserts are the ones that let you play with your food while pretending you're just quality control testing.
I brought these to a summer potluck last year and watched them disappear faster than anything else on the table. My friend Sarah actually went back for seconds and then asked if there were any hiding in the kitchen. There's something about having your own perfect little portion that makes dessert feel extra special.
Ingredients
- Vanilla wafer cookies: Crushing these yourself gives you the perfect texture control, and that extra bit of therapeutic stress release never hurts
- Unsalted butter: Melt it gently and let it cool slightly before mixing so your crust doesn't turn into a soggy mess
- Cream cheese: Room temperature is non-negotiable here or you'll be fighting lumps until your arm gives out
- Heavy whipping cream: The colder the better, and don't rush the whipping process or you'll regret it later
- Instant banana pudding mix: The shortcut that actually works, giving you that classic banana flavor without the fuss
- Ripe bananas: Look for ones with just the right amount of brown spots for natural sweetness and that perfect banana punch
Instructions
- Build the foundation:
- Mix your crushed wafers with melted butter until it feels like damp sand, then press about two tablespoons into each cup with the back of your spoon
- Whip up magic:
- Beat that softened cream cheese with sugar and vanilla until it's smoother than your morning playlist
- Cloud nine:
- Whip your cold cream until stiff peaks form, then fold it gently into the cream cheese mixture like you're handling something precious
- Pudding power:
- Whisk that pudding mix with cold milk for exactly two minutes until it's thick enough to coat a spoon
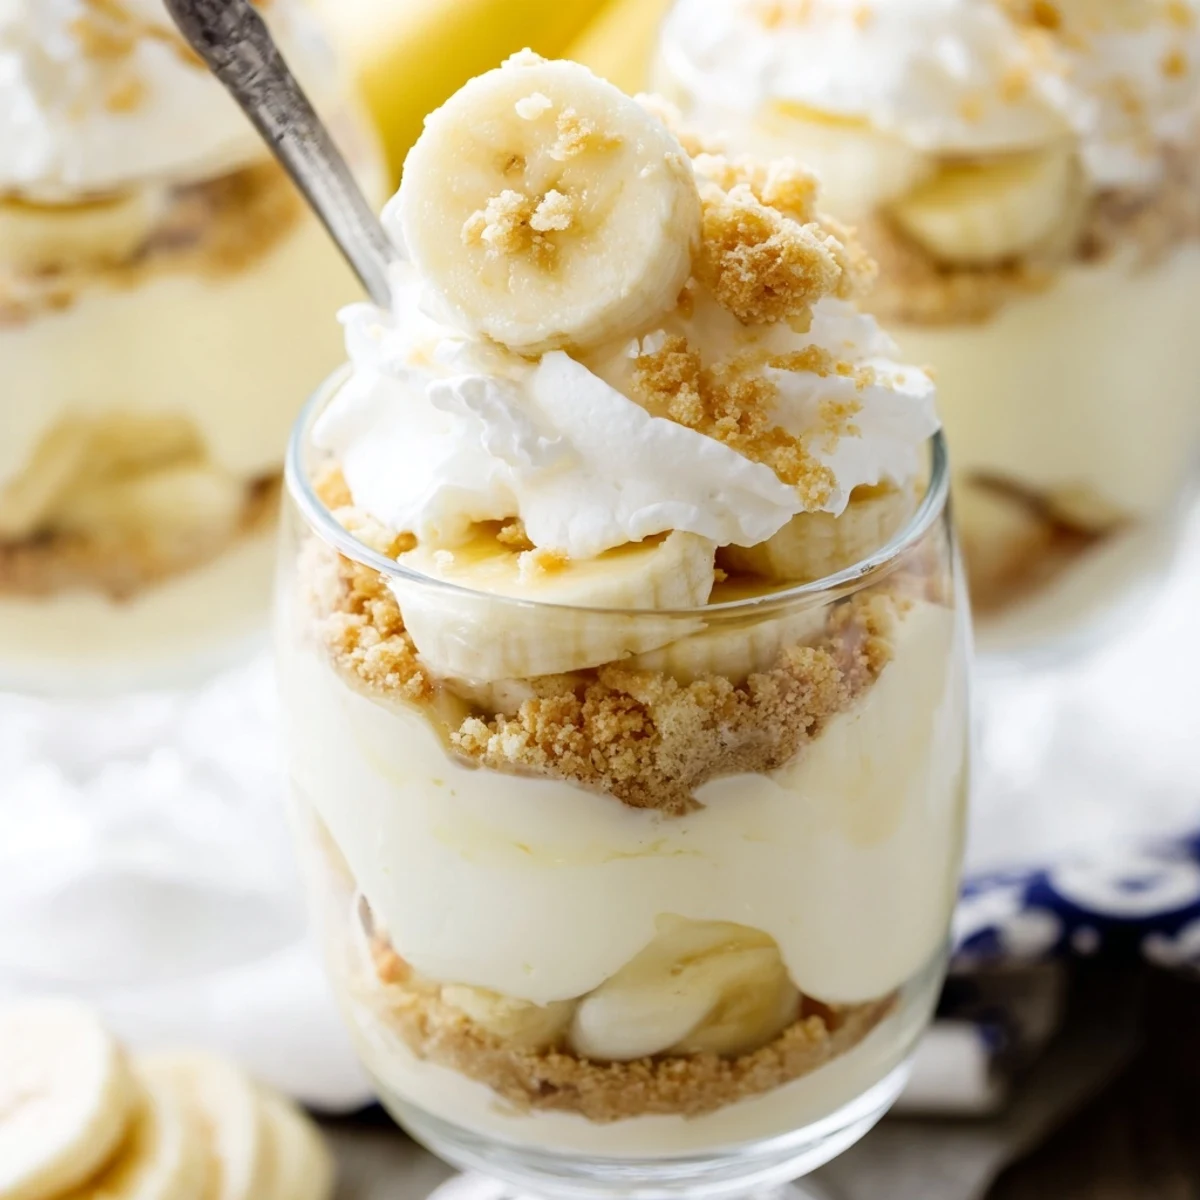
- Layer it up:
- Start with cheesecake filling, add banana slices, then pudding, then top with the remaining cheesecake mixture
- Final touches:
- Crown each cup with extra crumbs, more bananas, and whipped cream if you're feeling fancy
- Patience pays:
- Let them chill for at least two hours because good things really do come to those who wait
 Save to Pinterest
 My daughter now requests these for every birthday instead of cake. Watching her carefully eat each layer with deliberate enjoyment has become one of my favorite kitchen memories. Some desserts are just meant to be savored slowly.
Making Them Your Own
I've started experimenting with different cookie crusts, like graham crackers or even crushed butter cookies for a caramel note. Each version brings something slightly different to the party. The beauty of individual cups is that you can even do different crust variations in the same batch.
Assembly Secrets
Using a piping bag for the layers makes everything look professional with zero effort. Just zip the bags and squeeze in circles or whatever pattern makes you happy. Clean edges between layers using a damp paper towel if you want that Instagram-worthy finish.
Storage Solutions
These keep beautifully in the fridge for up to 24 hours, though I rarely have them last that long. Add fresh banana slices right before serving for that just-made taste. Individual lids or plastic wrap pressed directly on top prevents any fridge flavors from sneaking in.
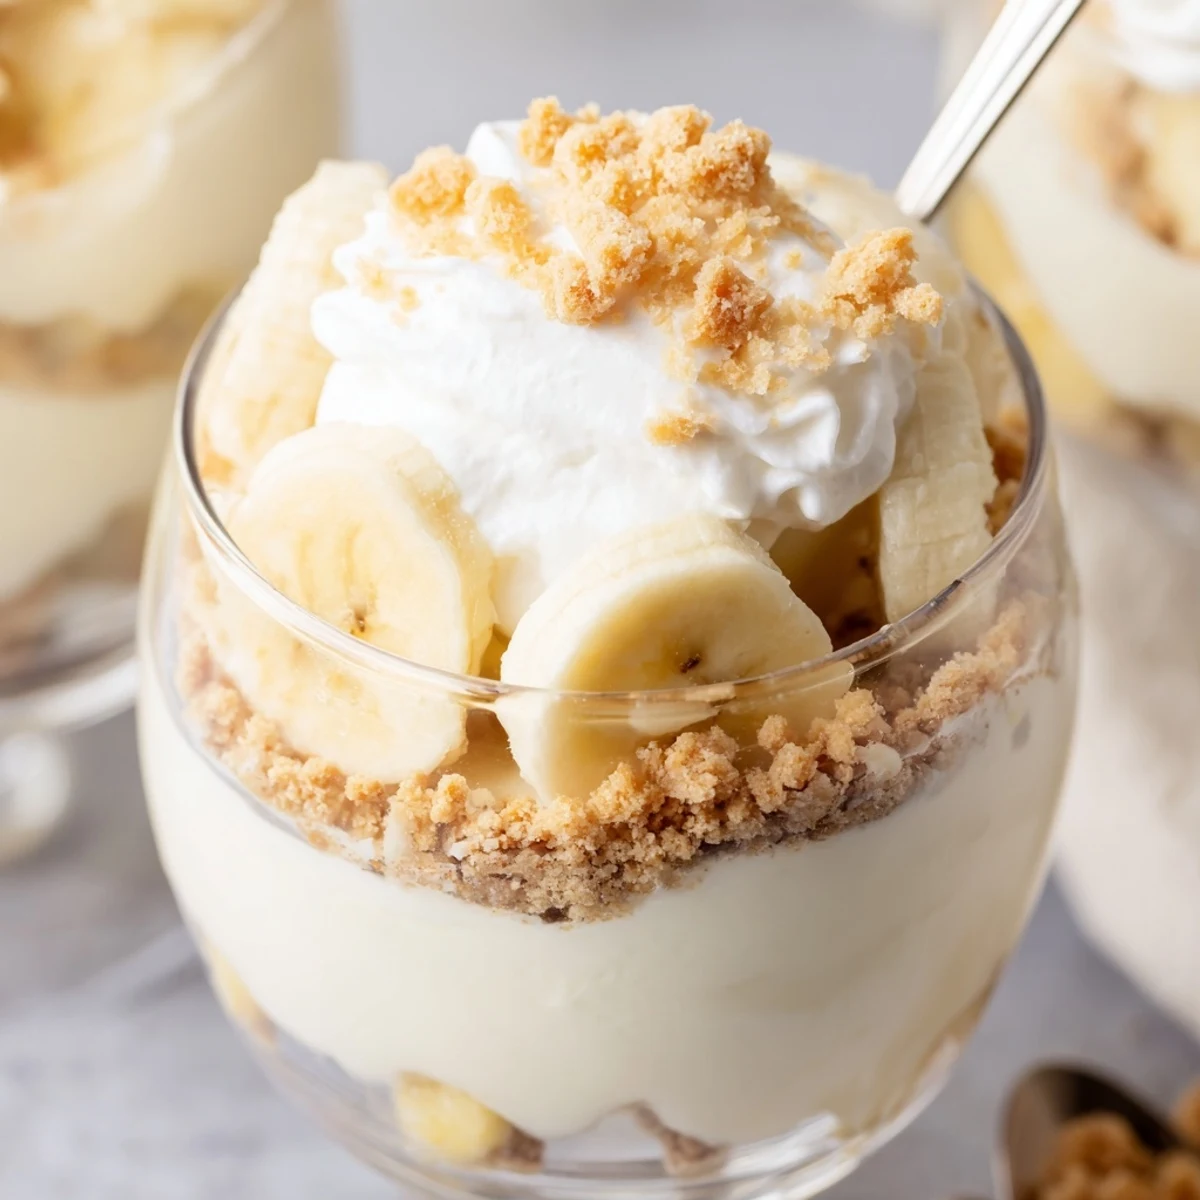
- Clear glasses show off those gorgeous layers
- Mason jars work perfectly if you want to transport them
- Wide-mouth cups make assembly so much easier
 Save to Pinterest
 These little cups have become my go-to for everything from dinner parties to Tuesday night sweet cravings. Sometimes the simplest desserts bring the most joy.
Recipe Help & Support
- → Can I make these cups ahead of time?
-
Yes, you can prepare these cups up to 24 hours in advance. Simply assemble, cover tightly, and refrigerate. Add fresh banana slices and whipped cream topping just before serving to prevent browning and maintain optimal texture.
- → What type of cups work best for this dessert?
-
Clear glass serving cups, small mason jars, or parfait glasses work beautifully as they showcase the attractive layers. Each container should hold approximately 6-8 ounces to accommodate all three layers comfortably.
- → How do I prevent the banana slices from turning brown?
-
Toss the banana slices lightly in lemon juice before adding them to the cups. The citrus creates a protective barrier against oxidation. Alternatively, add the fresh banana topping immediately before serving.
- → Can I use homemade pudding instead of instant mix?
-
Absolutely. Homemade vanilla pudding infused with mashed ripe banana works wonderfully. Allow the pudding to cool completely before layering to maintain distinct, clean layers in your cups.
- → What other crust options can I use?
-
Try graham cracker crumbs for a classic flavor, vanilla biscuit crumbs for extra sweetness, or even crushed Nilla Wafers for intensified banana flavor. The crust ratio remains the same regardless of your choice.
- → Can I freeze these cheesecake cups?
-
While possible, freezing may alter the texture of the banana pudding layer. For best results, refrigerate and consume within 2-3 days. The fresh taste and creamy consistency are optimal when enjoyed fresh.
