 Save to Pinterest
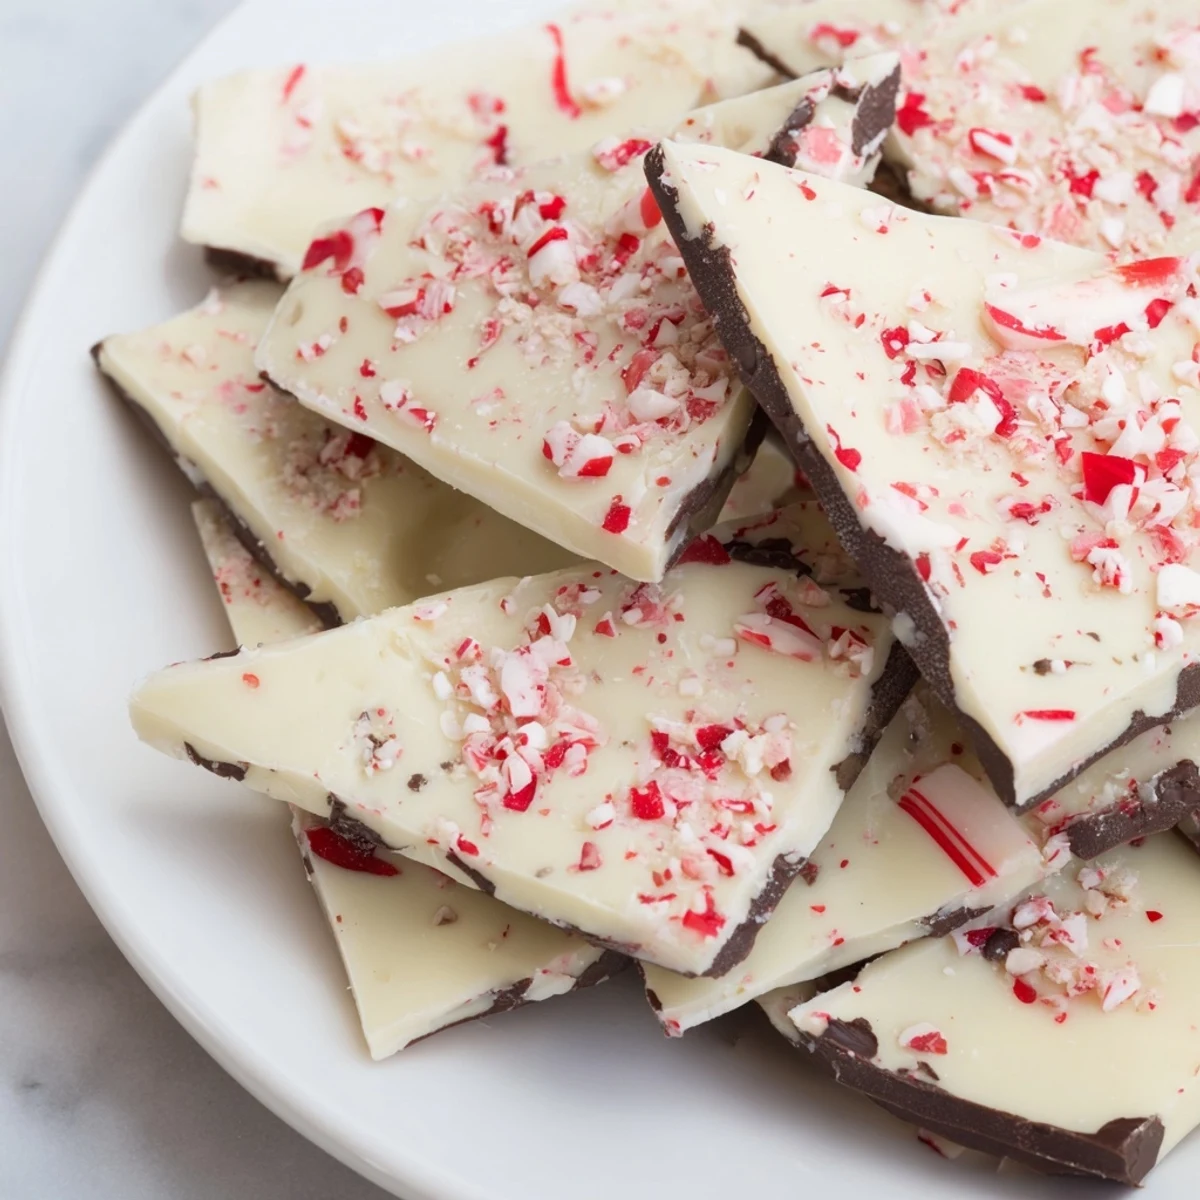
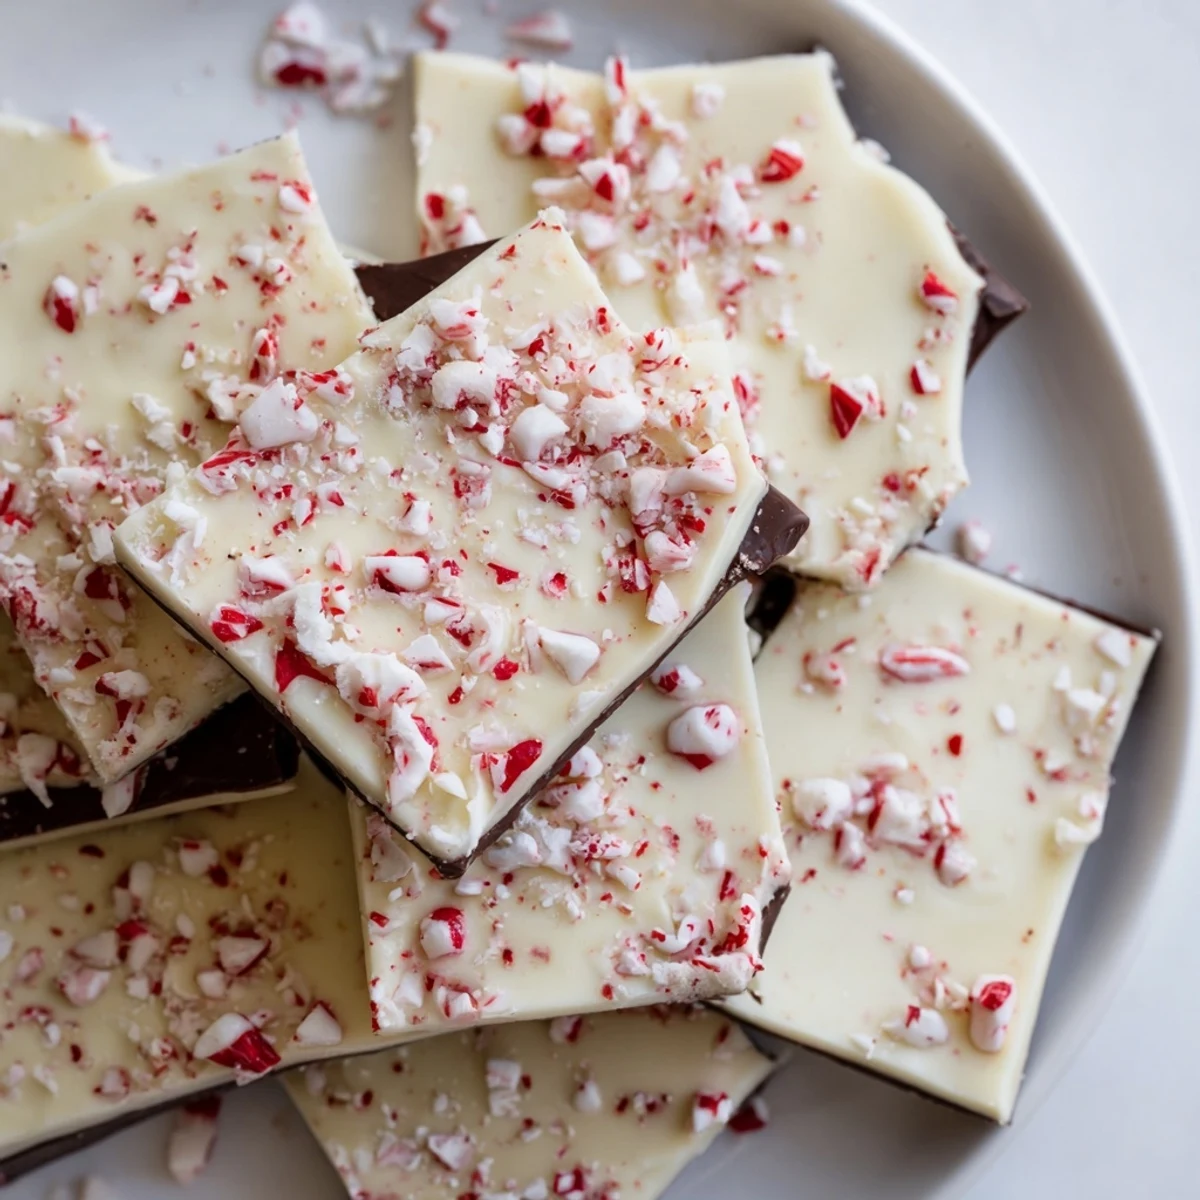
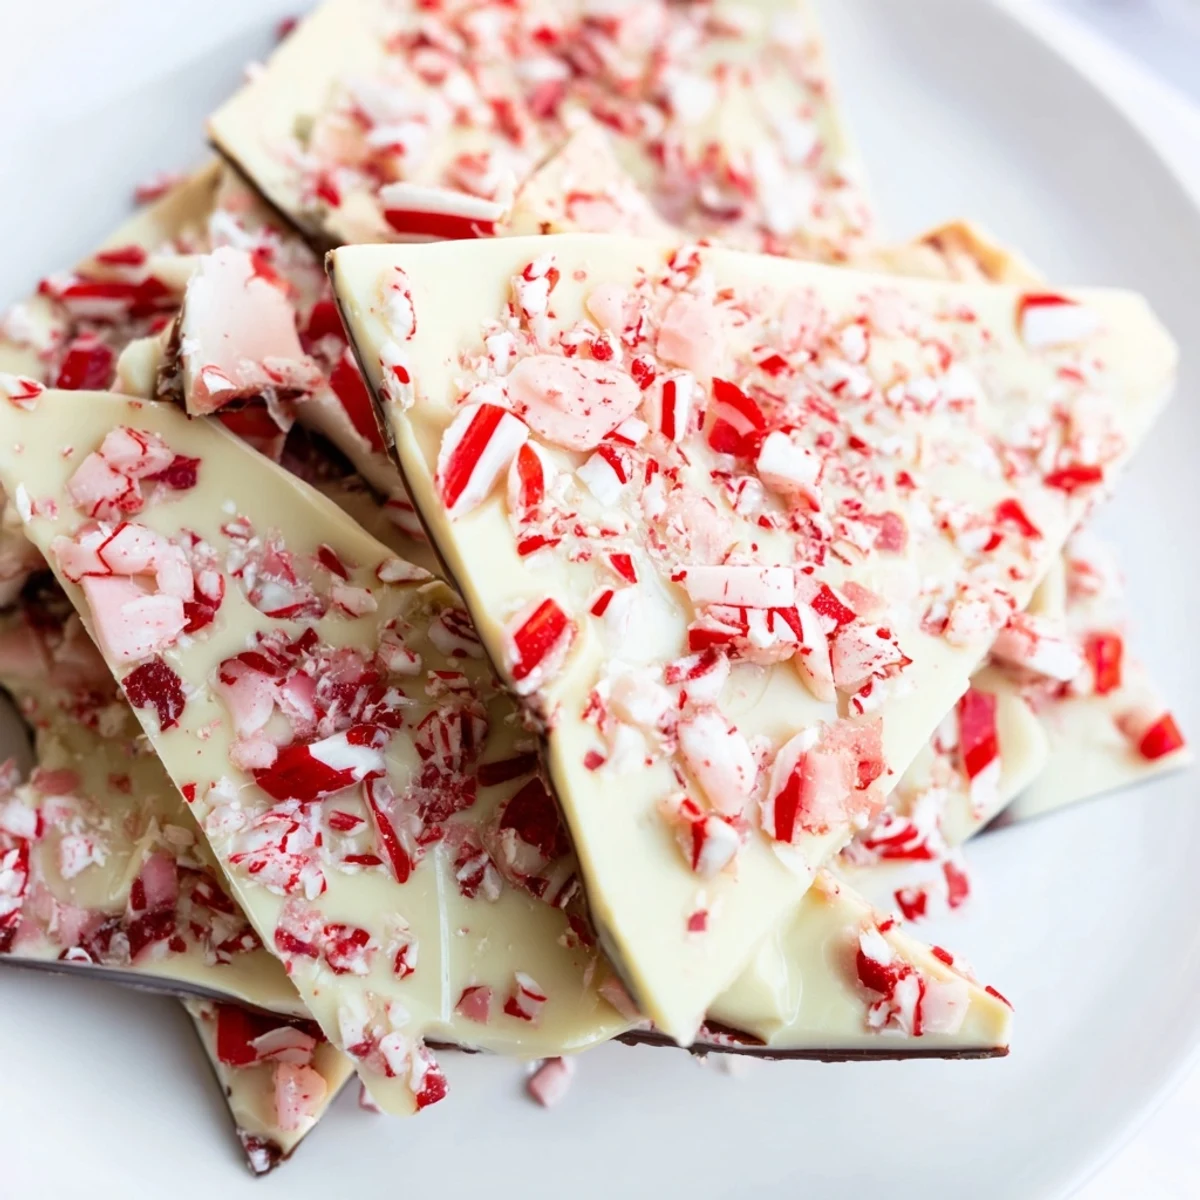
 This festive bark features a smooth layer of semisweet or dark chocolate, topped with creamy white chocolate infused with peppermint extract. Crushed peppermint candies add a refreshing crunch. Easy to prepare, it sets in the refrigerator and makes a delightful holiday indulgence. Ideal for gifting or pairing with coffee or hot chocolate, this treat brings a perfect balance of sweet and minty flavors.
My kitchen smelled like a candy cane shop the first December I made peppermint bark—not because I set out to create something fancy, but because I'd bought too many discounted peppermint sticks after the holidays and needed to use them before they staled. I'd never attempted layered chocolate before, and the instructions seemed almost too simple, which made me suspicious. It turned out that suspicion was unnecessary; the bark came together like a small miracle, and now it's the gift I make when I want people to know I actually tried.
I remember my neighbor stopping by mid-chilling and the whole interaction changing because I offered her a piece of warm bark still slightly soft in the middle. She sat at my kitchen counter eating it slowly, and we talked for an hour about things that mattered—the kind of conversation that happens when you're sharing something that feels a little bit like home. That's when I realized peppermint bark wasn't just dessert; it was permission to slow down together.
Ingredients
- Semisweet or dark chocolate, chopped (200 g / 7 oz): This is your foundation, and choosing quality chocolate here actually matters because there's nowhere to hide once it sets. I learned the hard way that cheaper chocolate can seize up unexpectedly, so invest in something you'd actually want to eat on its own.
- White chocolate, chopped (200 g / 7 oz): White chocolate is temperamental and burns faster than you'd think, so keep your heat low and your attention focused when melting it. The richness of this layer balances the peppermint, making each bite feel intentional.
- Peppermint candy canes or hard candies, crushed (6–8 pieces / about 1/2 cup): Crush these right before assembling, or they'll start to absorb moisture and lose their sharp personality. The size of your crush matters—too fine and they disappear, too coarse and they feel uncomfortable to bite into.
- Peppermint extract, optional (1/2 tsp): This is optional but worth the gamble if you want peppermint flavor that whispers rather than shouts. Start with 1/4 teaspoon if you're nervous, because it's easier to add more than to take it away.
Instructions
- Set Up Your Station:
- Line your baking sheet with parchment paper and have everything within arm's reach—you'll want to work without pausing once the chocolate starts melting. This moment feels humble but it's where the whole operation either flows smoothly or turns chaotic.
- Melt the Dark Chocolate:
- Place your chocolate in a heatproof bowl over barely simmering water, or use the microwave in 20-second bursts, stirring between each one. Watch for the moment it goes from chunky to silky—that's your cue to stop, because chocolate keeps cooking even after heat is gone.
- Spread the Foundation:
- Pour the dark chocolate onto the parchment and use a spatula to spread it into an even layer about 1/4 inch thick. Work gently and deliberately, like you're creating something intentional rather than just getting it done, then refrigerate for 15 minutes until the surface feels just barely set but still gives slightly when you press it.
- Prepare the Peppermint Layer:
- Melt the white chocolate the same patient way you did the dark, watching it closely because it scorches more easily. Stir in the peppermint extract if you're using it, and let the mixture cool for just a minute so it won't melt the dark layer underneath.
- Layer and Top:
- Pour the white chocolate over the dark layer and spread it gently to cover, then immediately sprinkle your crushed peppermint over the top and press it down slightly with a sheet of parchment. This is the moment where precision gives way to intuition—if it looks good to you, it probably tastes good.
- Final Set:
- Refrigerate for at least an hour, though overnight is even better if you have the patience. When you break it apart, it should snap cleanly and look like you actually know what you're doing.
 Save to Pinterest
 The morning after I made this for my coworkers, someone left a thank-you note by my desk that just said 'the peppermint part was crunchy and I wasn't expecting to feel that happy about candy.' That note is still in my desk drawer, not because it's eloquent, but because it proves that small acts of feeding people matter in ways that extend far beyond the eating.
The Art of Crushing Candy
There's a moment in making this where you're standing in your kitchen with peppermint sticks and a tool that feels either like overkill or perfect depending on your mood. I've used a rolling pin, a meat mallet, and once—in a moment of pure frustration—my fist wrapped in a kitchen towel. The goal is pieces that feel like interruptions when you bite into smooth chocolate, not powder that disappears. Work on a sturdy cutting board and go slower than you think you need to, because once they're crushed too fine, there's no redemption.
Chocolate Matters More Than You'd Think
The quality of your chocolate determines whether this tastes homemade or like something that belongs in a fancy gift box. I learned this the hard way after using the cheapest chocolate I could find, and the bark ended up waxy with a finish that looked slightly dull. When I switched to better quality chocolate, the whole thing transformed—suddenly it gleamed, snapped cleanly, and tasted like the care I'd actually put into it. You don't need expensive chocolate, just chocolate that would taste good to you standing at the kitchen counter at midnight.
Storage and Gift-Giving Wisdom
This keeps beautifully in an airtight container at cool room temperature for up to two weeks, which is almost longer than you'll be able to resist eating it. If you're making it for gifts, layer it in a box with parchment paper between pieces so they don't stick together, and add a little note about the peppermint or your mood when you made it—people love that human detail. Store it somewhere it won't melt, which in a warm kitchen might mean the bottom shelf of your fridge, and remember that chocolate loves cool darkness the way some people love quiet mornings.
- Wrap pieces individually in wax paper for gifts that feel intentional and special.
- Make it a few days ahead so you're not stressed on gift-giving day, giving your kitchen time to smell normal again before people arrive.
- If you're gifting to someone with dietary restrictions, check that your chocolate and candies are certified gluten-free, and always mention the milk content upfront.
 Save to Pinterest
 Making peppermint bark became my favorite December ritual, not because it's complicated, but because it's simple enough that I can focus on the person I'm making it for instead of worrying about failure. It tastes like you tried, which is sometimes all any of us are really looking for.
Recipe Help & Support
- → What type of chocolate works best?
-
Semisweet or dark chocolate provides a rich base that balances well with the sweet white chocolate topping.
- → Can I substitute peppermint candies?
-
Yes, other flavored hard candies can be used for a unique twist while maintaining the crunchy texture.
- → How long should the bark chill?
-
Refrigerate for at least one hour to ensure the layers set firmly before breaking into pieces.
- → Is peppermint extract necessary?
-
It’s optional but adds an extra layer of peppermint flavor enhancing the crushed candies topping.
- → What’s the best way to crush the peppermint candies?
-
Use a rolling pin or a heavy object to crush candies evenly without turning them into powder.
