 Save to Pinterest
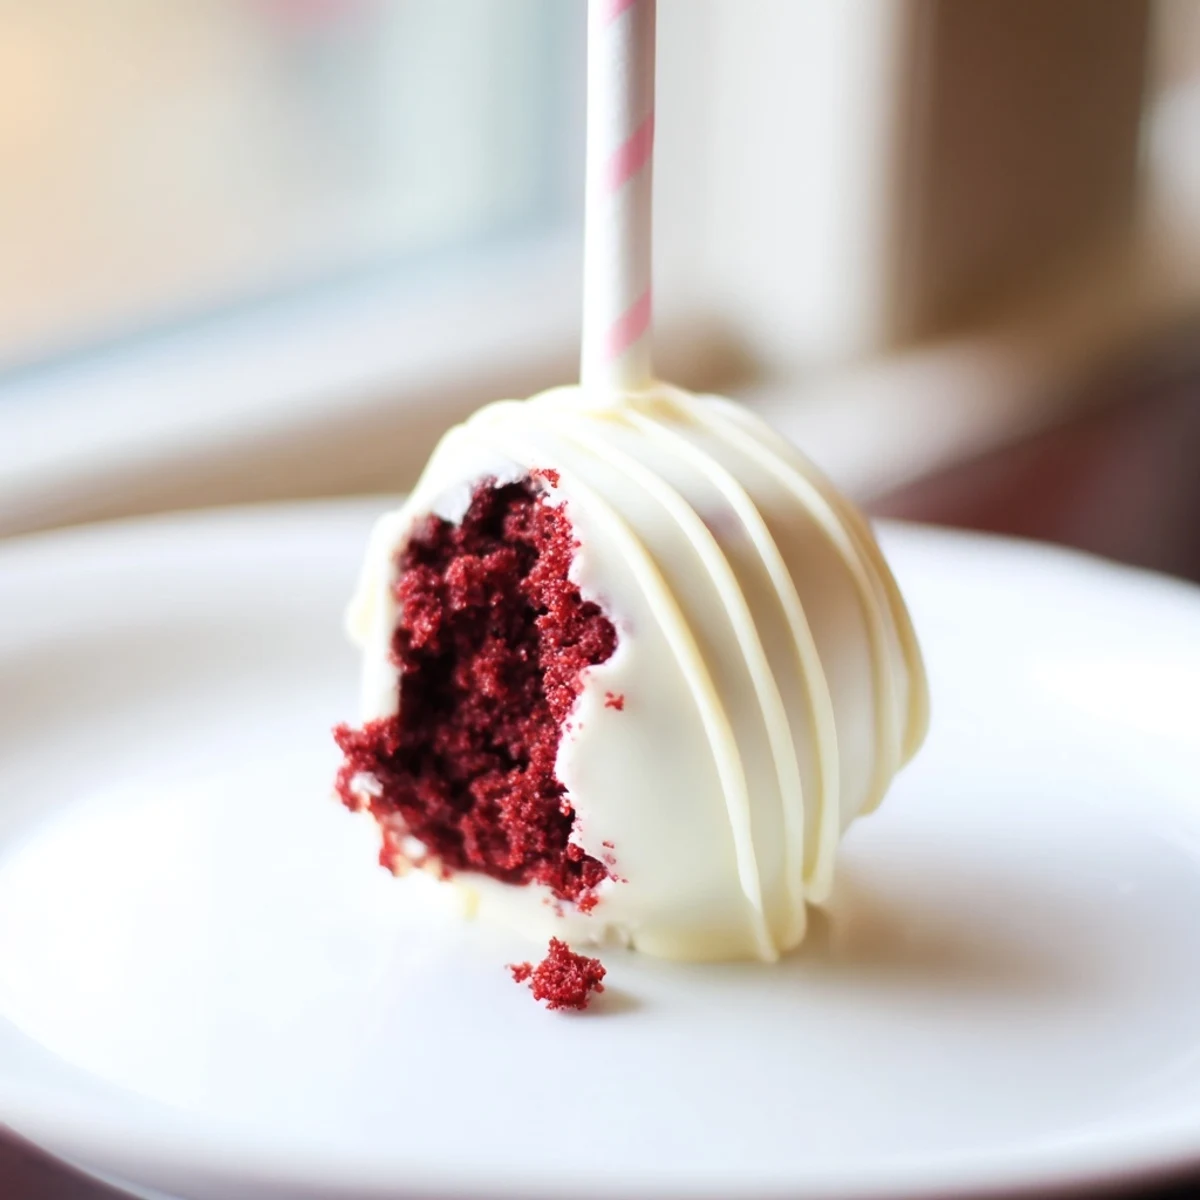
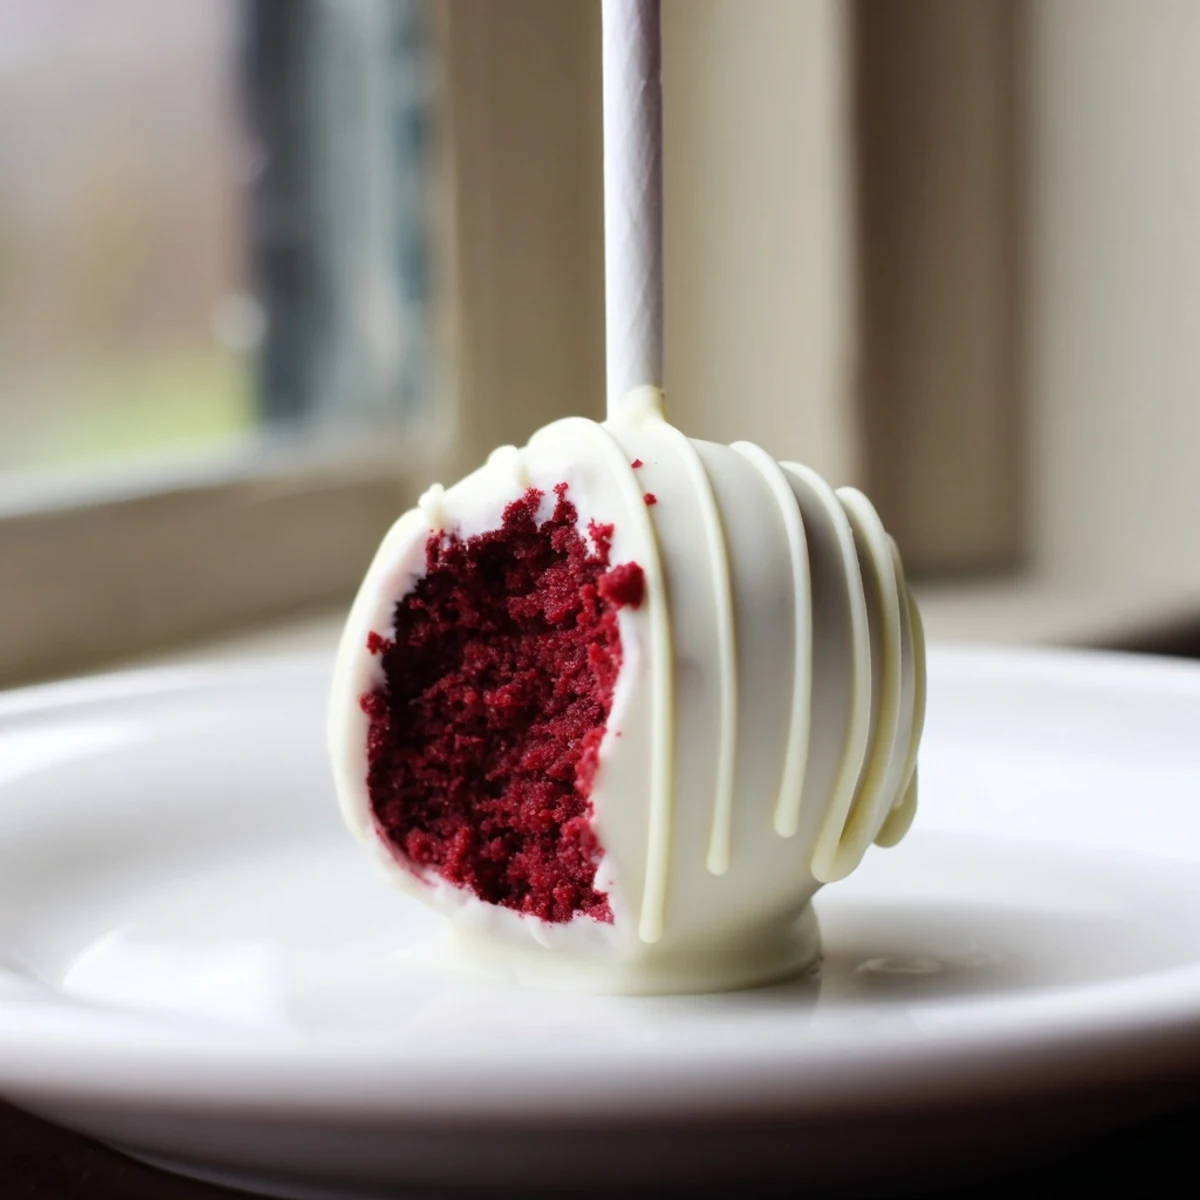
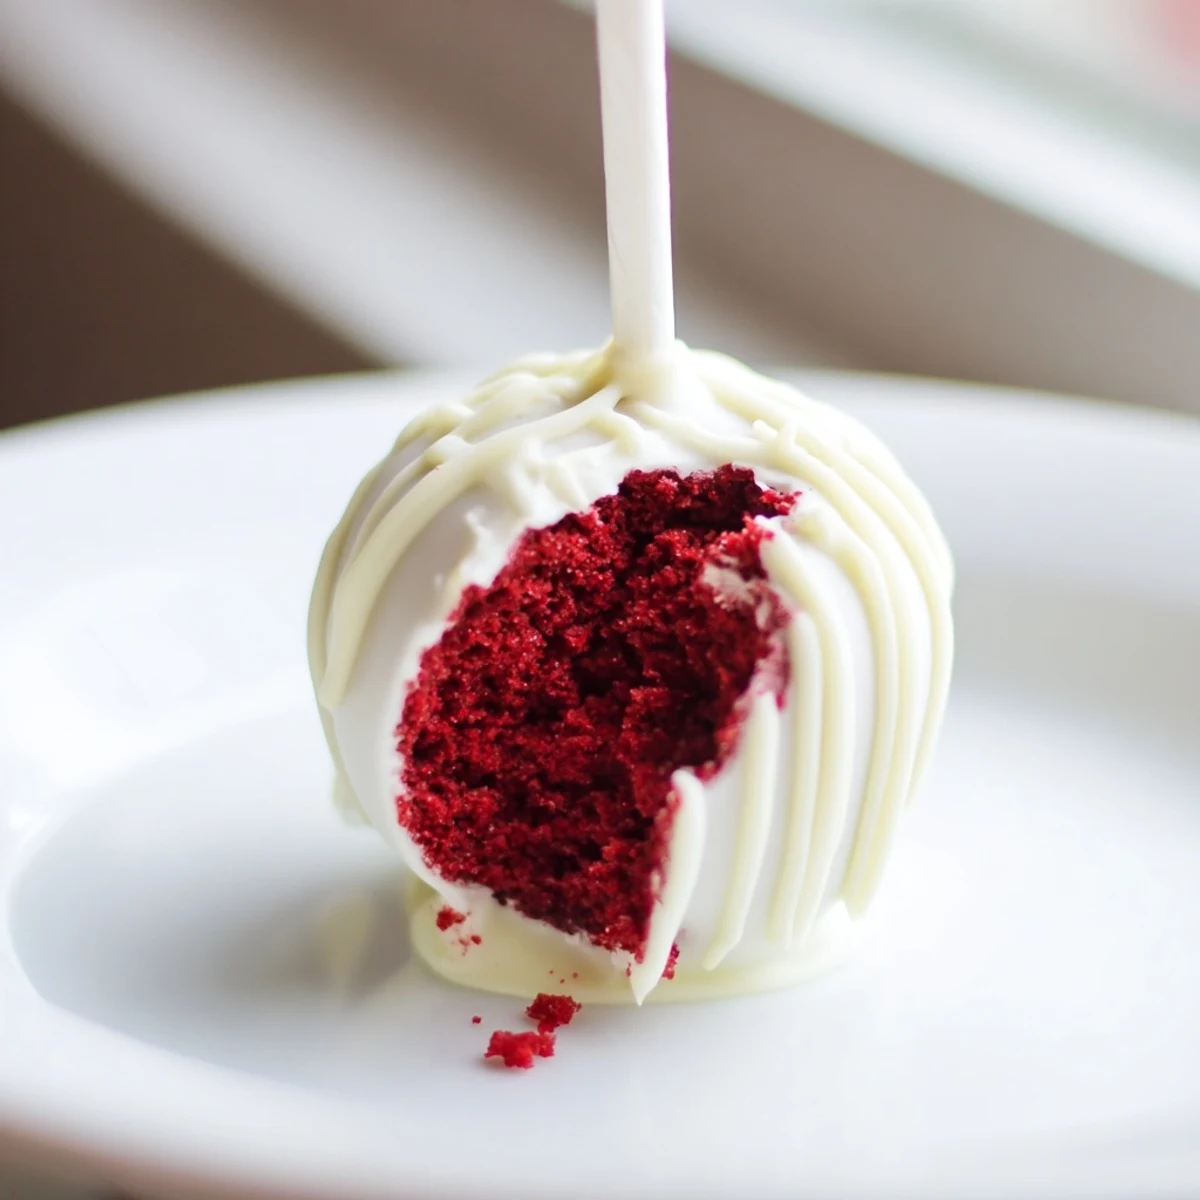
 Transform moist red velvet cake into elegant bite-sized pops with this stunning American dessert. Crumble cooled cake, blend with creamy frosting, and shape into balls before chilling. Dip each pop into silky white chocolate and let set for a glossy finish. These 24 servings deliver rich cocoa and vanilla flavors with vibrant color, ideal for parties or gifting.
The kitchen was filled with the sweet, tangy aroma of my red velvet cake pops as I prepared them for my daughter's 10th birthday. My first attempt years ago had been a disaster with crumbly pops falling off sticks, but that only made me more determined. These little bites of heaven have since become my signature treat, appearing at nearly every gathering where I want to make people smile.
Last Christmas Eve, I watched my normally reserved father-in-law grab his third cake pop with childlike excitement. As a man who rarely shows enthusiasm for sweets, his eyes lit up while explaining to everyone at the table that these were the perfect ratio of cake to frosting. That moment cemented these treats as our new holiday tradition, proving food really does bring people together in unexpected ways.
Ingredients
- Unsweetened Cocoa Powder: I use Dutch-processed cocoa for a smoother, less bitter chocolate note that complements rather than overwhelms the cream cheese frosting.
- Buttermilk: After trying several variations, I found that real buttermilk (not the milk and vinegar substitute) gives these cake pops their distinctive moist, tender texture that makes everyone ask for the recipe.
- Red Food Coloring: The gel version gives you that striking ruby color without adding too much liquid to your batter, which can affect the final texture.
- White Chocolate: Splurge on good quality white chocolate chips or bars for melting, as the cheaper candy melts dont have the same rich, creamy mouthfeel against the cake.
Instructions
- Prepare Your Canvas:
- Preheat your oven to 350°F and prepare your baking pan with a light coat of butter and parchment paper that hangs slightly over the edges for easy removal later.
- Mix the Dry Dream Team:
- Whisk the flour, cocoa powder, baking soda, and salt together until no cocoa lumps remain. This ensures your cake has that perfect velvet texture without any bitter cocoa pockets.
- Cream to Perfection:
- Beat your butter and sugar until the mixture looks almost fluffy and turns a lighter shade of yellow. This incorporates air that helps your cake rise beautifully.
- Build the Batter:
- After beating in your eggs one by one, mix in your buttermilk, vanilla, that gorgeous red food coloring, and vinegar until the mixture looks like something from a paint store. The vinegar reacts with the baking soda and cocoa to enhance the red color naturally.
- Combine with Care:
- Fold the dry ingredients into your wet mixture with gentle strokes, stopping as soon as the flour disappears. Overmixing here is the enemy of tender cake.
- Bake to Bliss:
- Pour your vibrant batter into the pan and bake until a toothpick inserted in the center comes out with just a few moist crumbs attached. Your kitchen will smell like heaven about 30 minutes in.
- Transform to Crumbs:
- Once completely cooled, break your cake into fine crumbs using your fingers or a fork. The texture should be uniform without any large chunks.
- Create the Magic Mixture:
- Beat your cream cheese and butter until silky smooth before adding the powdered sugar and vanilla. The frosting should be thick enough to hold its shape but still creamy.
- Form Your Spheres:
- Mix just enough frosting into your crumbs until the mixture holds together when squeezed. Roll into uniform balls, placing them on a parchment-lined sheet as you go.
- Chill for Success:
- Pop those balls into the freezer for half an hour. Theyre much easier to dip when theyre firm but not frozen solid.
- Prep Your Chocolate:
- Melt your white chocolate slowly, either in short microwave bursts or over a double boiler. Add a little coconut oil if the consistency seems too thick for smooth dipping.
- Stick and Dip:
- Dip each stick in melted chocolate before inserting it into a cake ball, which helps secure them once set. After a brief chill, dip each pop fully into the white chocolate with a slight twisting motion as you remove it.
- Decorate with Delight:
- While the chocolate is still wet, add sprinkles or drizzle with contrasting chocolate. Work quickly as the chilled cake pops will make the coating set faster than you might expect.
 Save to Pinterest
 I remember bringing these cake pops to my sons classroom Valentine party, and watching thirty normally chaotic third-graders fall completely silent as they savored each bite. The teacher pulled me aside afterward to whisper that in fifteen years of teaching, shed never seen anything quiet the room so effectively. We both laughed as she asked for the recipe for her own arsenal of classroom management techniques.
Making Ahead and Storage
One rainy Sunday, I discovered these cake pops actually taste better on day two or three, as the flavors meld together in the refrigerator. Now I intentionally make them 2-3 days before special events, which has saved my sanity during party prep numerous times. Just be sure to store them in a container with some space between each pop to prevent them from sticking together or losing their perfect coating.
Troubleshooting Common Issues
During my nephews graduation party, I noticed some pops falling off their sticks while guests were eating them. That evening I tested different ratios of cake to frosting and discovered that too much frosting creates heavy balls that slide right off. Now I start with just three tablespoons of frosting per batch of cake crumbs and add more in small increments only if absolutely necessary, which has solved my falling pop problem for good.
Creative Variations
While standing in my kitchen at 2am finishing cake pops for a charity bake sale, I started experimenting with leftover ingredients and discovered some magical combinations. The white chocolate exterior is just the beginning of what these little treats can become.
- Try dark chocolate coating with gold luster dust for an elegant black-tie event presentation.
- For birthday celebrations, fold mini rainbow sprinkles directly into the cake mixture for a funfetti surprise inside.
- During holiday seasons, add a quarter teaspoon of peppermint extract to the white chocolate coating for a refreshing twist that pairs beautifully with the red velvet interior.
 Save to Pinterest
 These red velvet cake pops have turned ordinary moments into celebrations and strangers into friends around my kitchen island. I hope they bring the same joy to your table as they have to mine.
Recipe Help & Support
- → How long do these pops stay fresh?
-
Store finished pops in an airtight container in the refrigerator for up to 5 days. Keep unfrosted cake balls frozen for up to 3 months before dipping in chocolate.
- → Why is my cake mixture not holding together?
-
Ensure the frosting is well mixed with the crumbs and the cake balls are chilled for at least 30 minutes. If needed, add a bit more frosting gradually until the mixture holds its shape when pressed.
- → Can I use food gel coloring instead of liquid?
-
Yes, gel coloring is recommended as it produces more vibrant red tones. Use about half the amount since gel colors are more concentrated than liquid versions.
- → What's the best way to prevent chocolate drips?
-
Keep cake balls frozen until dipping, use white chocolate thinned with coconut oil for smoother consistency, and hold each pop at an angle while letting excess chocolate drip off before standing upright.
- → Can I make these pops ahead for an event?
-
Absolutely. Prepare and freeze unfrosted cake balls up to 3 months ahead. Dip in chocolate 2-3 days before serving and store in the refrigerator for best results and presentation.
- → What can I use instead of lollipop sticks?
-
You can use pretzel sticks for added crunch or omit sticks entirely, serving them as chocolate-dipped cake bites. Avoid wooden skewers as they may splinter when inserted into soft cake.
