 Save to Pinterest
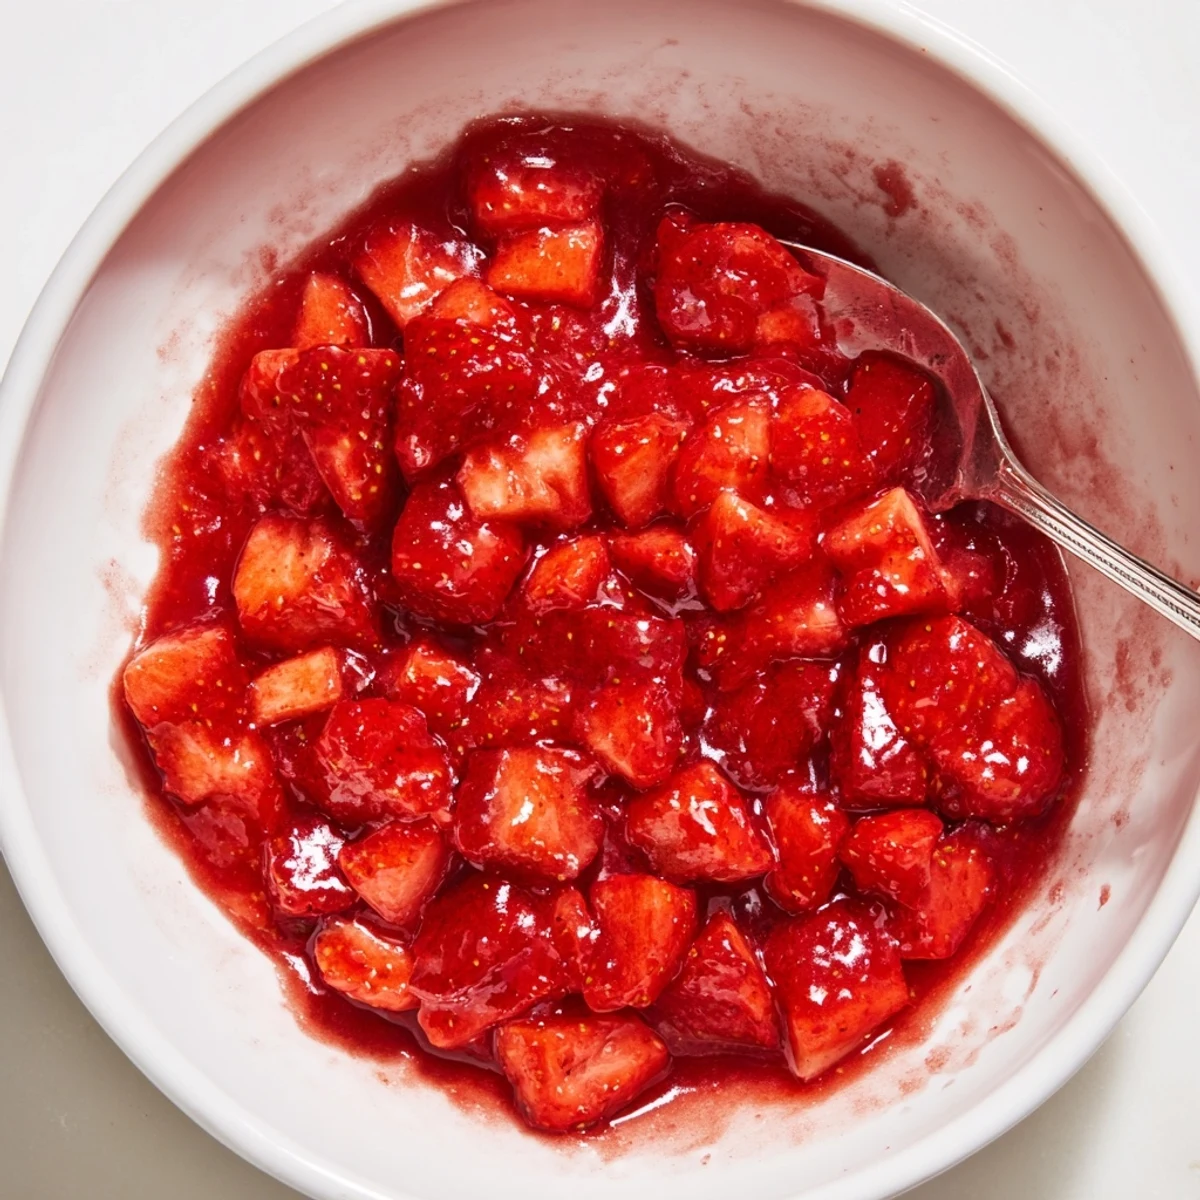
 This strawberry cake filling comes together in about 25 minutes using fresh berries, sugar, lemon juice and a cornstarch slurry. Cook until berries soften and the mixture thickens to a glossy, spreadable consistency, then cool to set before layering. Keeps in the fridge up to 5 days; mash or blend for a smoother texture.
The sweet fragrance of simmering strawberries always seems to fill the entire kitchen, and it takes me right to the heart of spring. I tried this cake filling for the first time out of pure necessity—caught between layers of a sponge with nothing but fruit and pantry staples. The juiciness of fresh berries bubbling on the stove became a little celebration all by itself. There’s something incredibly satisfying about transforming simple ingredients into a ruby-red, spoonable dream.
One Saturday in early June, I made this for a birthday cake, and the filling disappeared almost as quickly as I could spread it. My cousin dipped extra spoons in the saucepan between layers—who could blame her It became clear that the filling was as eagerly anticipated as the cake itself. That kitchen scene still makes me grin whenever I pull out the saucepan for this recipe.
Ingredients
- Fresh strawberries: Choose the ripest berries you can—their natural sweetness shines through, and dicing them small helps the filling come together evenly.
- Granulated sugar: This sweetens and draws out the juices; I’ve found adjusting the sugar slightly lets you control the final flavor.
- Lemon juice: Just a splash brings out the tang and brightens everything—a trick learned after a dull batch one spring.
- Cornstarch: The secret to that luscious, thick texture—be sure to mix it well with water before adding or you’ll get clumps.
- Water: Makes the cornstarch slurry and ensures no floury taste.
- Vanilla extract (optional): I sometimes skip this, but when I remember, the aroma adds an understated warmth that feels fancy.
Instructions
- Mingle the berries:
- Add diced strawberries, sugar, and lemon juice to your saucepan and stir until the berries look glossy and lightly coated.
- Simmer for flavor:
- Turn on medium heat—the berries will hiss and soften, releasing that unmistakably sweet scent as the juice starts to bubble after about 5 minutes.
- Mix up the thickener:
- Vigorously whisk the cornstarch and water in a small bowl until no lumps remain—it’s satisfying when it’s completely smooth.
- Thicken and shine:
- Slowly pour the slurry into the hot berries, stirring constantly; the filling will change from cloudy to glossy and thick in just a few minutes.
- Add final flourish:
- Remove from heat and fold in the vanilla (if using)—the scent is a tiny reward for your patience.
- Cool down and set:
- Allow to cool to room temperature before using; you’ll notice it sets up even more as it sits.
 Save to Pinterest
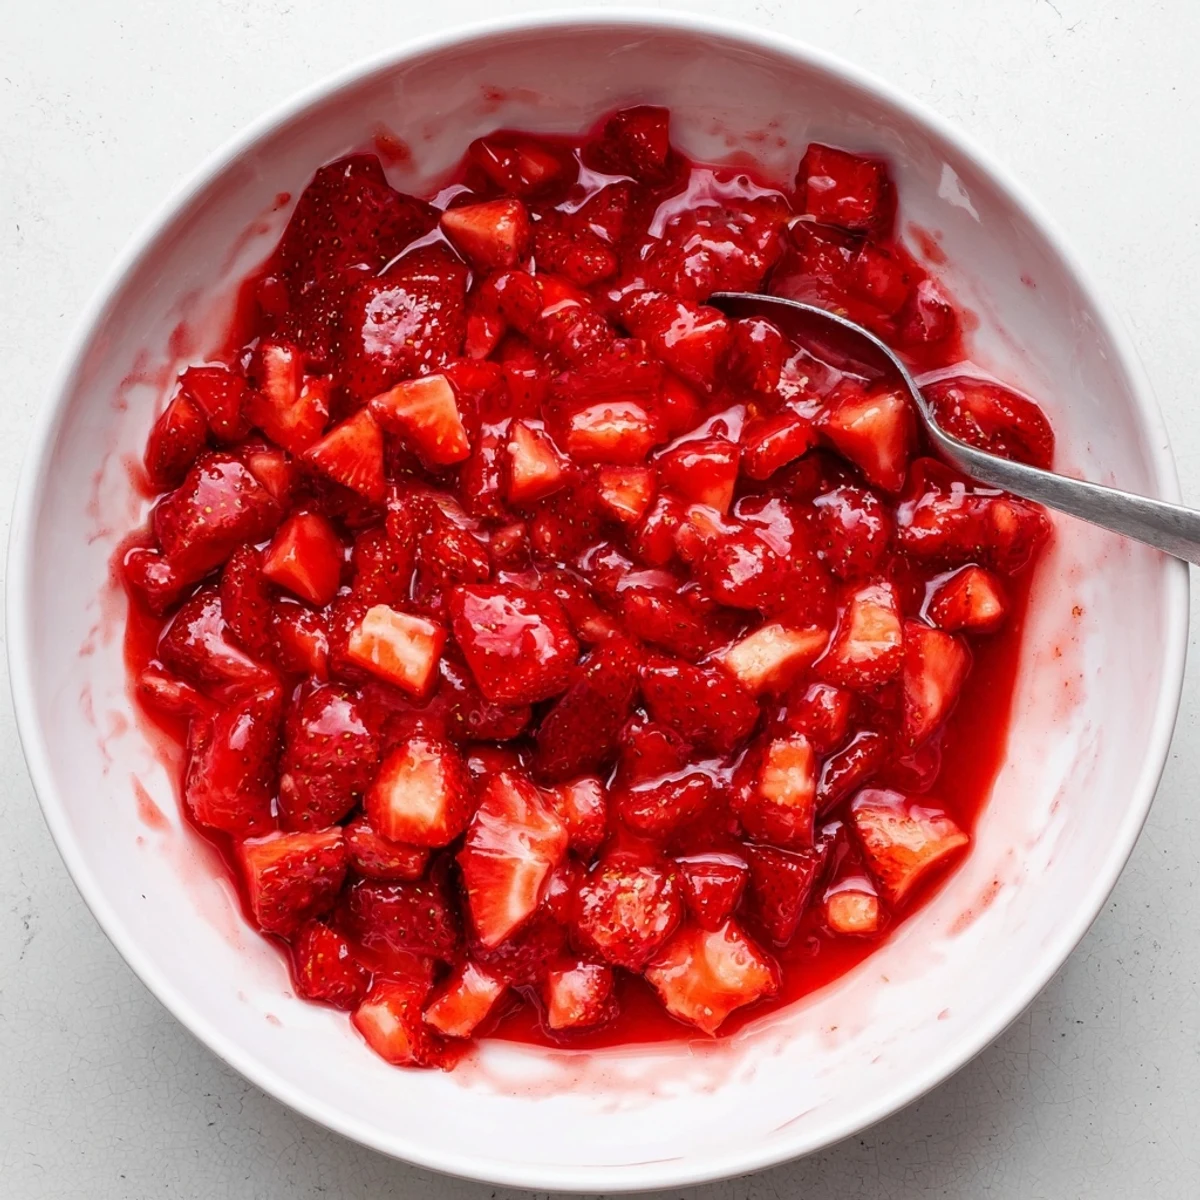
 The first time this filling actually made it inside a cake without being stolen by eager taste-testers, I remember passing slices around the table and watching the vibrant layer get as much praise as the cake itself. It’s those little moments when something simple takes center stage that make me reach for this recipe over and over again.
Tasting and Tweaking—My Favorite Part
I always sneak a taste of the filling while it cools to check for sweetness and tartness. When strawberries are peak-season, I use a bit less sugar, but with winter berries, an extra spoonful can really lift the flavor. A fork works wonders if you want a chunkier texture, but sometimes I grab the immersion blender for an ultra-smooth finish.
Other Fruits, Different Vibes
After a successful batch with strawberries, I started swapping in raspberries and blueberries for a fun twist. Each fruit brings its own vibe—raspberries make it tangy and bright, while blueberries create a jammy, deep color that looks gorgeous in a vanilla cake. It’s a quick riff that impresses with almost no extra effort.
Practical Magic—Using and Storing
Any extra filling never goes to waste—spread it on toast, swirl it into yogurt, or sandwich it between cookies for a happy accident snack. One trick is to store it in a small jar so you can see exactly how much is left and avoid sticky fridge surprises. If you need it set super firmly for a tall cake, chill it at least an hour before spreading.
- Let it cool fully before assembling your cake for the neatest slices.
- Don’t forget to taste and adjust the sugar and lemon if your berries are extra sweet or tart.
- Airtight containers keep leftovers fresh for several days.
 Save to Pinterest
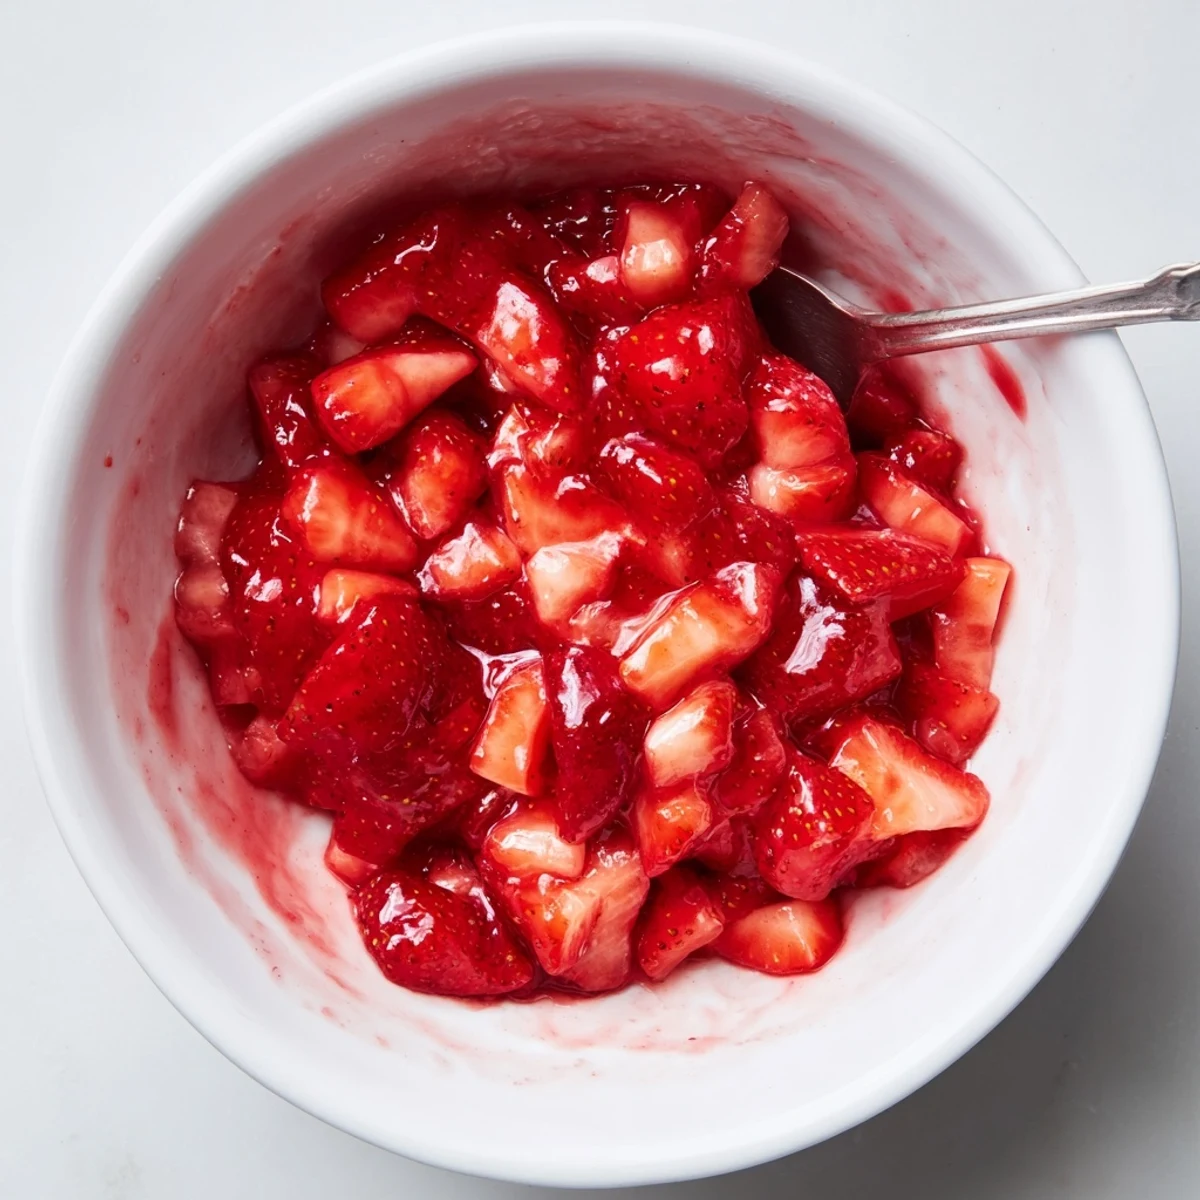
 May your strawberry cake filling bring as many sticky fingers and happy smiles as it has here. It truly turns simple cakes into little celebrations all their own.
Recipe Help & Support
- → How can I make the filling extra smooth?
-
Mash the strawberries with a fork while cooking, or use an immersion blender briefly once cooled slightly. For a very silky texture, press the mixture through a fine mesh sieve to remove seeds and larger bits.
- → What’s the best way to thicken the filling?
-
Whisk a cornstarch slurry (cornstarch plus cold water) before adding to the hot berries and cook until glossy. Tapioca or arrowroot can be used as alternatives; adjust quantities and cook until the mixture clarifies and thickens.
- → Can I use frozen strawberries instead of fresh?
-
Yes. Thaw and drain excess liquid, then cook a bit longer to reduce moisture. You may need slightly more thickener if the fruit releases extra juice during cooking.
- → How should I store leftovers?
-
Cool completely, then transfer to an airtight container and refrigerate up to 5 days. For longer storage, freeze in portions for up to 2 months; thaw in the fridge and gently reheat before using.
- → How do I adjust sweetness or tartness?
-
Taste as you cook and add more sugar for sweetness or a squeeze of lemon juice for brightness. Small increments keep the balance from shifting too far in either direction.
- → What other uses work well with this filling?
-
Beyond cake layers, spoon it into cupcakes, tarts, donuts, or swirl into yogurt and oatmeal. It also makes a lovely topping for ice cream or pancakes.
